 May 5, 2024
Recipes
May 5, 2024
Recipes
May 5, 2024
Recipes
May 5, 2024
Recipes 


Truth be told, I have been working on this sourdough focaccia recipe for a year +, and I can confidently say it is the best focaccia I have ever eaten. This no knead focaccia is chewy and soft on the inside while having a crispy and firm crust on the outside. It has a great open crumb without being to open, and is a blank canvas for so many flavor profiles (which are coming to the site).
The whole reason why I started a sourdough starter last August was to make focaccia. There is a bread stand at my local farmers market that sells the most insane focaccia bread (it also comes at a hefty $8 a slice). One bite and I knew the previous focaccia bread I had been baking up was a joke compared to this one. It was soft and bouncy with a great chew. Toppings aside the bread itself had incredible flavor, which led me down the rabbit hole of sourdough.
I later found out that they were not in fact sourdough focaccia, but that is beside the point. After a year of testing I finally compared both focaccias side by side. I can confidently say that I did in fact make a better bread.
While this post will walk you through the process of making an out of this world focaccia, it will not walk you through how to start and maintain a sourdough starter. I am not the biggest sourdough expert, and there are a ton of other resources that can give you the ins and outs of it.
Have you stumbled across this post and don’t have sourdough starter? No worries! I have an equally amazing recipe to share from my good friend Patricia at Bake Cook Repeat. Her Focaccia is soft, fluffy, and, better yet, requires no kneading.
If you didn’t know sourdough acts as a leavening agent in bread. So, while some bread uses yeast you can swap this out for sourdough. Sourdough does so much more than make bread rise, it also imparts a chewier texture, and great tangy flavor.
With all this said, using sourdough in place of yeast takes time. This focaccia isn’t your 3-4 hour bread, in fact it needs a full day to come together so take that into account when planning to make this recipe.
That’s it only 4 ingredients for the dough. No yeast, no olive oil, just flour, water, salt, and starter. Below are the basic toppings. There will be more posts on more elaborate flavor combos in the future so make sure you save this post!
See below for LENGTHY instructions. Please read them before you get started, there is more information below than there is on the recipe card. I have also put in a suggested timeline below the step by step. This is the rough timeline I follow and has yielded successful focaccia after successful focaccia.
I cannot express this enough, you need a well fed, mature, sourdough starter for this recipe. When I started my sourdough journey, specifically to start testing this focaccia, I thought I was going to be able to start testing 1-2 weeks in. I was wrong.
Sure, my starter looked ready but every time I added it, and baked with it the bread was dense, stiff, and gummy. It was clear that my starter wasn’t mature enough, and didn’t hit a mature age until 2 months of constantly feeding and discarding.
A few days before, bring your starter to room temp, if it doesn’t already live on the counter, and feed it aggressively. I like to do a 1:1 ratio every 12 hours, but it is all going to depend on the environment. Once my starter can double in approx. 4-5 hours I know it is ready.
The morning of feed your starter. This recipe calls for 180g of starter. A 1:1 ratio will double your starter in 4-5 hours SO I like to start with at least 75g of starter and add 75g of warm water, and 75g of bread flour. This will give you roughly 45g left over to continue your starter. If you need less than that to continue adjust as needed, but keep in mind the starter sticks to the side so if you are transferring it to a new jar you will have less than 45g.
What is Autolyse? It simply means mixing the flour and water together to create a dough and then letting it rest for a period of time. This is typically part of the process when making sourdough bread, in this case sourdough focaccia. When you let the dough rest you are not only allowing the flour to completely hydrate, but you allow the gluten bonds to start forming. This strengthens the dough, makes it easier to handle, and yields a better flavor. This is a no knead bread, but if it was, allowing the flour and water to sit would cut the knead time.
Using your stand mixer with the dough hook attachment add 600g of bread flour. Turn the stand mixer on low and drizzle in 450g of warm water. Depending on how cold your kitchen is I like to put anywhere between 76 F-82 F, or 25.55 C – 27-77 C. If you don’t have a kettle or a thermometer don’t worry just try and put in room temp or a little warmer than room temp in.
Run the dough hook for no more and 1-2 minutes until the dough forms, but is shaggy in texture. DO MAKE sure that there are no chunks of flour left over. Cover with a clean towel and let it rest for 30 minutes.
Once the flour and water have finished resting you are going to add in the sourdough starter. Add 180g of starter to the top of the dough and with the bread hook run the stand mixer on low. As the mixer is going add in the 13g of fine sea salt (or fine kosher). Run on low for no more than 2-3 minutes, until the sourdough starter is completely combined and the dough. The dough will be sticky.
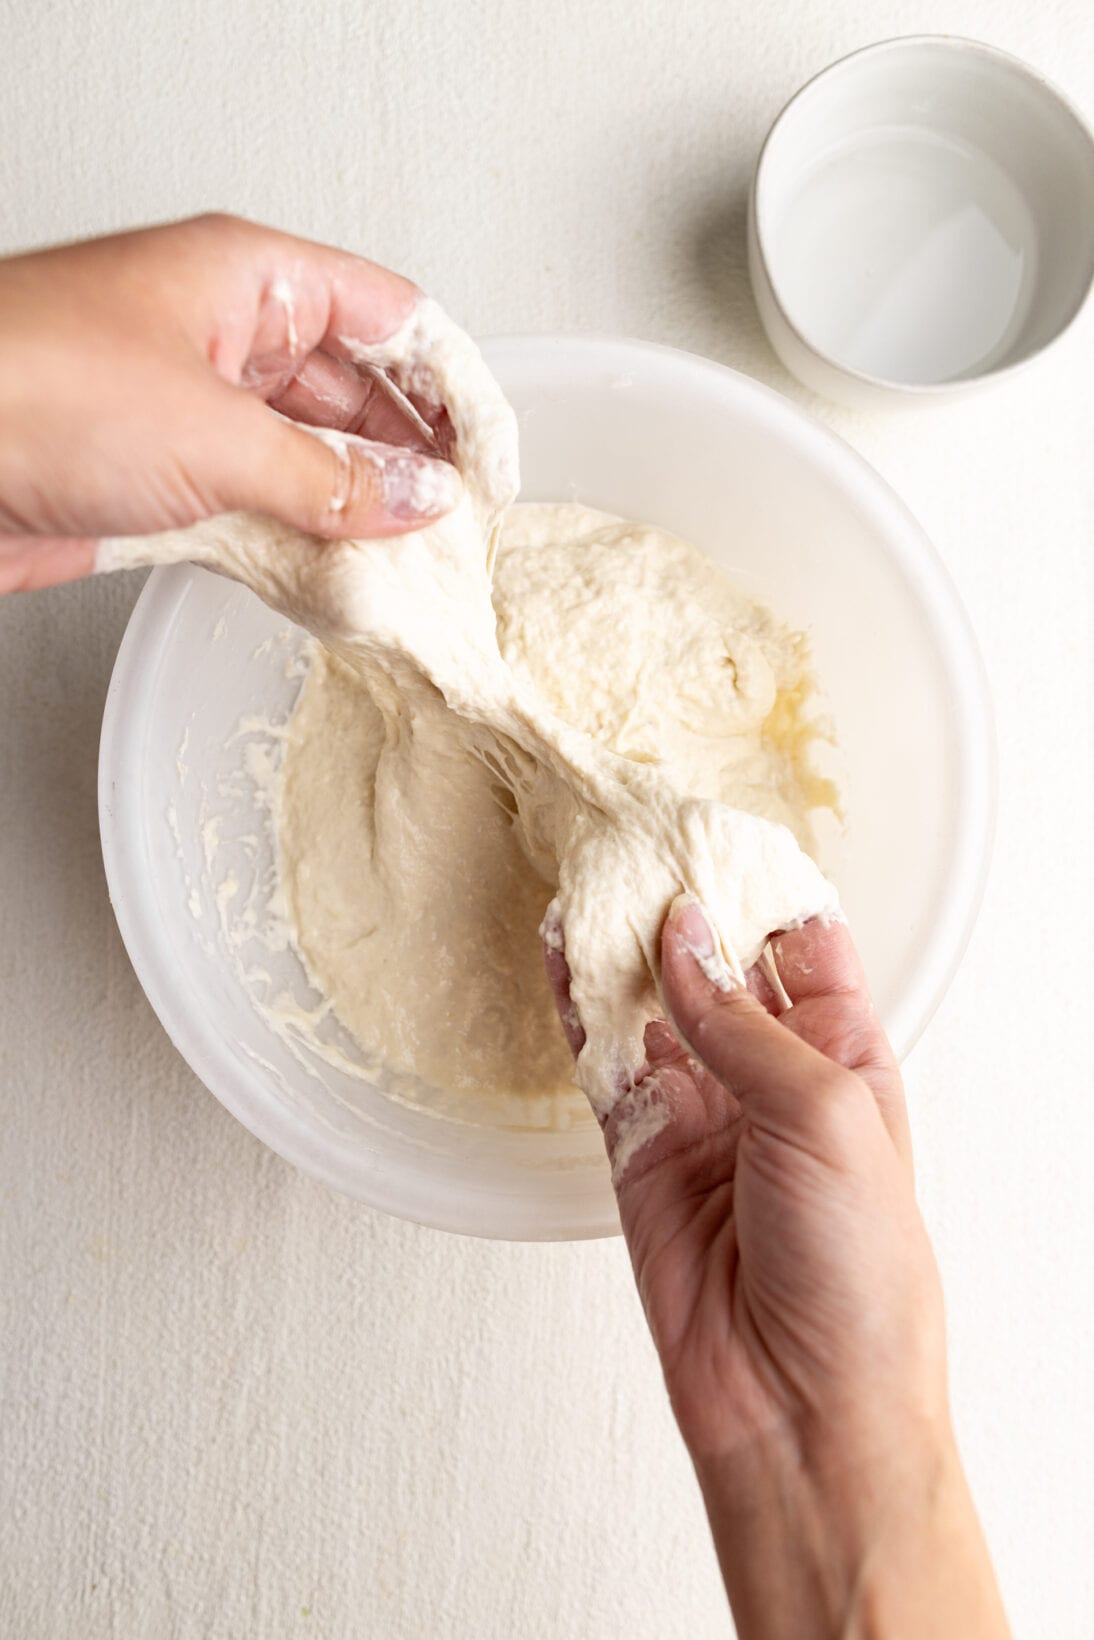
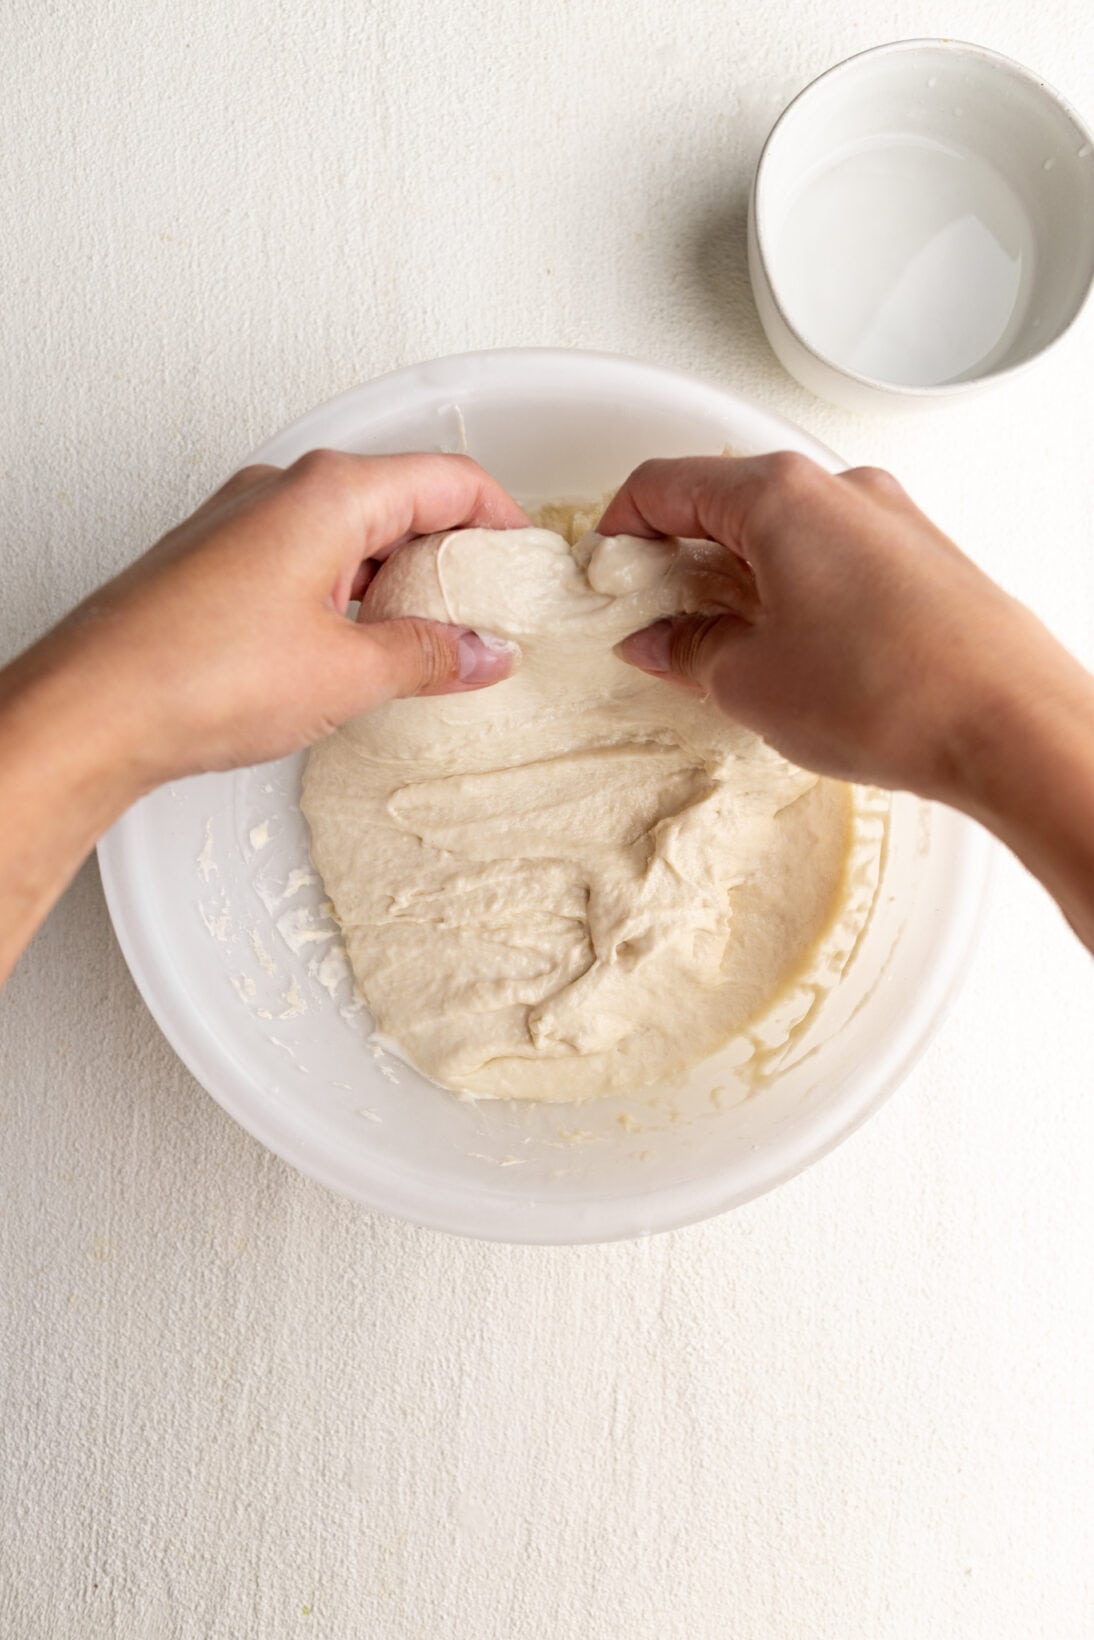
So there is no kneading here, however you do need to do a series of folds to strengthen the dough and build gluten. Either transfer the dough to a clean large mixing bowl, or keep in the stand mixer bowl. The dough is going to be sticky right off the bat. Have a bowl of water nearby and wet your hands before handling the dough.
Every 20 minutes you will do a series of envelope folds. Simply take one side of the dough with both hands, stretch it up and over to the other side. Pivot the bowl 25 degrees and do these 4 times. Cover and rest in between. You are going to do these set of folds every 20 minutes 3 times (total of 12 folds).
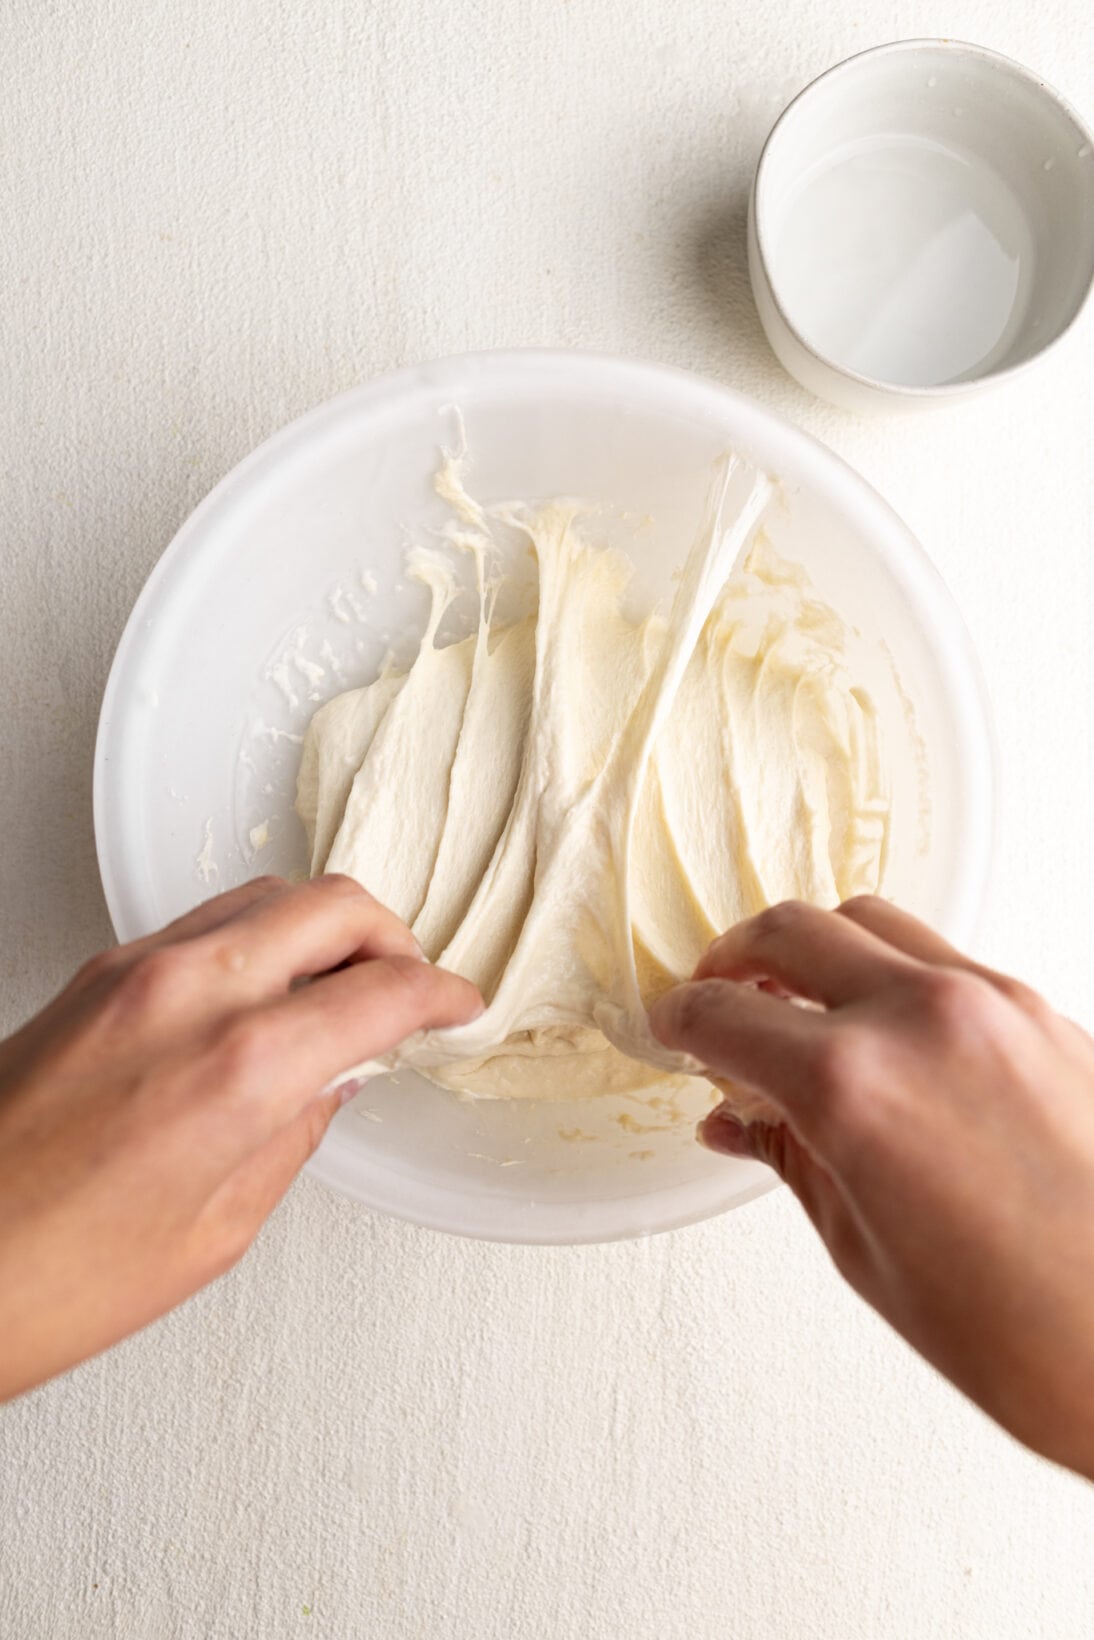
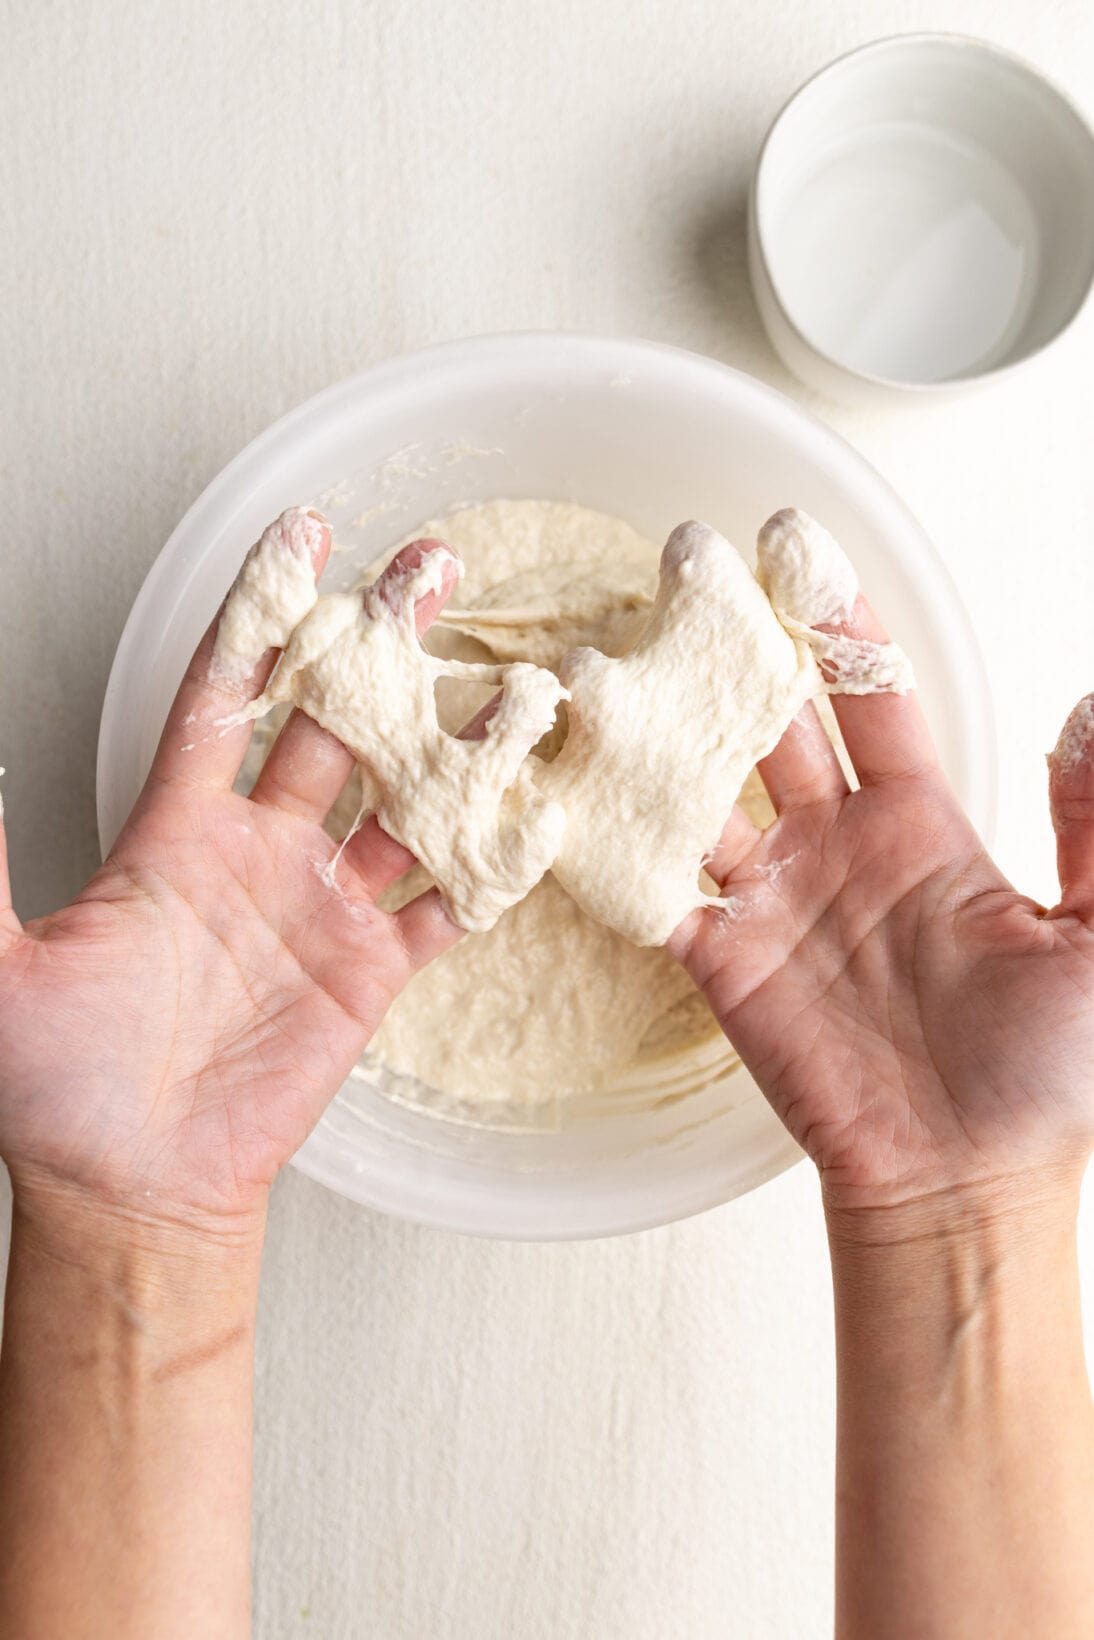
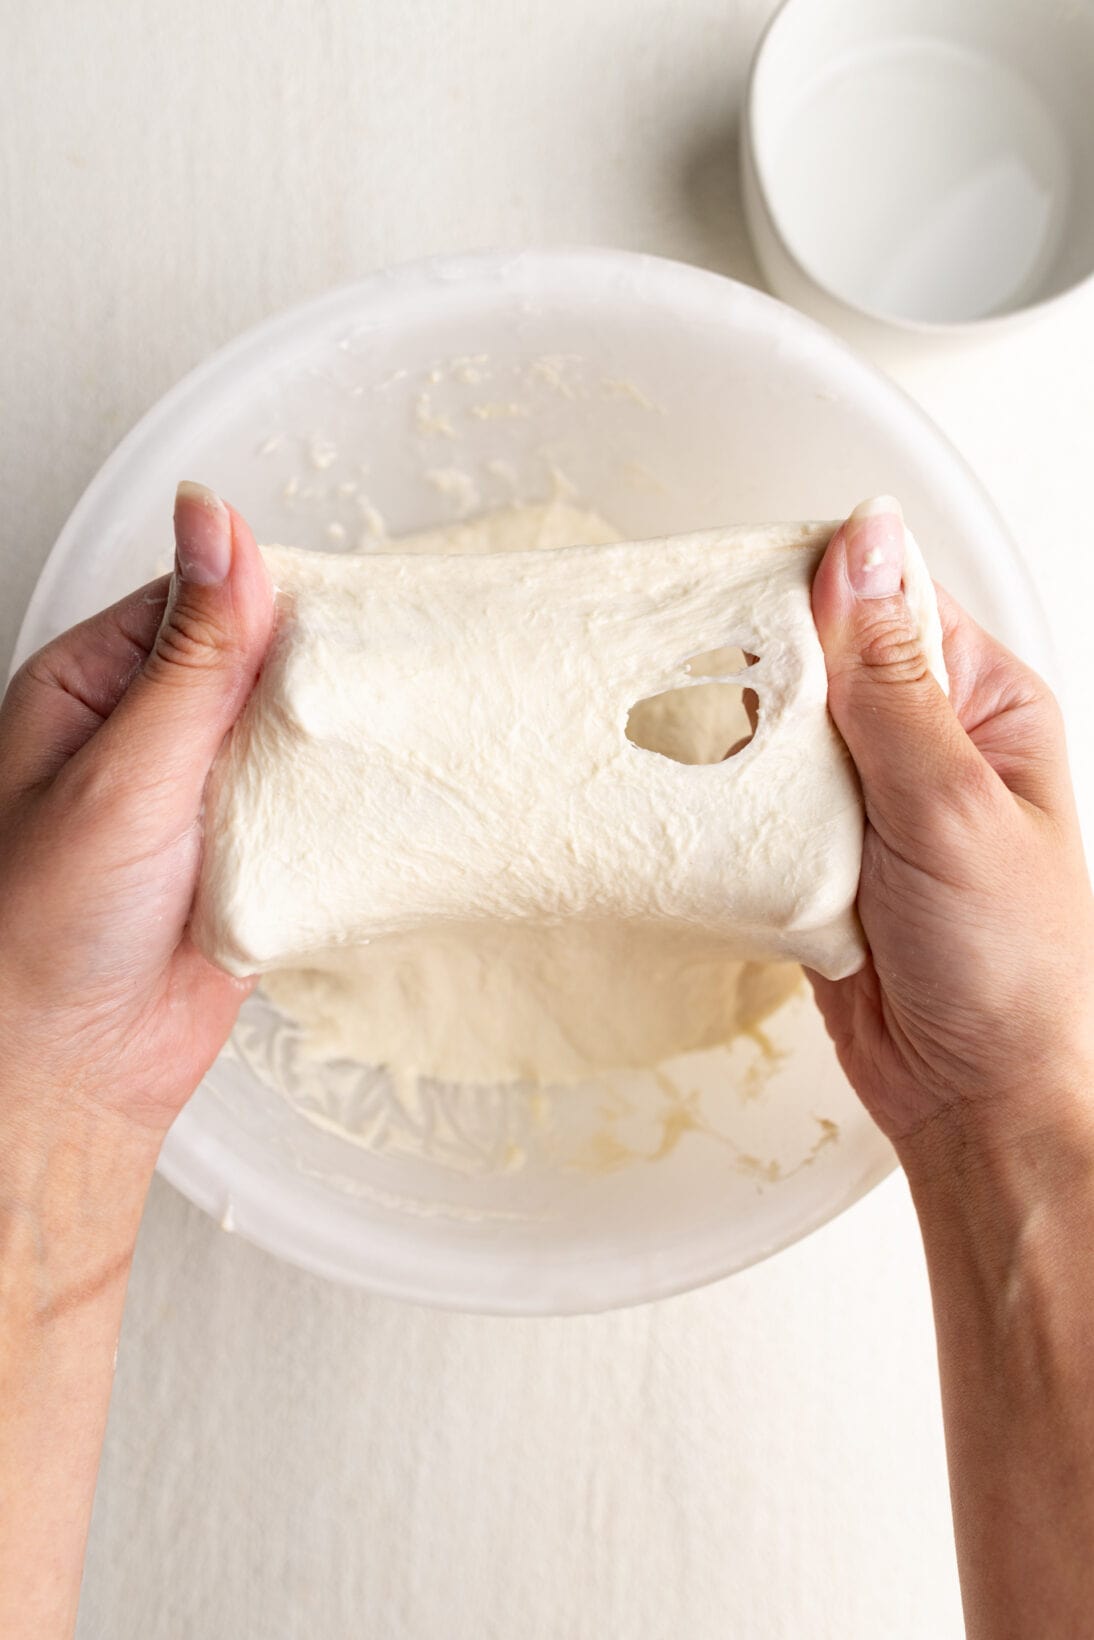
Throughout the folds and rest you will notice the texture will begin the change as the bread builds gluten. From sticky, lumpy, and wet to smooth and stretchy. One of the biggest signs that your bread is developing enough gluten is the windowpane test. Take the dough with both hands and stretch it. Did it break immediately? After 1-2 seconds? It is going to need more time to rise and rest then.
What we ultimately want is the ability to stretch it thin without the dough tearing. You will not achieve this through the folds, but it helps develop enough gluten to help the dough get there.
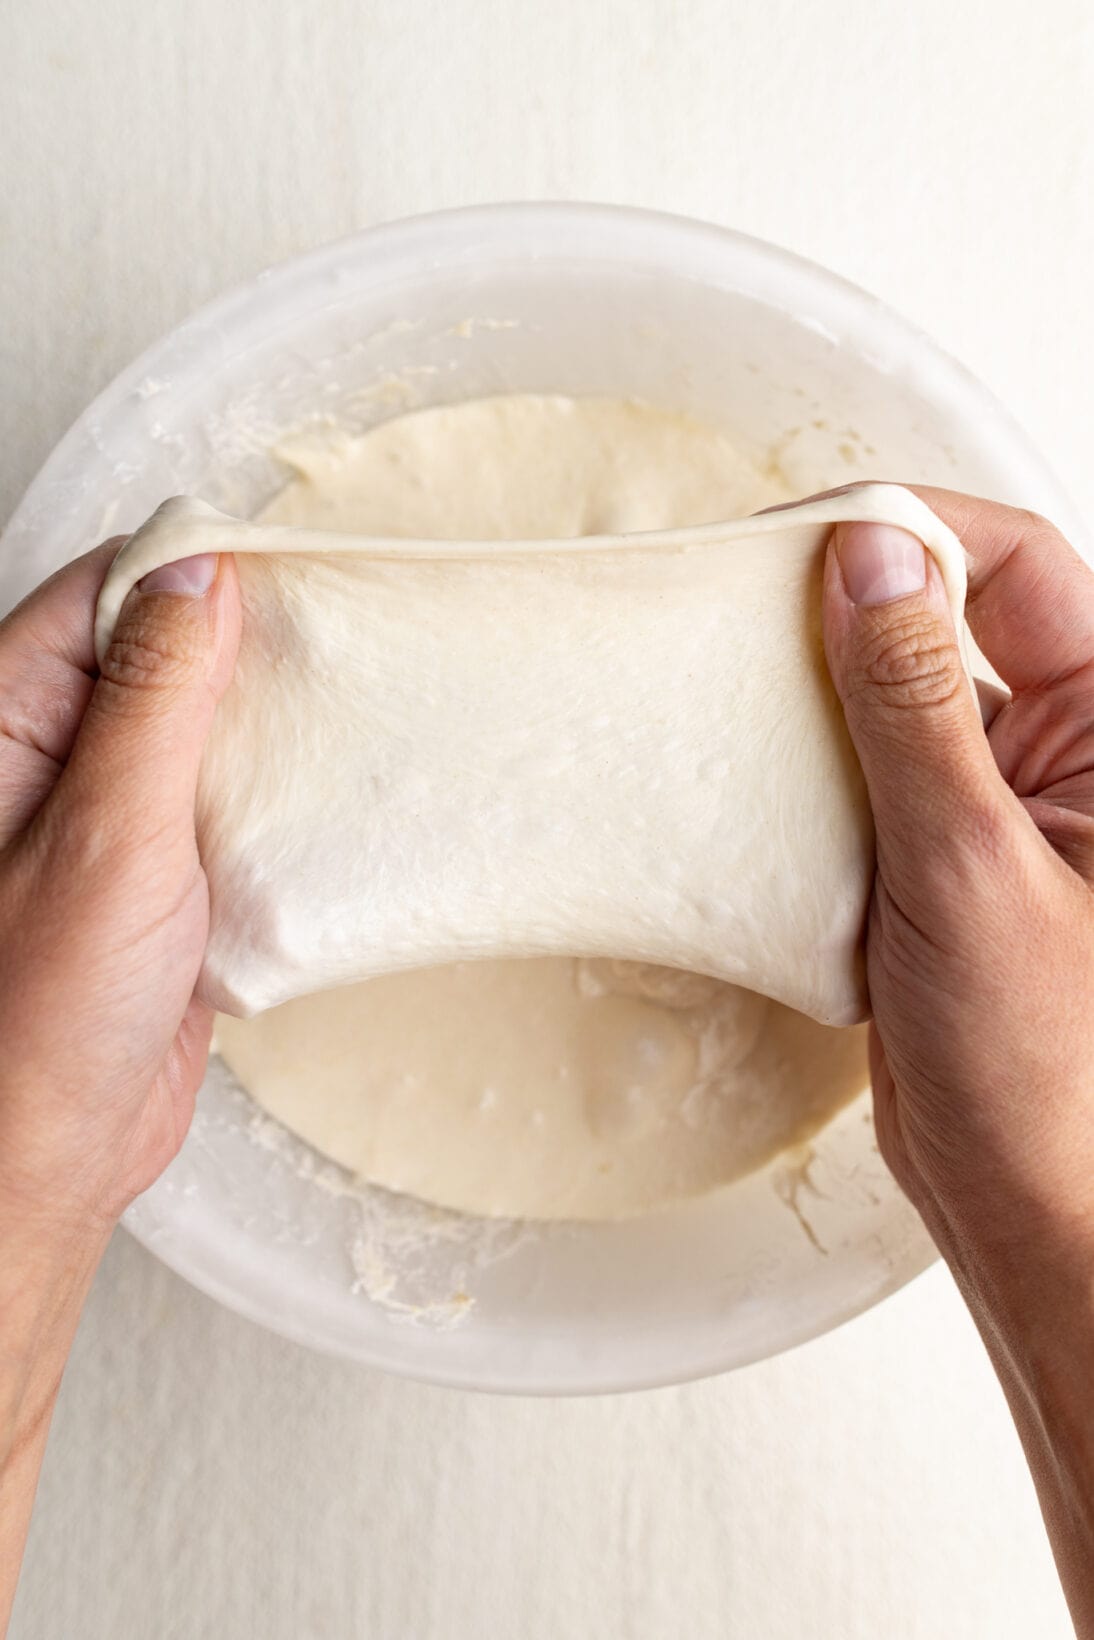
After the folds let the dough rest, covered, at room temperature. Depending on how hot or cold your kitchen is will dictate how long it needs to rest out. What we are looking for is for the dough to have doubled or get close to doubling and to pass the windowpane test.
My kitchen is close to 70-72 degrees and it took approx. 4 hours. A hotter or colder kitchen will adjust this time. Once the dough has hit these parameters, tightly cover and rest in the fridge overnight.
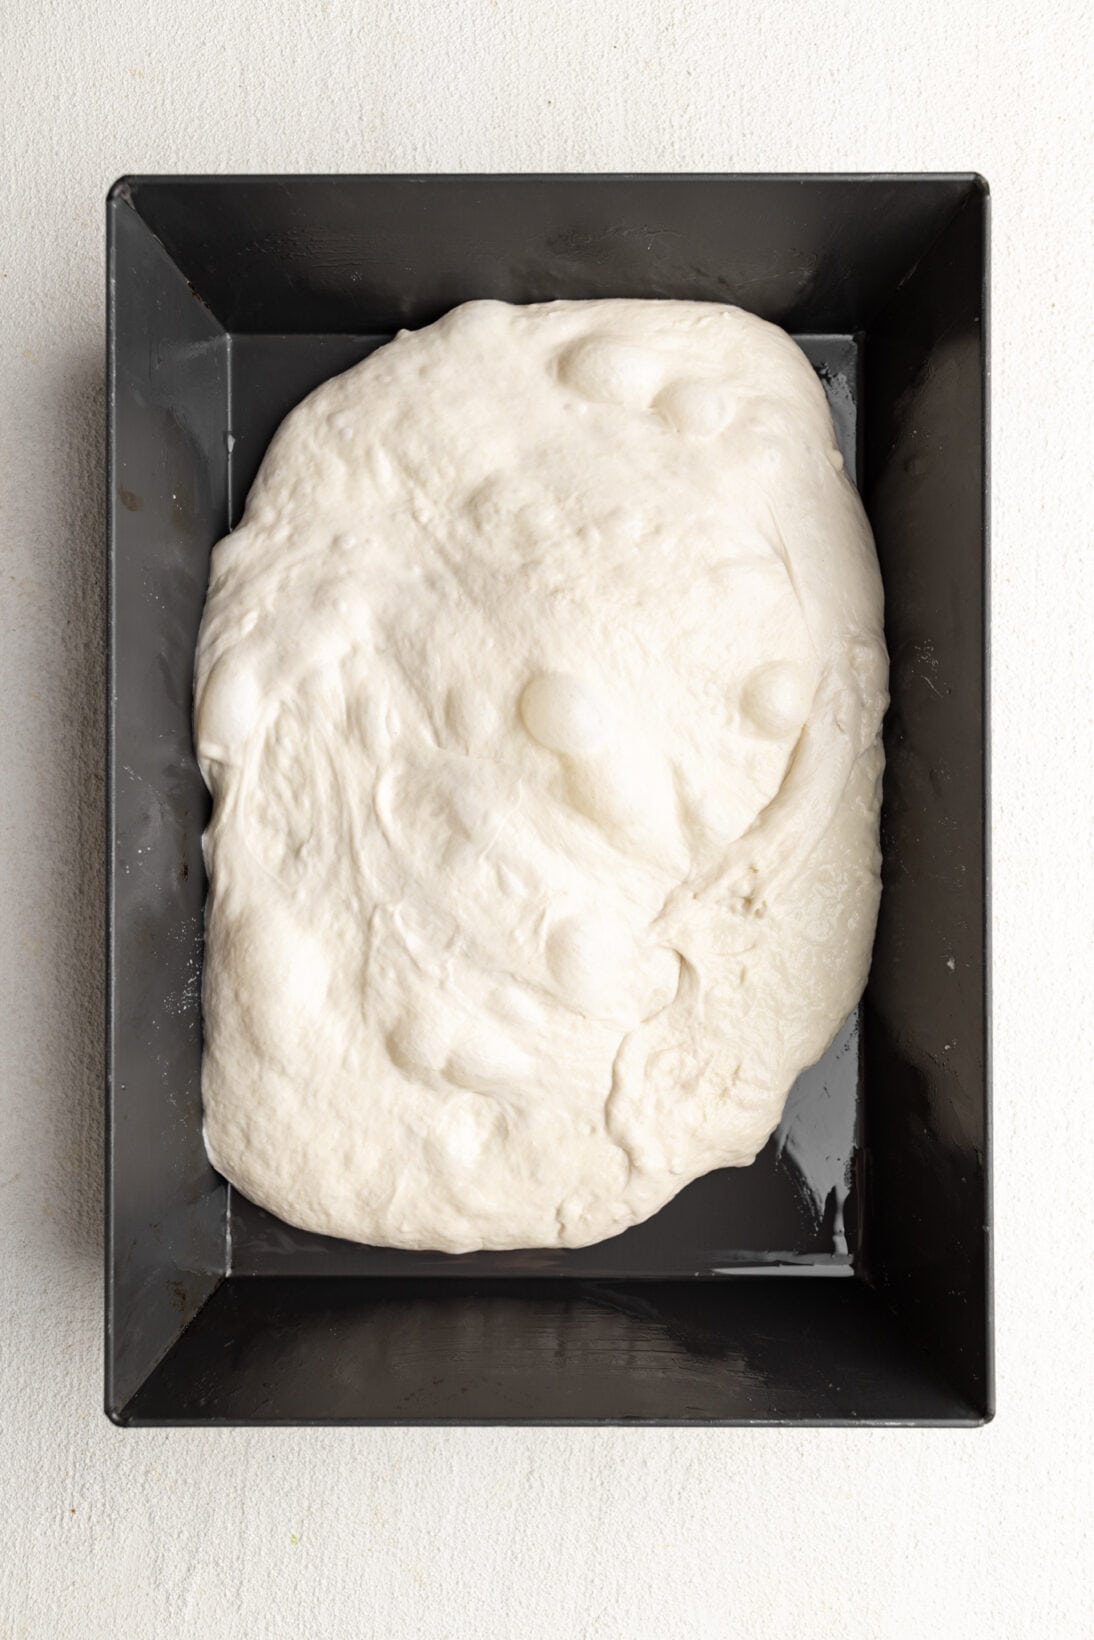
Take out the dough in the morning. Grease the pan you are going to bake the focaccia in with 1-2 tablespoons of olive oil (see above for pan recommendation). Dump the dough out, and lifting with both hands from the bottom carefully spread the dough out in an up and down motion. Do this a few times, don’t worry if it doesn’t stretch all the way out.
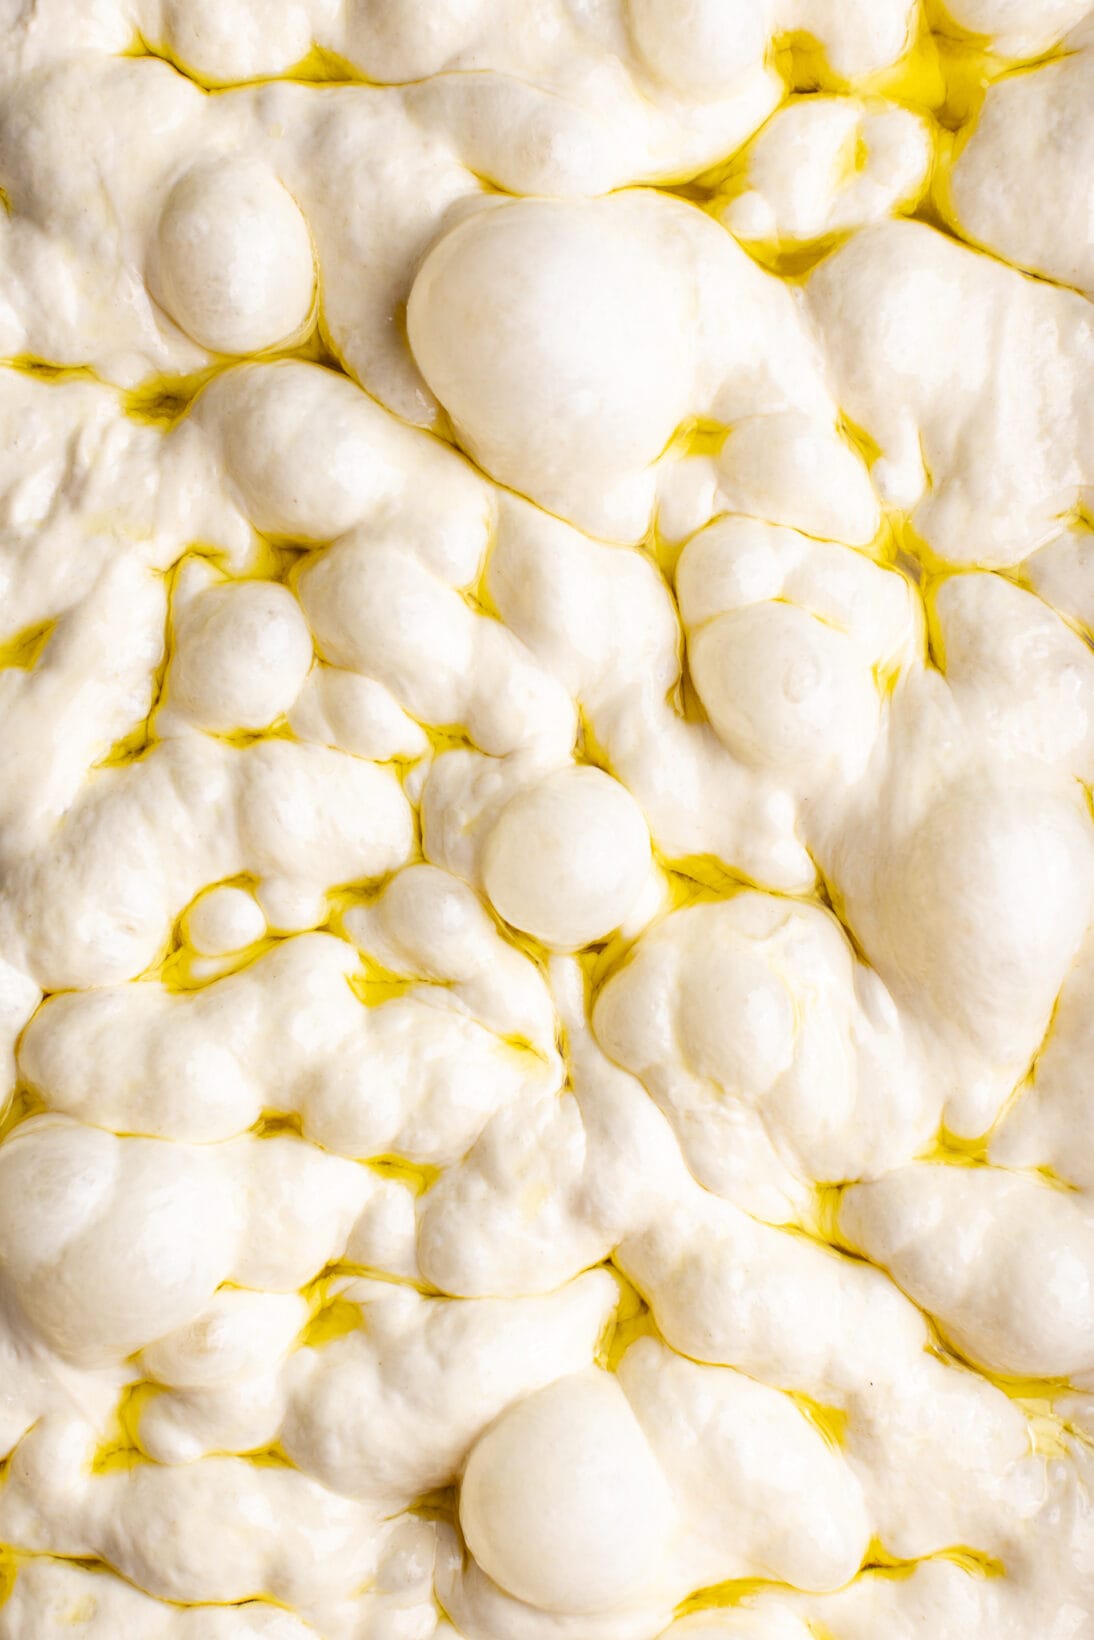
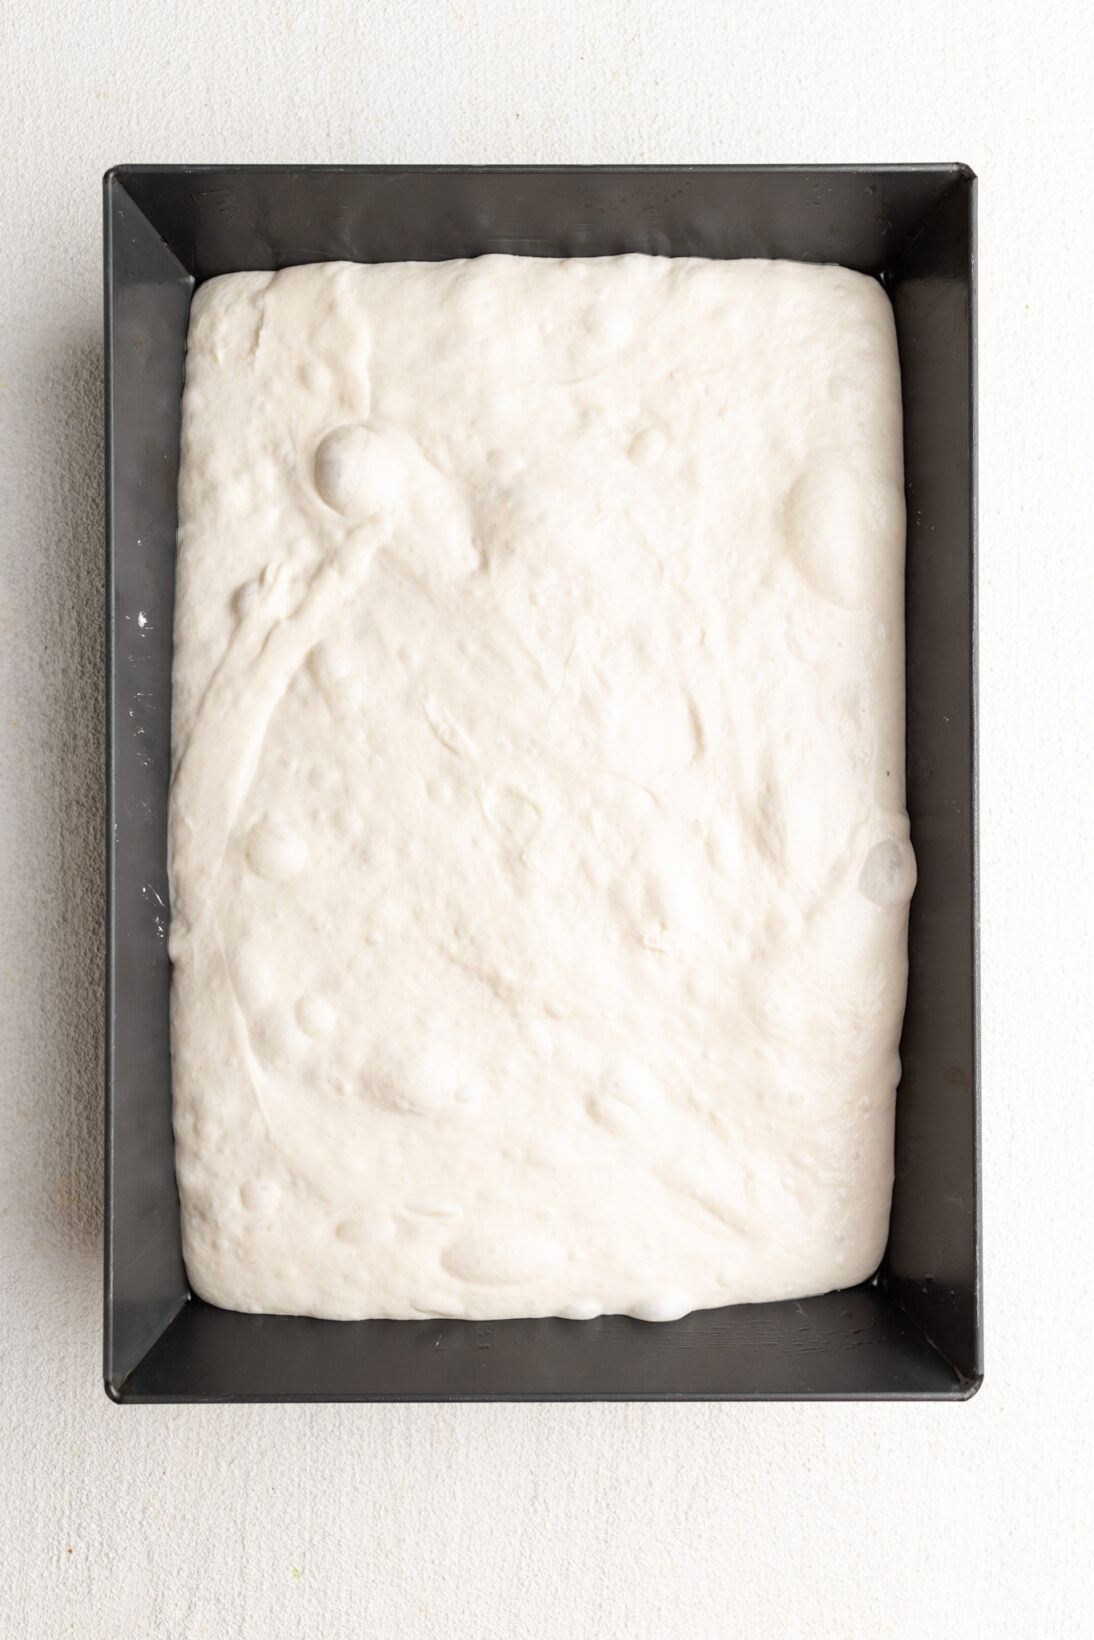
Let the dough rest for 3-4 hours at room temp until the dough has risen quite a bit (looking for at least double again) and the dough is jiggly.
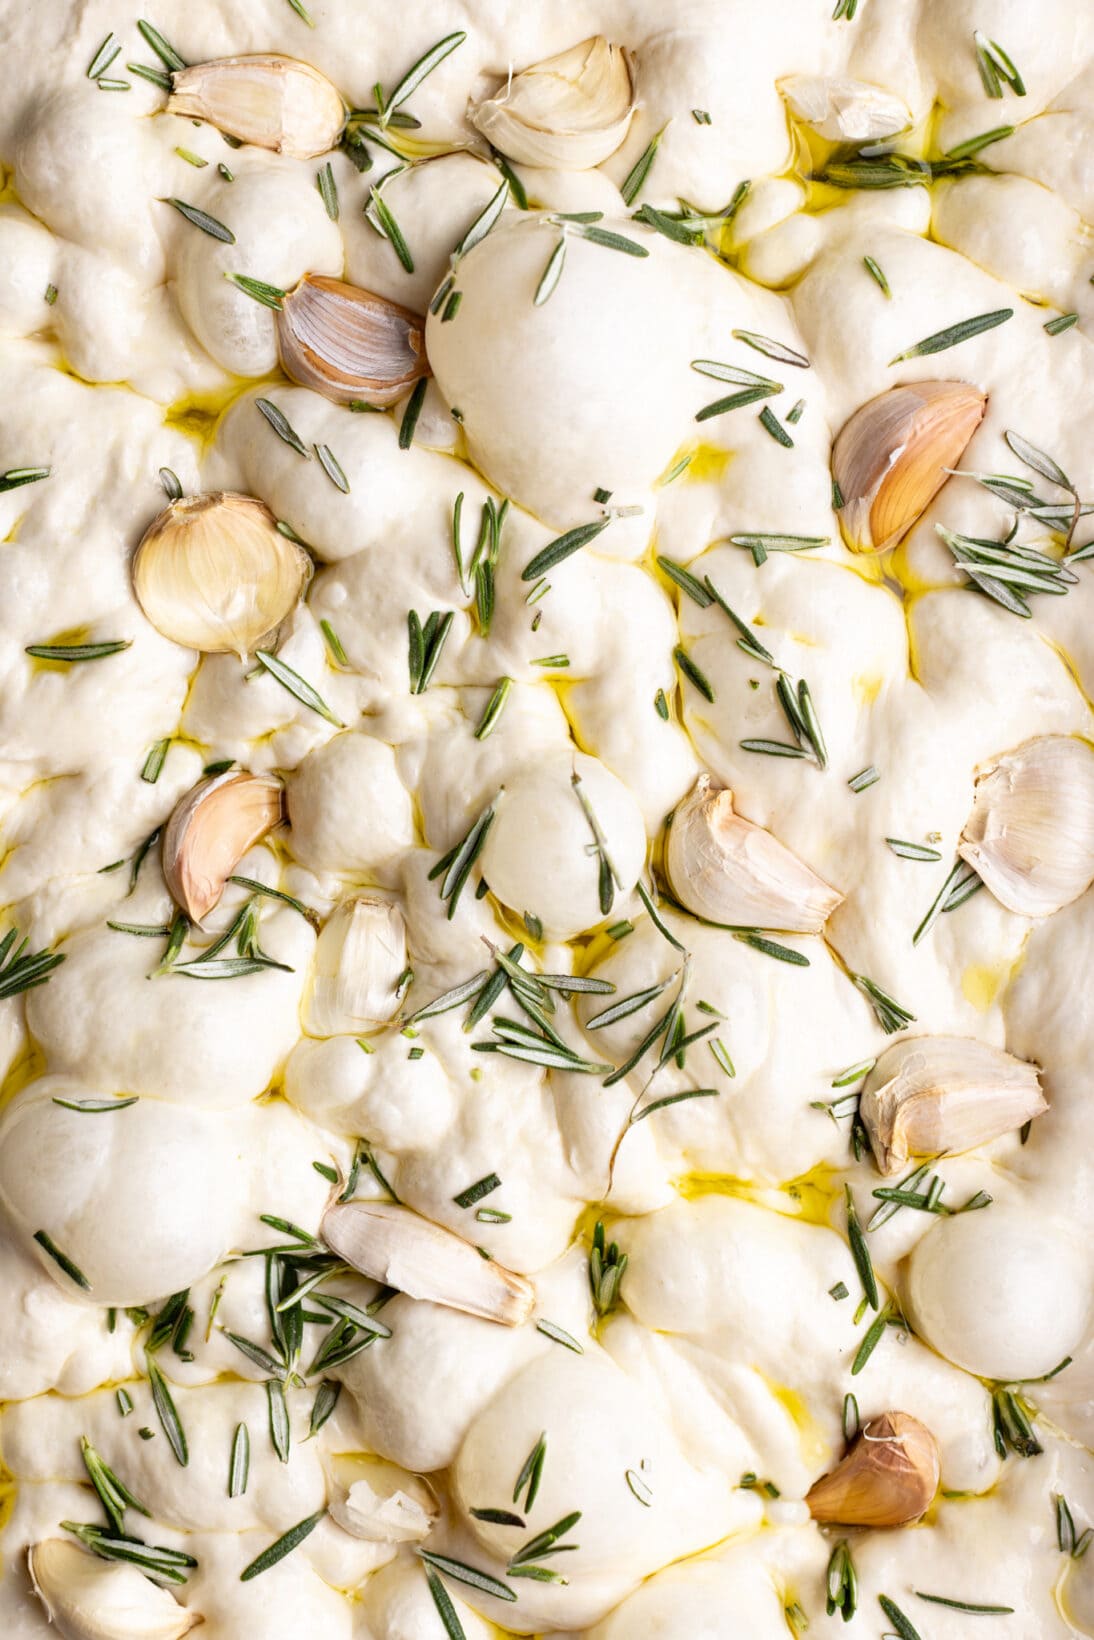
Preheat the oven to 425 F or 218 C. Once fully preheated aggressively drizzle a few tbsp of extra virgin olive oil on top of the bread. With oiled hands dimple the dough. As you dimple, jiggle your hands to bring out some of the bubbles.
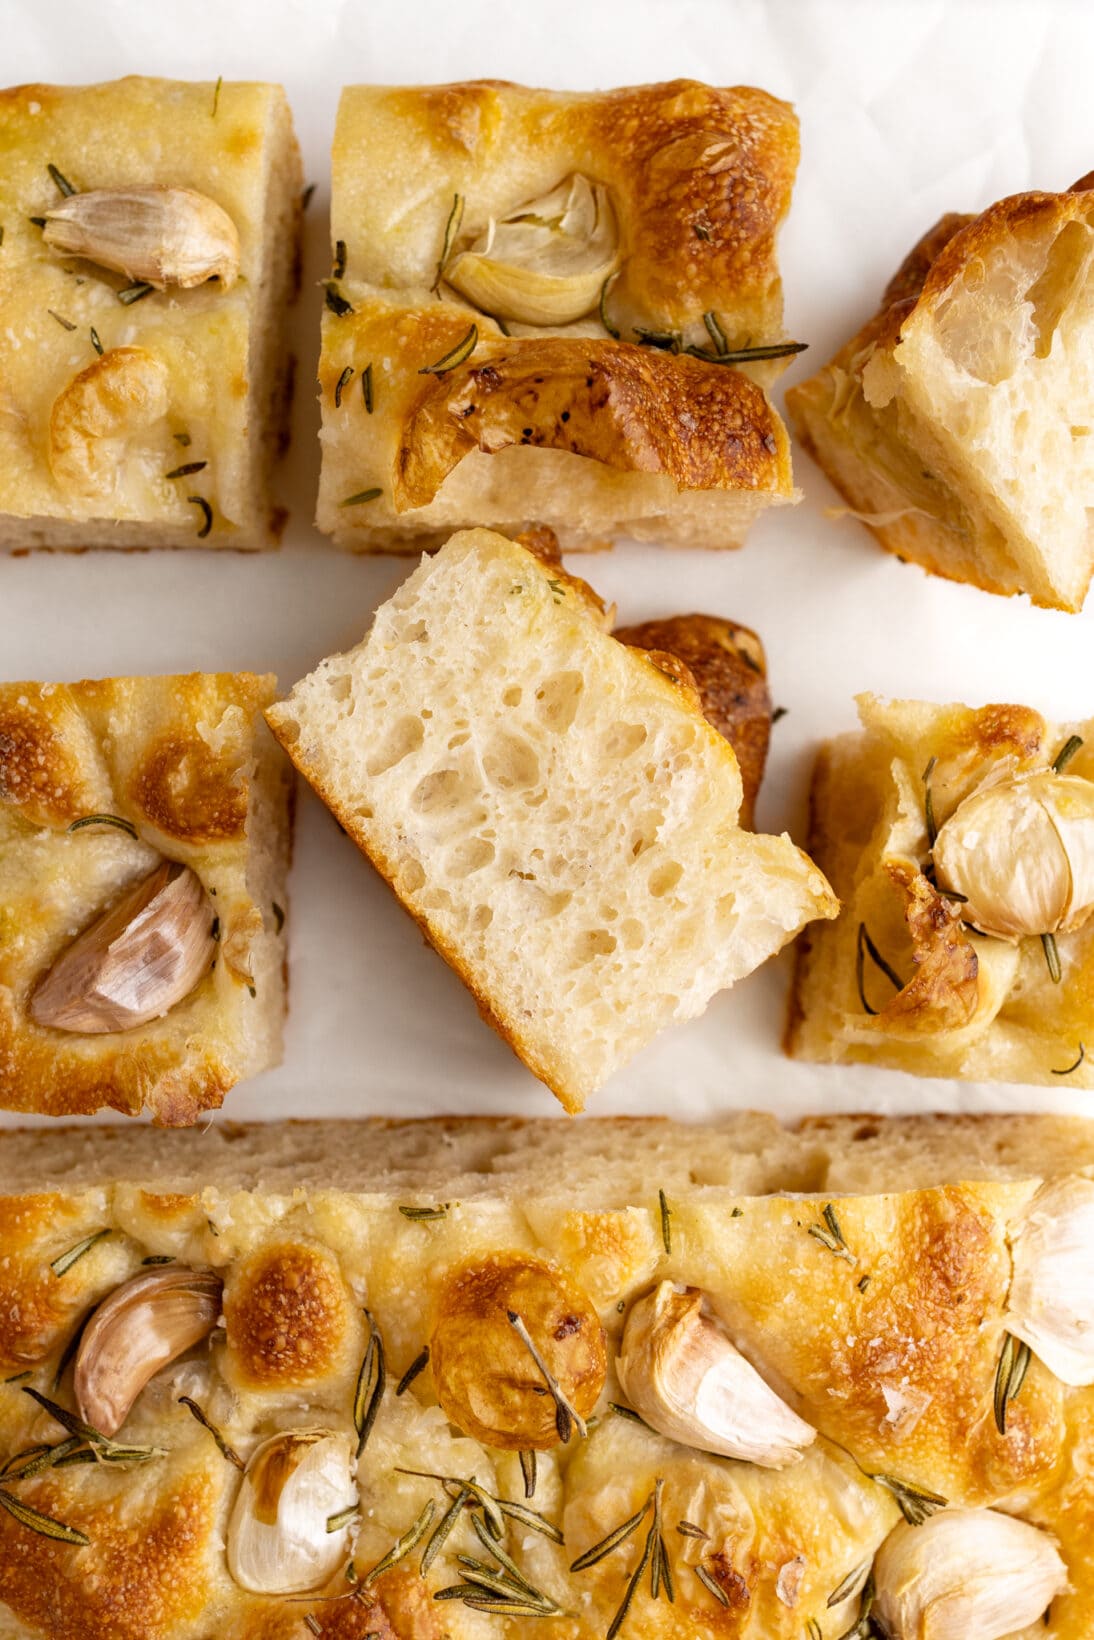
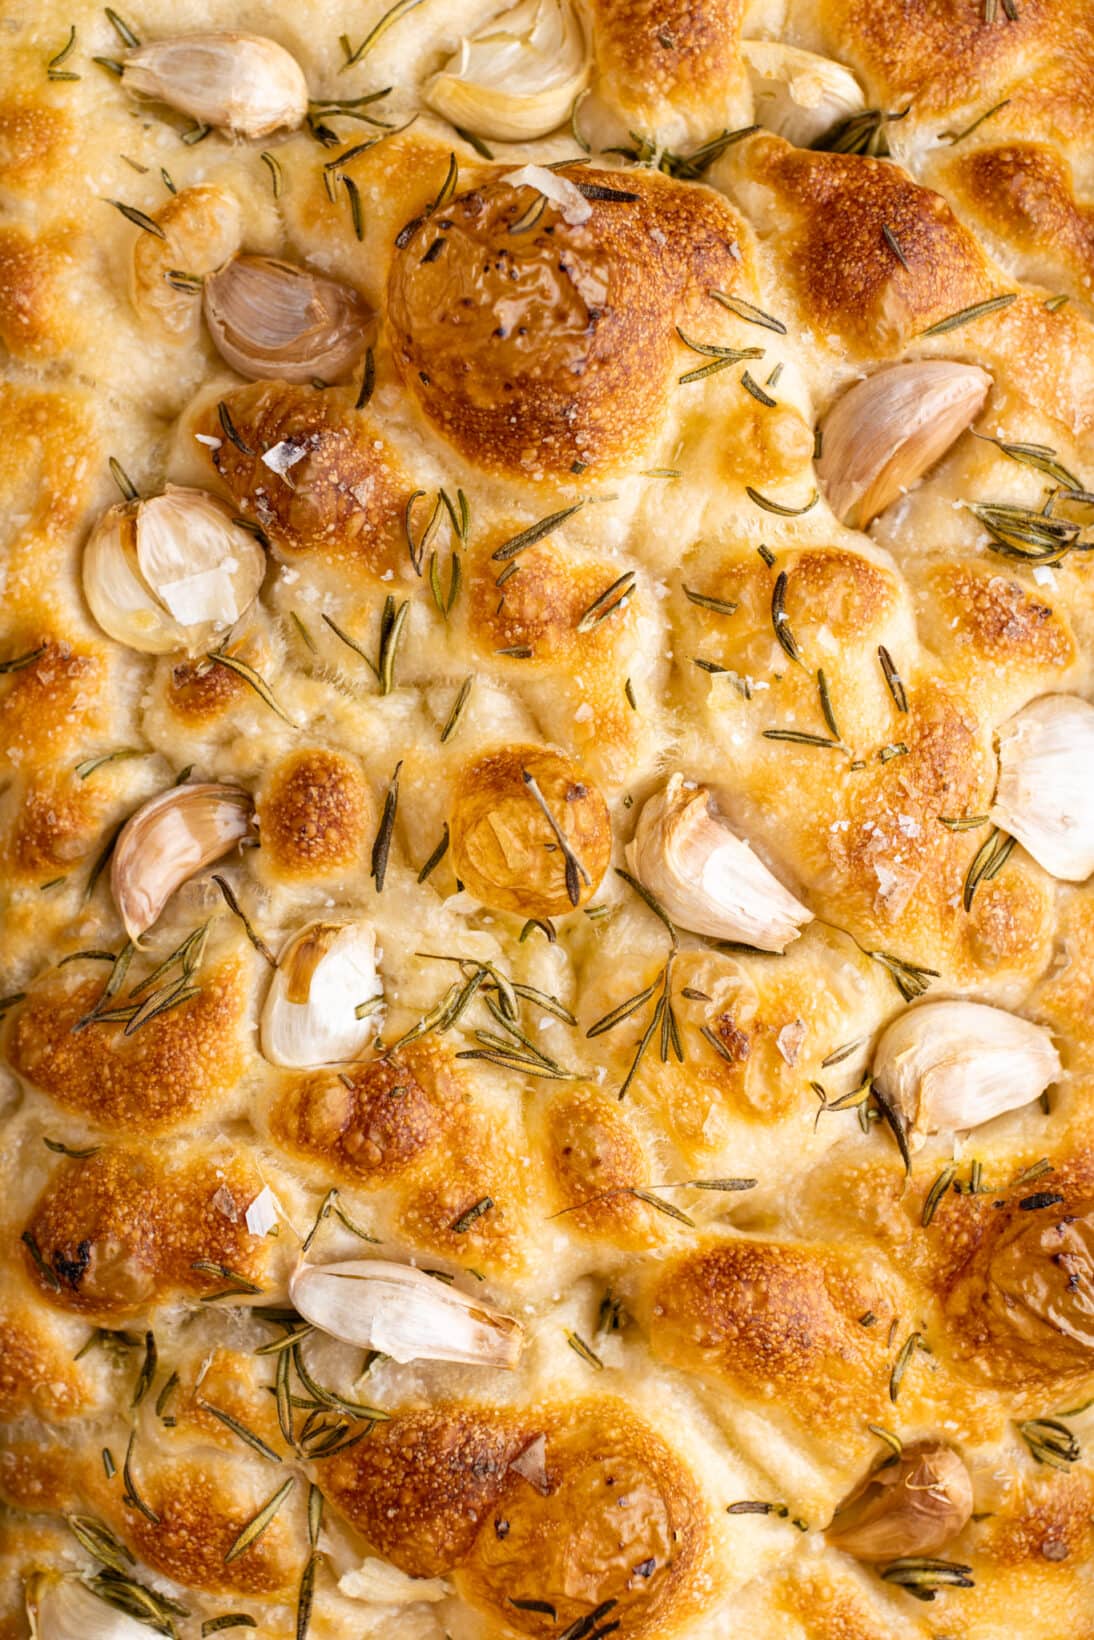
Top with fresh rosemary, whole garlic cloves (in the skin), and a heavy sprinkle of course sea salt if you have it. Bake for 23-30 minutes, depending on the size of your pan (9×13 will be closer to 30 vs 10×14) until it is golden brown on the outside. Let the dough rest for 30 minutes until you cut through.
Hopefully you read the above, below is a suggested time line as outlined in the step by step.
730am – 8am: Feed the sourdough starter.
12pm: Start the autolyse.
12:30pm – 1pm – Add the sourdough starter to the dough and mix to combine.
1pm – 2pm: Series of envelope folds.
5pm – 6pm: Doubled in size + windowpane. Transfer to the fridge.
NEXT DAY
7:30am – 8am: Take the dough out and transfer to baking vehicle.
12pm: Dimple, top, and bake.
What else can I top this focaccia with?
Olives, red onion, cherry tomatoes, Calabrian chilis, peppers, herbs are just a few great options, but the possibilities are endless so have fun with it!
Why did you leave the garlic in the skin?
I can not tell you how many times people ask this. By leaving it in the skin the garlic roasts and steams in its little pouch leaving it soft and sweet by the time the focaccia is done. When ready to eat simply squeeze the garlic out on the bread.
Is this a good focaccia for sandwich bread?
Absolutely! But I suggest you make the below changes to the recipe so that your bread isn’t as thick.
500g bread flour
375g water
150g sourdough starter
11g fine sea salt
There are 2 ways you can store this sourdough focaccia:
When ready to reheat place on a tray in an oven set to 375 F. Bake until warm throughout.
 May 5, 2024
Recipes
May 5, 2024
Recipes  August 12, 2022
Under 30 Minutes
August 12, 2022
Under 30 Minutes  February 5, 2023
Dips
February 5, 2023
Dips  April 14, 2023
Pasta, Noodles & Grains
April 14, 2023
Pasta, Noodles & Grains
I just bake it fir the first time looks pretty good
Can you leave jn fridge for longer eg until the FOLLOWING afternoon rather than morning?
Absolutely! Just take it out a few hours before baking off so it can 2nd proof and come to room temp.
This. Is. Heaven. My wife made this recipe and i ate more than of the focaccia in a day. Unreal crust on the top snd corner pieces with a soft chewy inside. 100% recommend
This turned out great! It was slightly too much dough for my 9×13 pan though.
Love to hear that! Yes it is definitely a much thicker focaccia then most recipes. You can reduce the amount and hold the % (flour 500g, 375g water, 150g starter, 11g salt)
My dough was too wet to stretch and fold.
Stuck to my fingers, hands.
What did i do wrong?
Followed instructions.
My house is 75.
It is definitely a VERY sticky dough once the starter is added (as you can see in the photos). Wet hands are your friend, right before doing each set of folding either dip your hands in a bowl of water or run them under the sink. This will help the dough not stick to them. As you go through the series of folds the dough will develop more gluten and be less sticky.
Your detailed instructions are so great; i particularly appreciate the accompanying pictures– sometimes it’s hard to determine what stage the dough is at as I’m working it when I’m reading a recipe’s explanation of what I should be experiencing.
You mentioned a new starter will produce dense, stiff, and gummy bread. What’s the consistency of this foccacia with a mature starter?
thank you, I always find it difficult to bake without visuals. The final product is soft, and chewy with a crispy exterior.
Why leave the skins on the garlic? Do you remove them after it bakes or leave on and eat?
If you take it out of the skin you risk burning it, when you leave it in it roasts and becomes soft and sweet. What I like to do is just squeeze it out when I am eating that piece, It squeezes out easily.
This looks great, cant wait to try it. It sounds delicious!