 June 14, 2021
Sauce, Condiments & Spreads
June 14, 2021
Sauce, Condiments & Spreads
June 14, 2021
Sauce, Condiments & Spreads
June 14, 2021
Sauce, Condiments & Spreads 


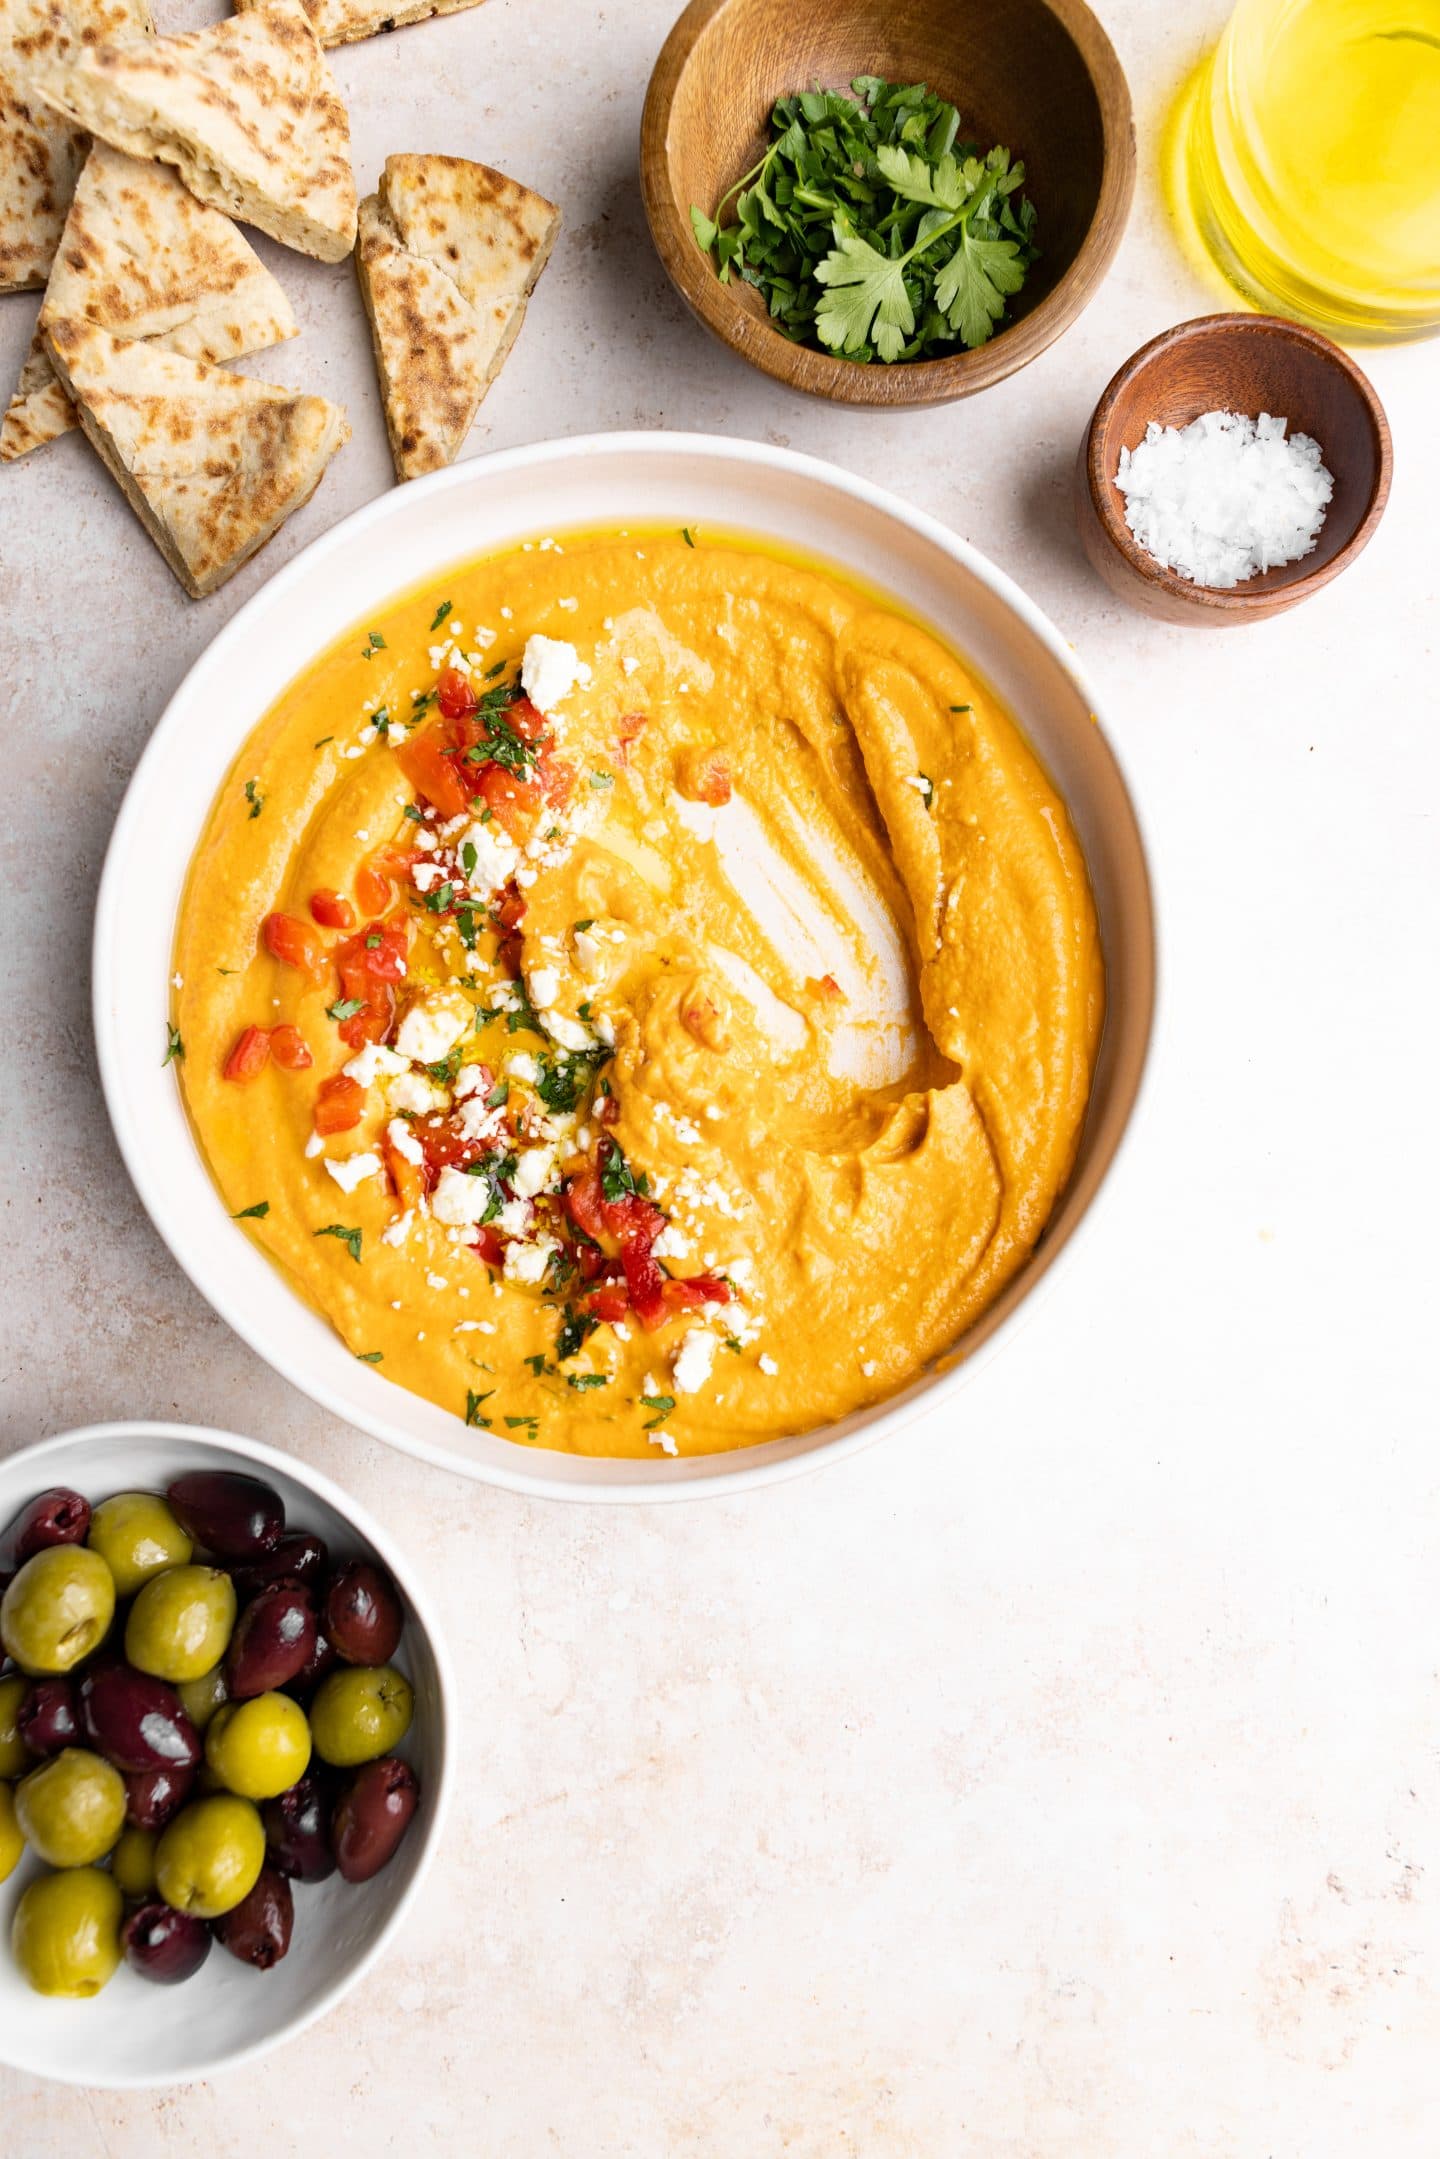
Don’t tell me, you are still buying hummus. Perhaps this roasted red pepper hummus recipe can convince you to ditch the store-bought and make your own at home. Like my Creamy Hummus and Garlic Confit Hummus recipes, this flavor variation is creamy, bright, light, and far better than store-bought hummus. With no heavy oils, preservatives, or artificial flavors this hummus recipe is just the way hummus is meant to be enjoyed.

Ah, to buy them jarred or to make your own, that is the question. If you can’t tell from the title of this section, I recommend making your own. Does it take time? Yes, but it is as easy as pop them in the oven check on it a few times, and pull it out when done. While jarred roasted red peppers are delicious and convenient, a lot of them are pre-marinated, or if they aren’t the flavor just isn’t there. Below are the super easy steps to roast red bell peppers at home.
Roast the Peppers – Preheat your oven to 400 degrees Fahrenheit. Place the peppers on a sheet tray and roast them for approx. 40-45 minutes, turning them roughly every 15 minutes. The peppers are done when they are soft, charred, and slightly puffy. Remove from the oven and let them sit and cool for 5 minutes.
De-seed + De-skin– Once the peppers have cooled down, pull the tops off. This should come off easily. Peel back the skin, which should also come off with ease, and discard. Finally cut open the pepper and remove the seeds.
These roasted red peppers can be made in advance and be stored in an airtight container for up to 5 days.


Prep the Chickpeas – Possibly the most time-consuming part… removing the skins. I find this step rather therapeutic, but I can see how it can get old very fast. Now I’m not saying you need to remove 100% of them, but aim for the majority. The less skins that get tossed in the food processor the smoother the hummus. There are a few methods to removing however I found placing them in a colander in the sink (draining the aquafaba) and pinching them ever so slightly was a quick and efficient way to remove them. Every handful or so I would rinse my hands off, and goodbye skins. Just try and be gentle. The goal is to keep the chickpea whole.
Cook the Chickpeas – In a small sauce pan add 4 cups of water, 2 cardamom pods, and a heavy pinch of salt. The chickpea cooking liquid will be used later on, think of it as pasta water, salt accordingly. Once at a rolling boil add the chickpeas and cook for 15 minutes. Reserve 1/2 cup of the cooking liquid at the end to be added to the hummus. Just to be safe save a few extra tbsp in case you want it thinner.

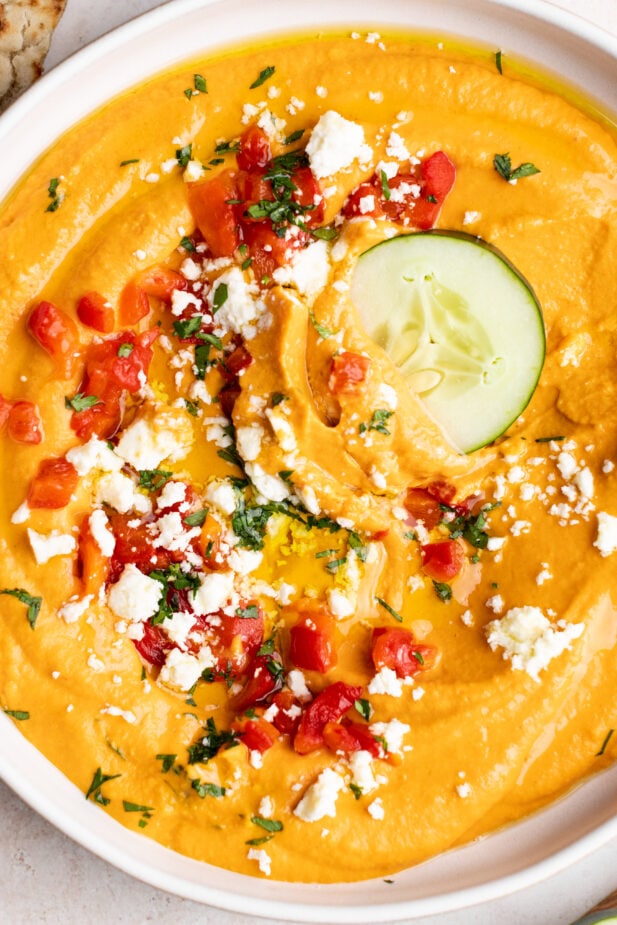
Process to Combine – In a food processor, add 2 roasted red peppers (seeds and tops removed), 1/2 cup of the chickpea water, drained chickpeas, 1 medium clove of garlic, 1/4 cup of tahini, both sweet and smoked paprika, and 1/2 lemon juiced (approx. 2 tsp). DO NOT add the cardamom pods. Discard those. The texture will all depend on how long you blend the hummus. Because the roasted red peppers adds more moisture I found that it doesn’t take as long to get a super smooth and silky texture. Run on low for 5 minutes for a chunkier more rustic texture and on high for 5-10 minutes for a smoother hummus. If you are noticing it feels a little thin, let the hummus cool down. Serve as is or topped with diced roasted red peppers, feta cheese, parsley, and a drizzle of olive oil.
You made this bright, vibrant, and delicious homemade hummus, now what? Below are a few of my favorite ways to eat this dip.
Because this hummus is light on the tahini that means it’s light on the oil. Coming out of the fridge this dip keeps its smooth texture and doesn’t get overly thick vs a hummus with an exorbitant amount added. Store in an airtight container for 3-5 days.
Looking for other dips to dip some hot pita into? Check out the below!
Classic Creamy Hummus
Garlic Confit Hummus
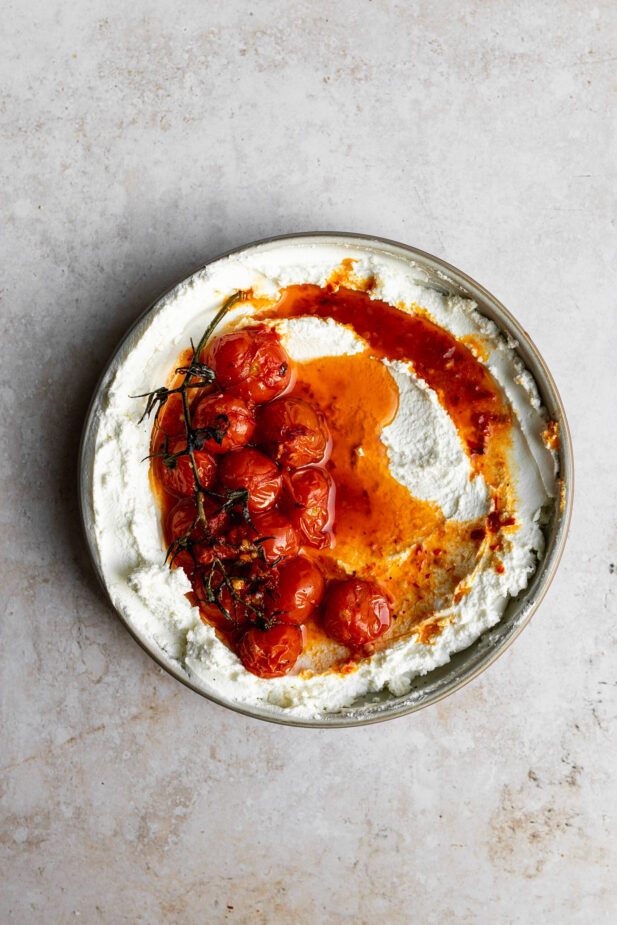
Labneh
Baba Ganoush
Zaalouk
 June 14, 2021
Sauce, Condiments & Spreads
June 14, 2021
Sauce, Condiments & Spreads 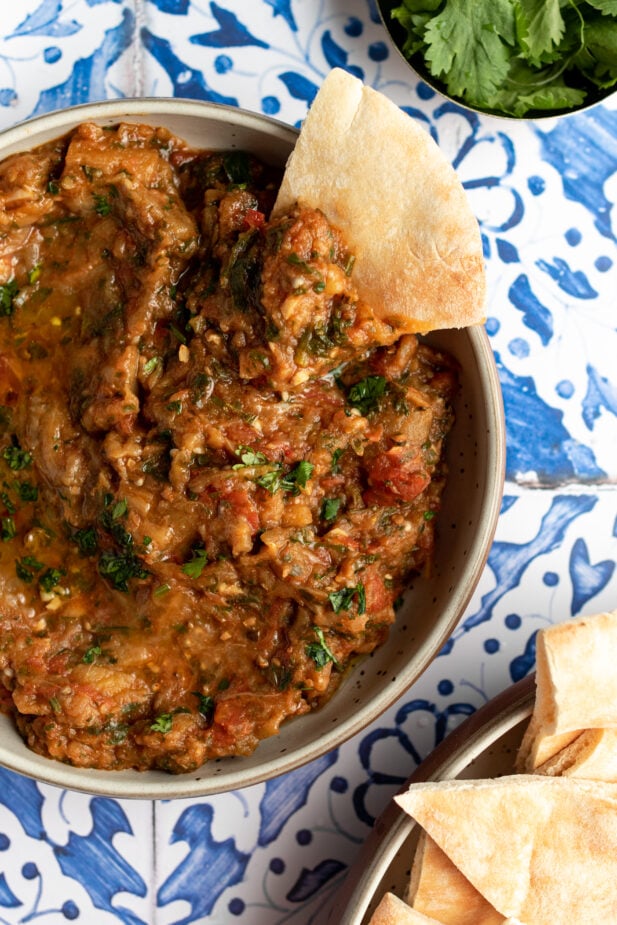 January 24, 2022
Sauce, Condiments & Spreads
January 24, 2022
Sauce, Condiments & Spreads  March 20, 2023
Sauce, Condiments & Spreads
March 20, 2023
Sauce, Condiments & Spreads  December 7, 2023
Dips
December 7, 2023
Dips
RATE + REVIEW