 July 18, 2022
Pasta, Noodles & Grains
July 18, 2022
Pasta, Noodles & Grains
July 18, 2022
Pasta, Noodles & Grains
July 18, 2022
Pasta, Noodles & Grains 


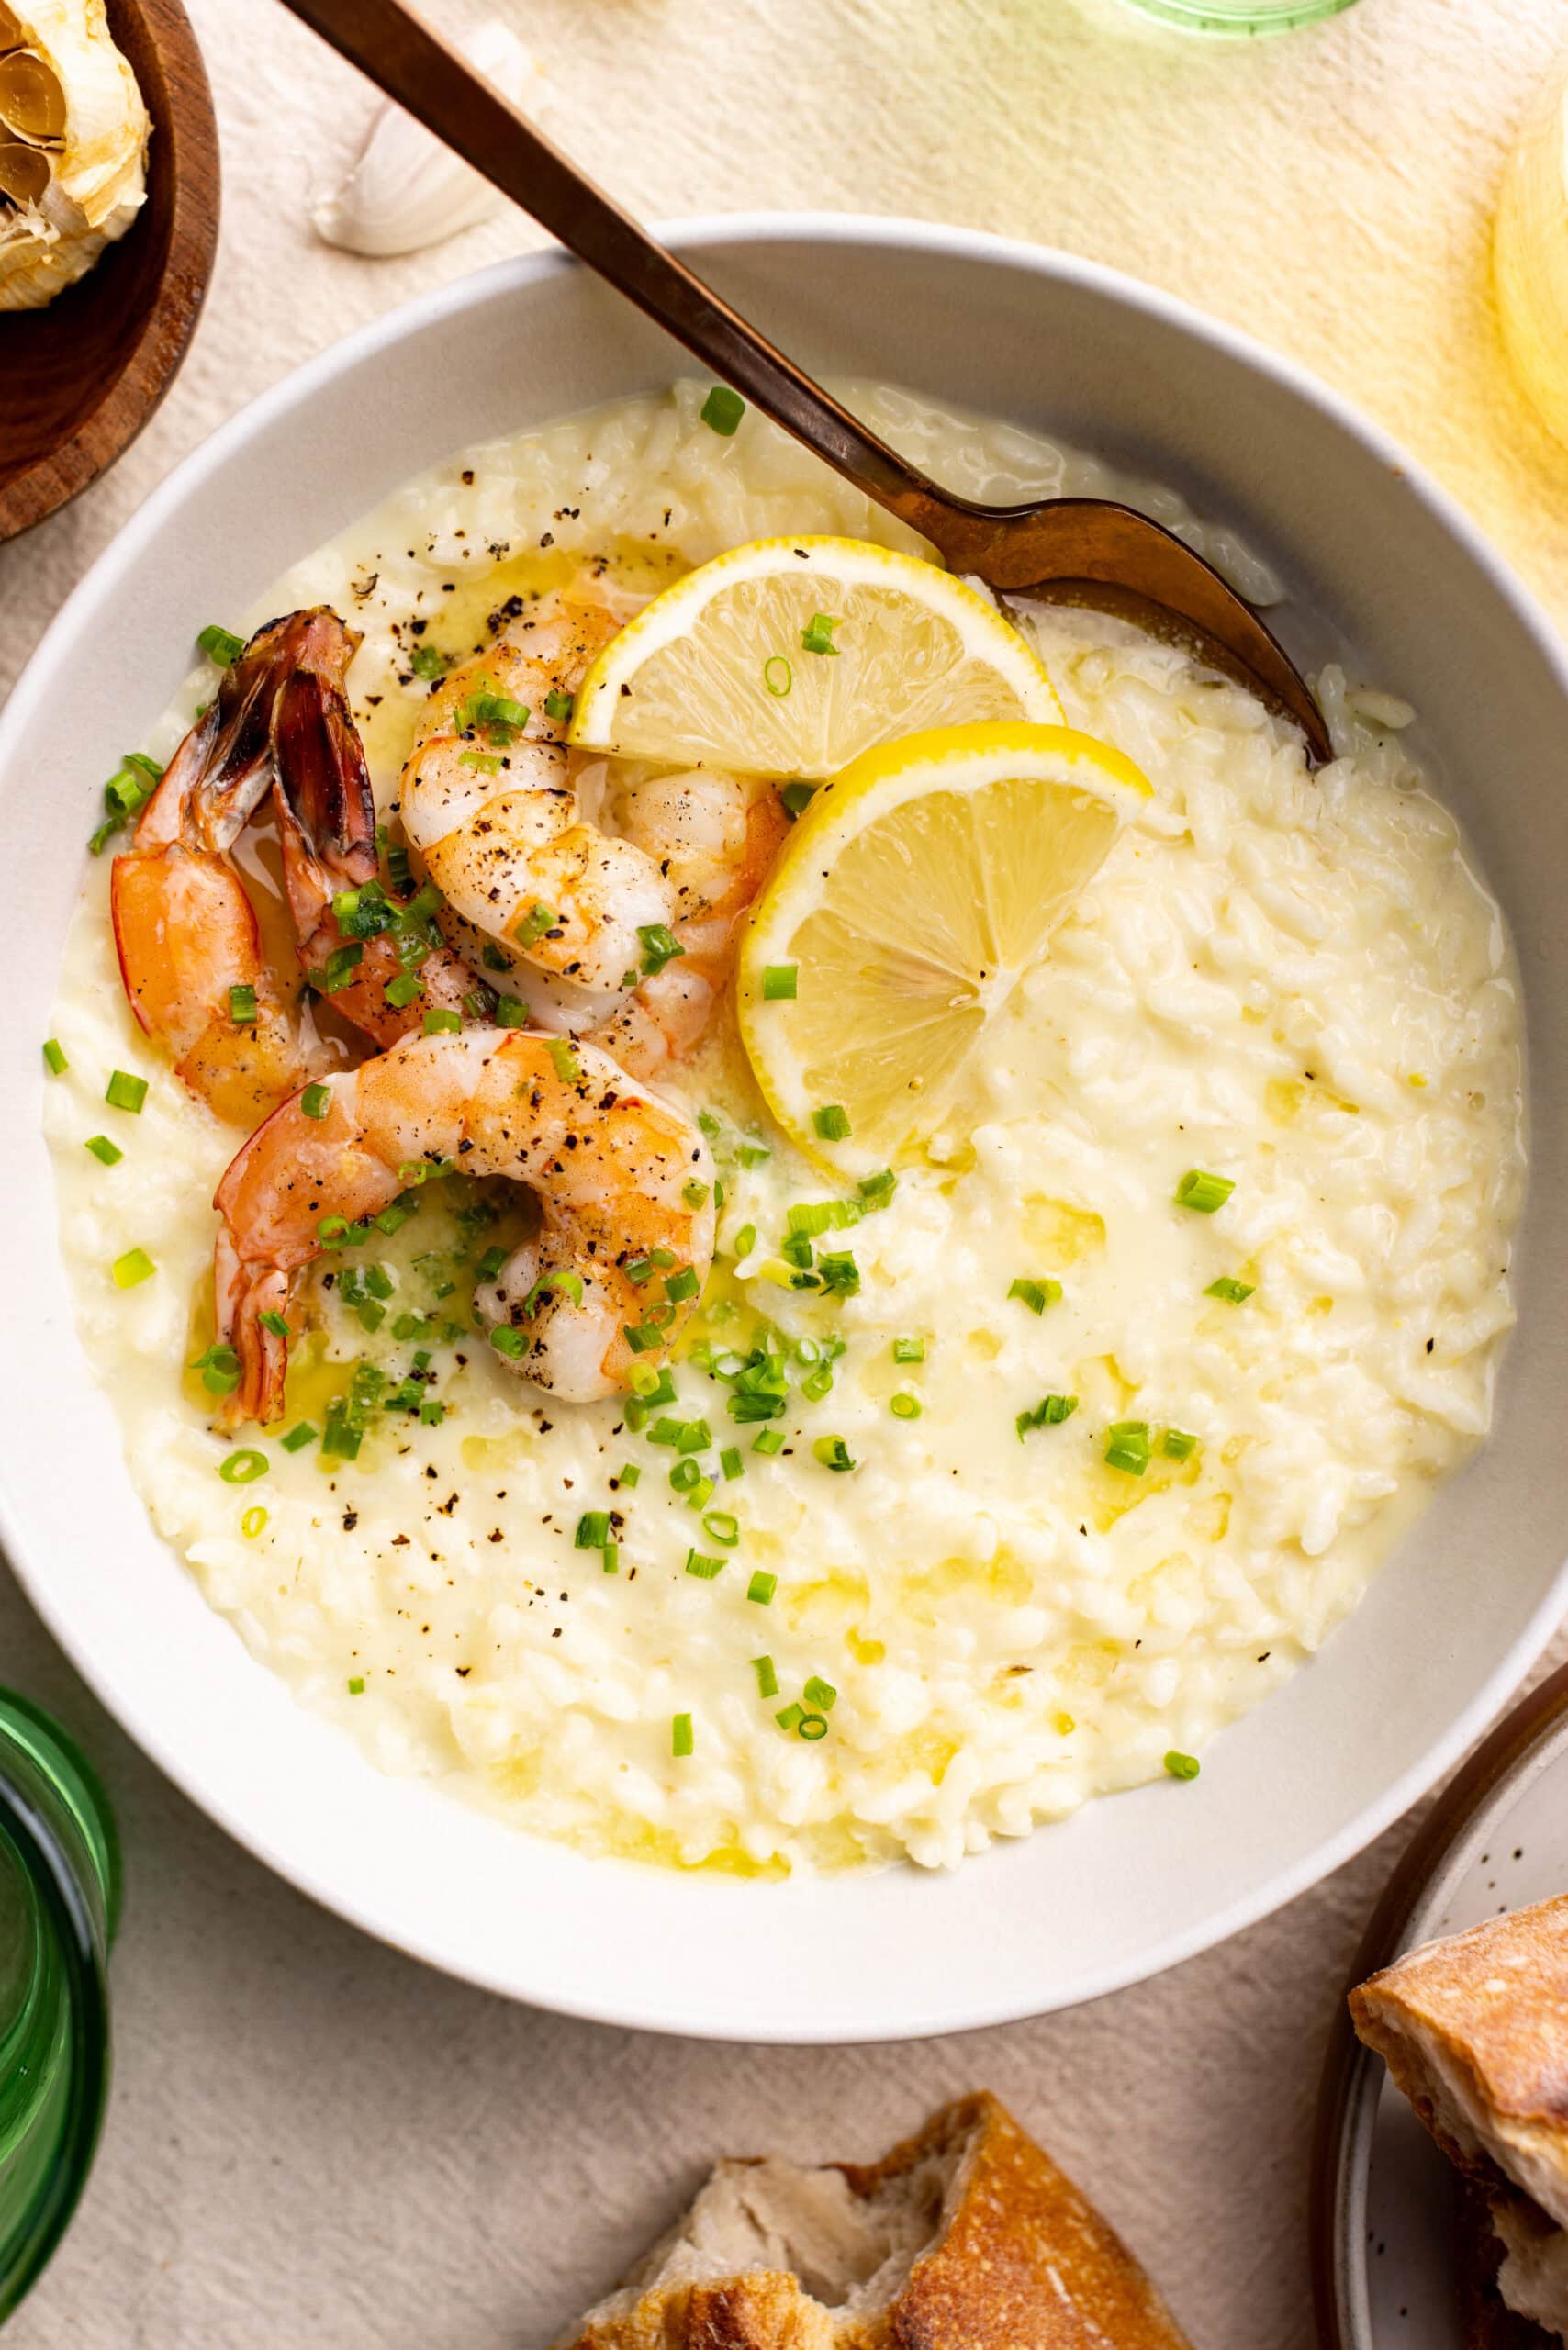
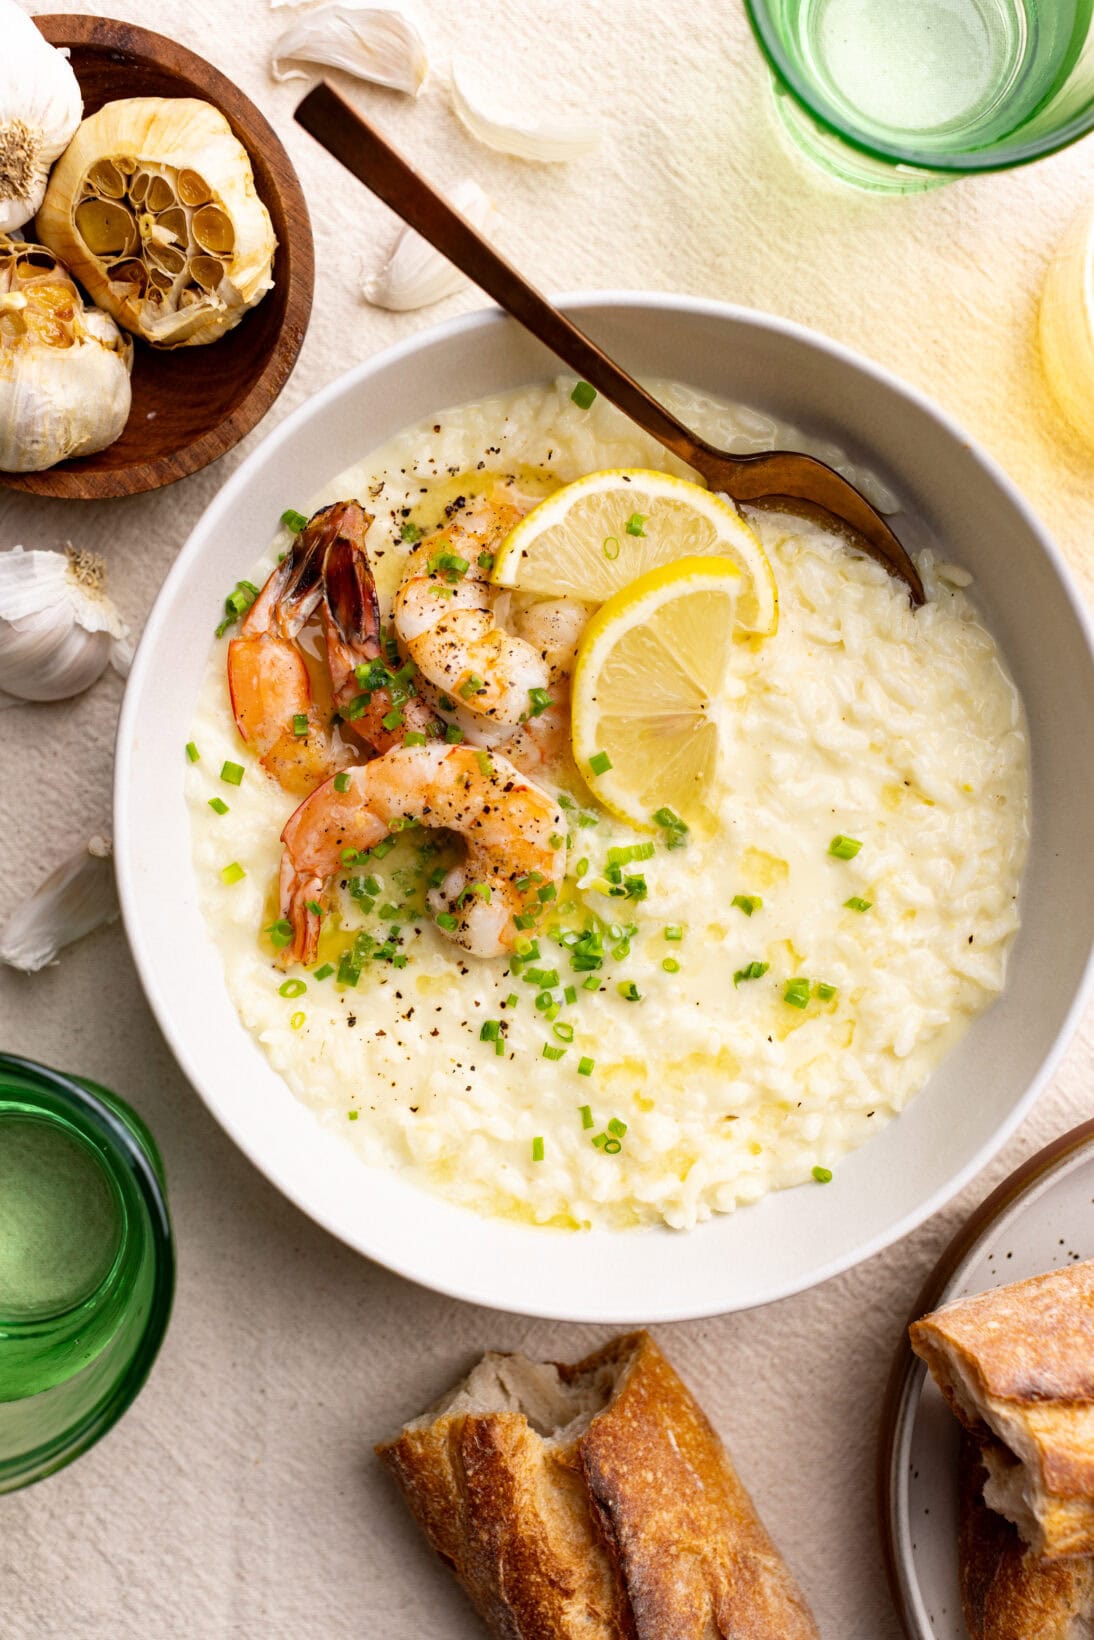
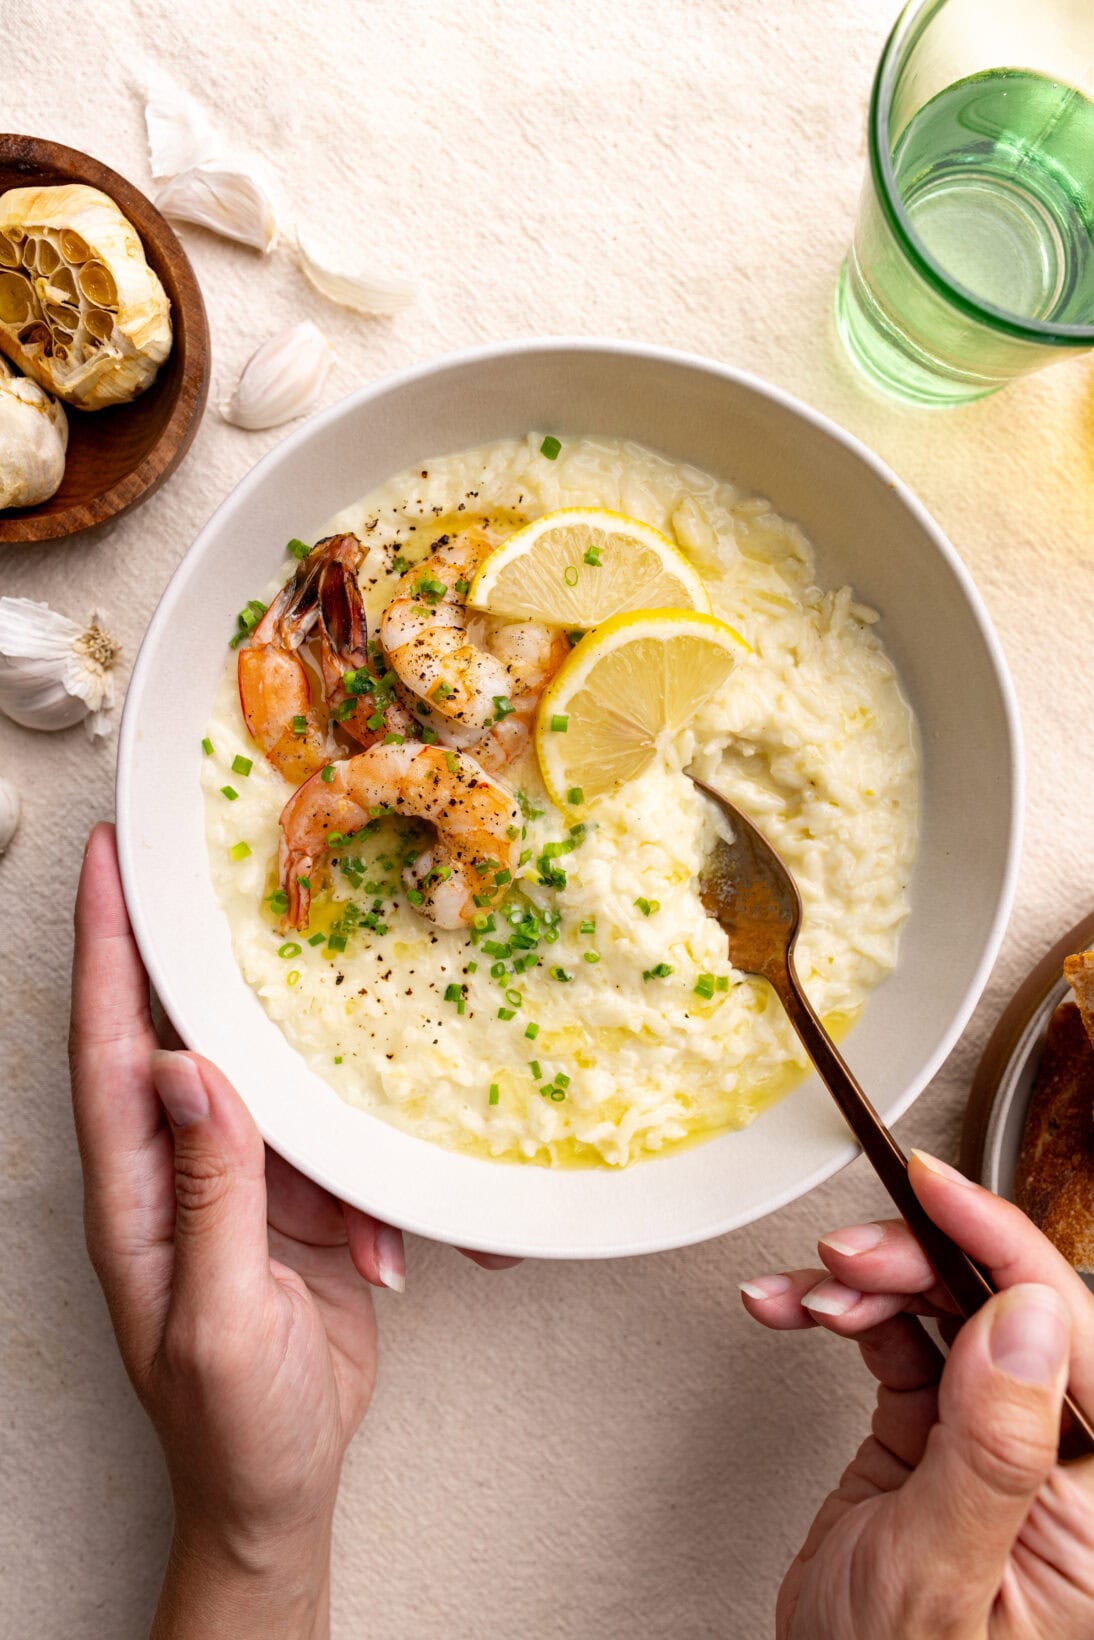
Risotto doesn’t have to be difficult, and this Roasted Garlic Mascarpone Risotto is no exception. Rich and creamy, it has a velvety texture and a subtle roasted garlic flavor. The best part? It doesn’t require an arm workout to make and is done in just over thirty minutes. Perfect for a date night in or a special Sunday dinner, this creamy risotto is a must-try.

I delved into this below, but I need to repeat it: use the right rice. Since this is a rice dish, using the wrong rice will completely ruin the recipe.
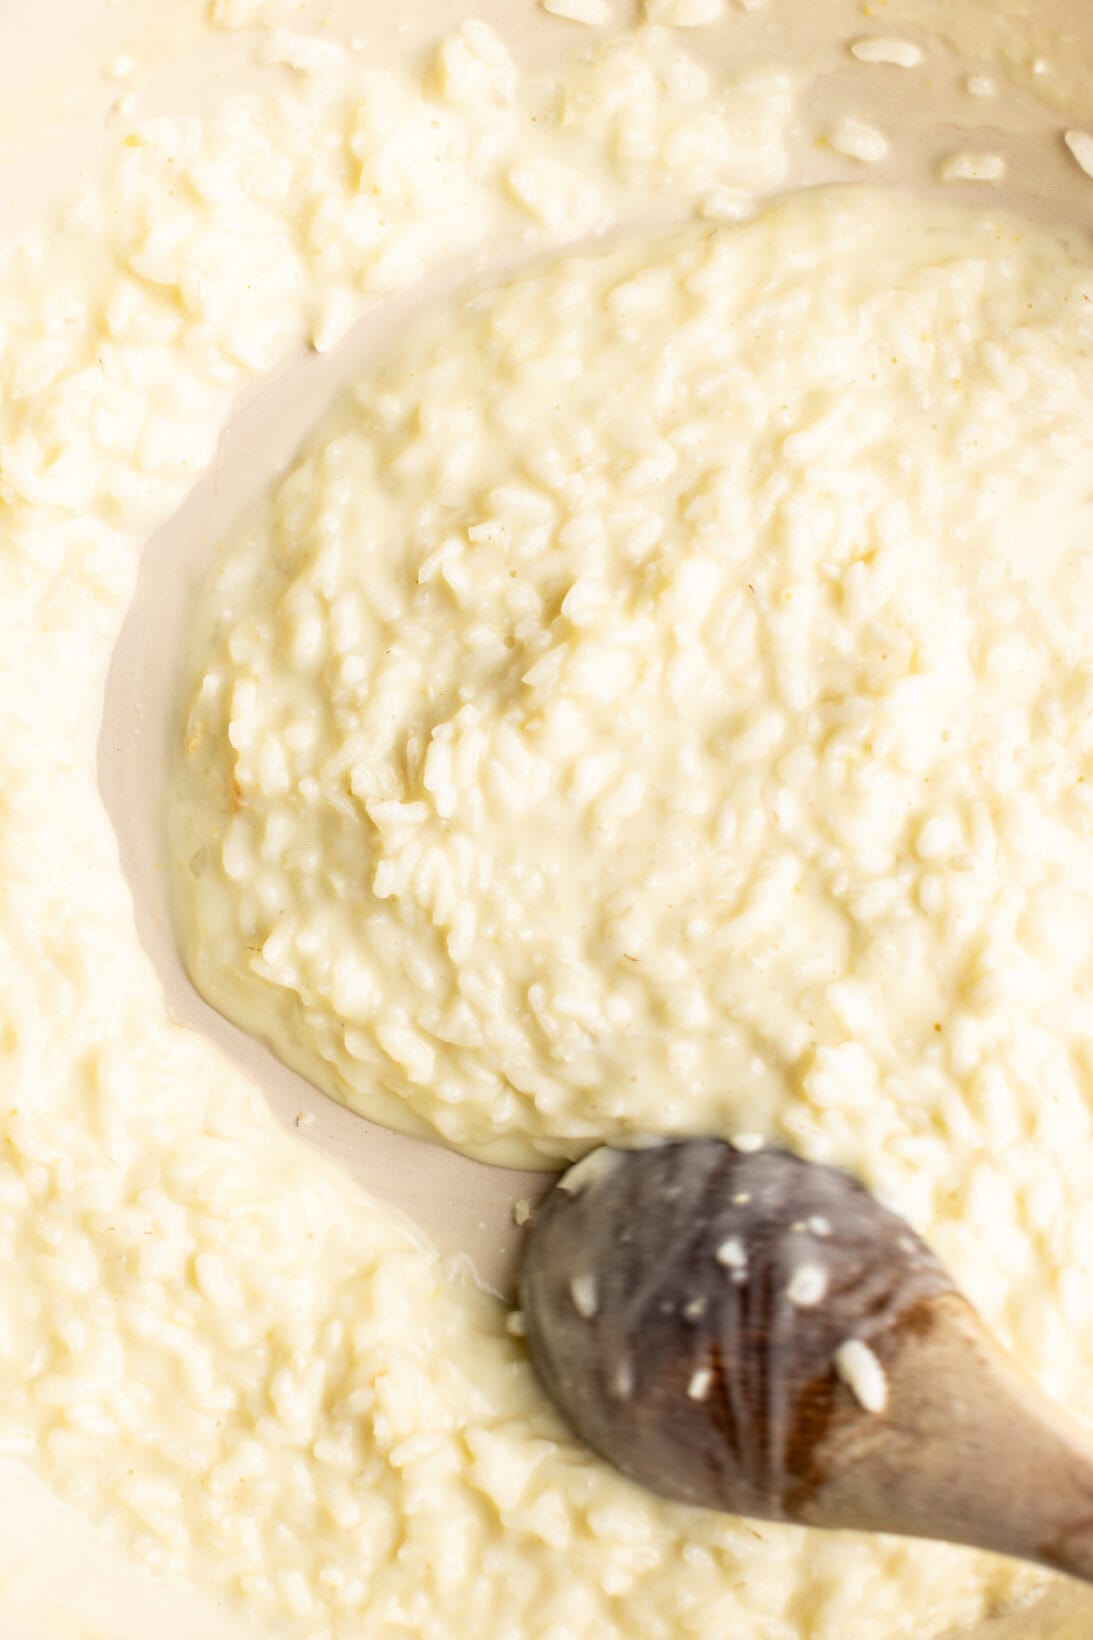
Risotto needs to be al dente, not mushy, or dare I say… hard. It’s relatively easy to overcook or undercook risotto if you don’t know what to look for. When done, the rice will have a slight bite to it, think of the same bite you get from perfectly cooked pasta. It should be loose, when you plate it, it should spread just a bit. By the time you get the rice to the table, it will absorb a bit more of that liquid and be the perfect texture.
Risotto seizes fast; trust me, I know—I’ve spent countless hours across 15 recipes photographing it. Remember to serve immediately.
As mentioned under ‘tools’, the best pan to use is a wide sauté pan or a braiser. Do not make risotto in a Dutch oven or saucepan; it won’t cook evenly.
Truth is, I cook with feeling, not tablespoons. I always say cooking is 80% the recipe and 20% intuition. All the recipes on this site, one way or another, started with a pinch here and a taste there. When the dish comes together, then they are further tested, and true measurements are made.
Follow the recipe below, but cook with feeling. Taste the food as it’s cooking. Does it need more salt? (FYI, if you didn’t know different brands of kosher salt have different saltiness levels.) You used all the broth yet it is still a little hard? Add a touch more. Don’t go making full substitutions, but trust yourself in the kitchen. Everyone’s stove and kitchen is different and take that into account when cooking from a recipe.
What!? No Wine? Nah! Not here. While I typically add dry white wine to many of my risottos the flavor profile here is so delicate, wine overpowers the dish and takes away from the subtle sweetness of the mascarpone and roasted garlic.
Roast the Garlic – Preheat the oven to 400°F. Slice the tops off the garlic bulbs and drizzle them with olive oil. Wrap each bulb in aluminum foil and roast for 25–30 minutes, until the garlic is fragrant, slightly golden, and soft.
Warm the Broth – Before we begin, the broth needs to be heated on the stove. Why? Warm broth helps maintain a consistent temperature during cooking, which results in a smoother, creamier risotto—and it saves time. In a large saucepan or pot over medium heat, add the chicken broth and the juice of half a lemon. Bring the broth to a simmer, then either turn off the heat or reduce it to low while you cook the risotto.
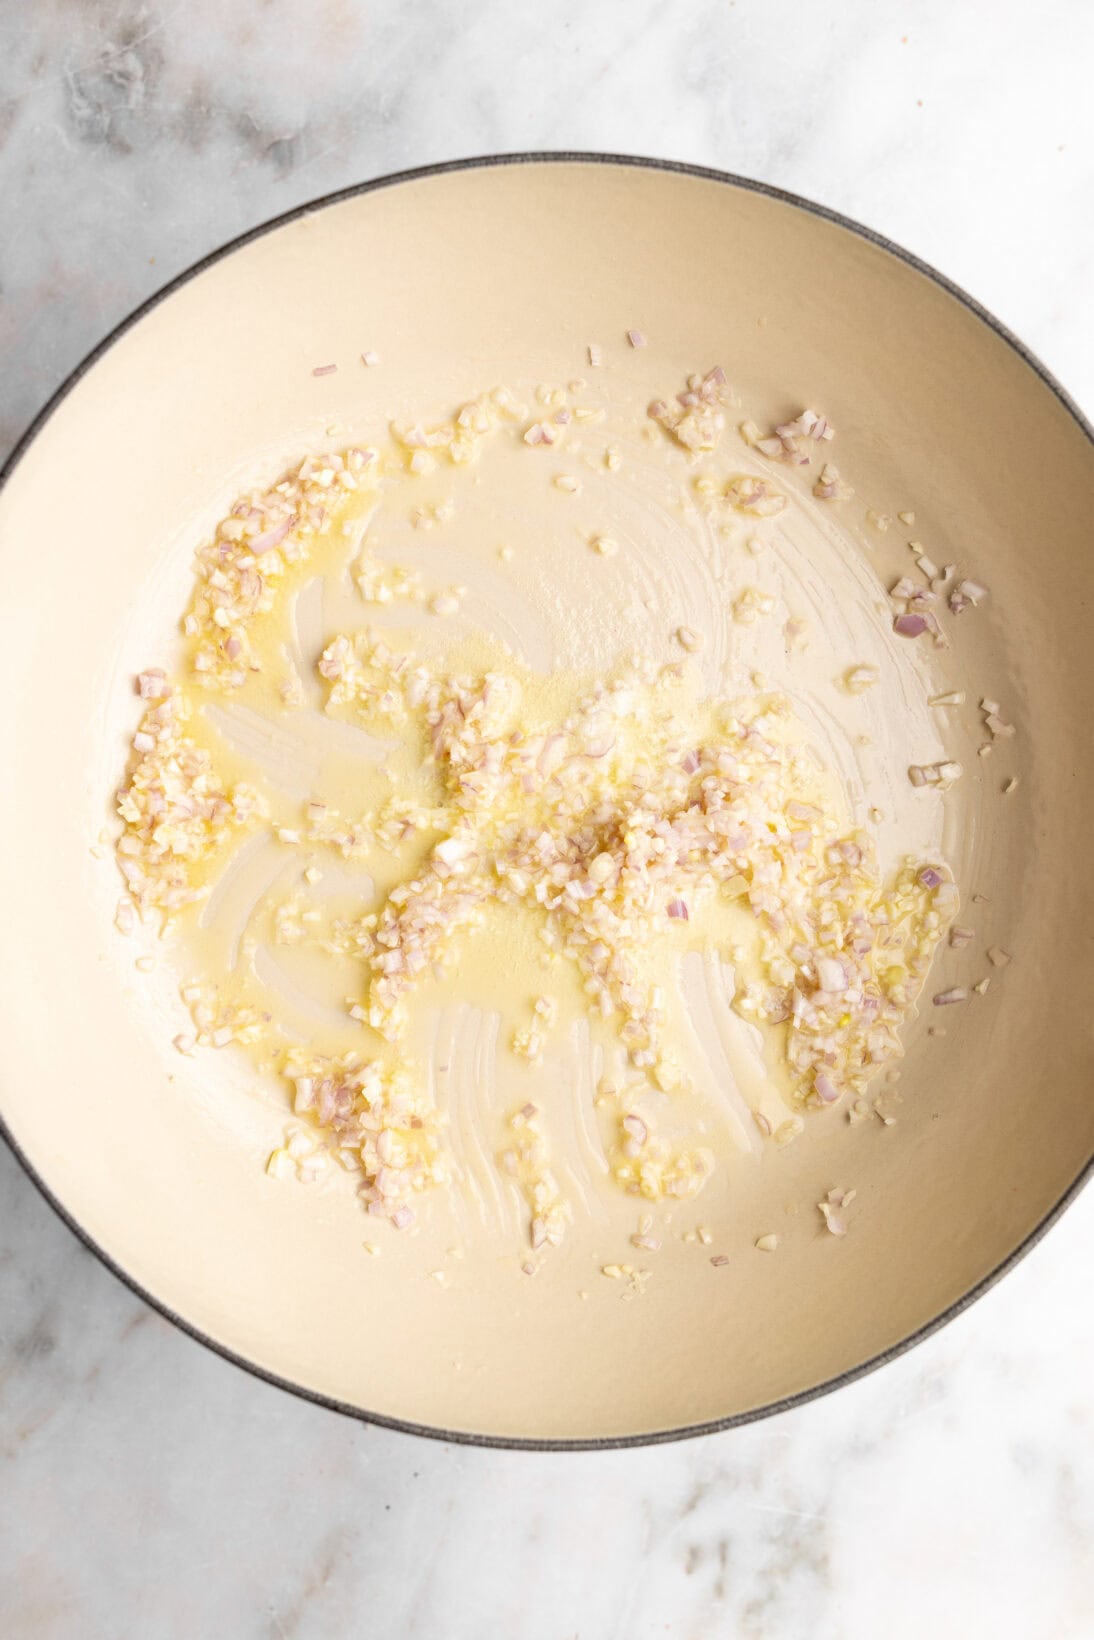
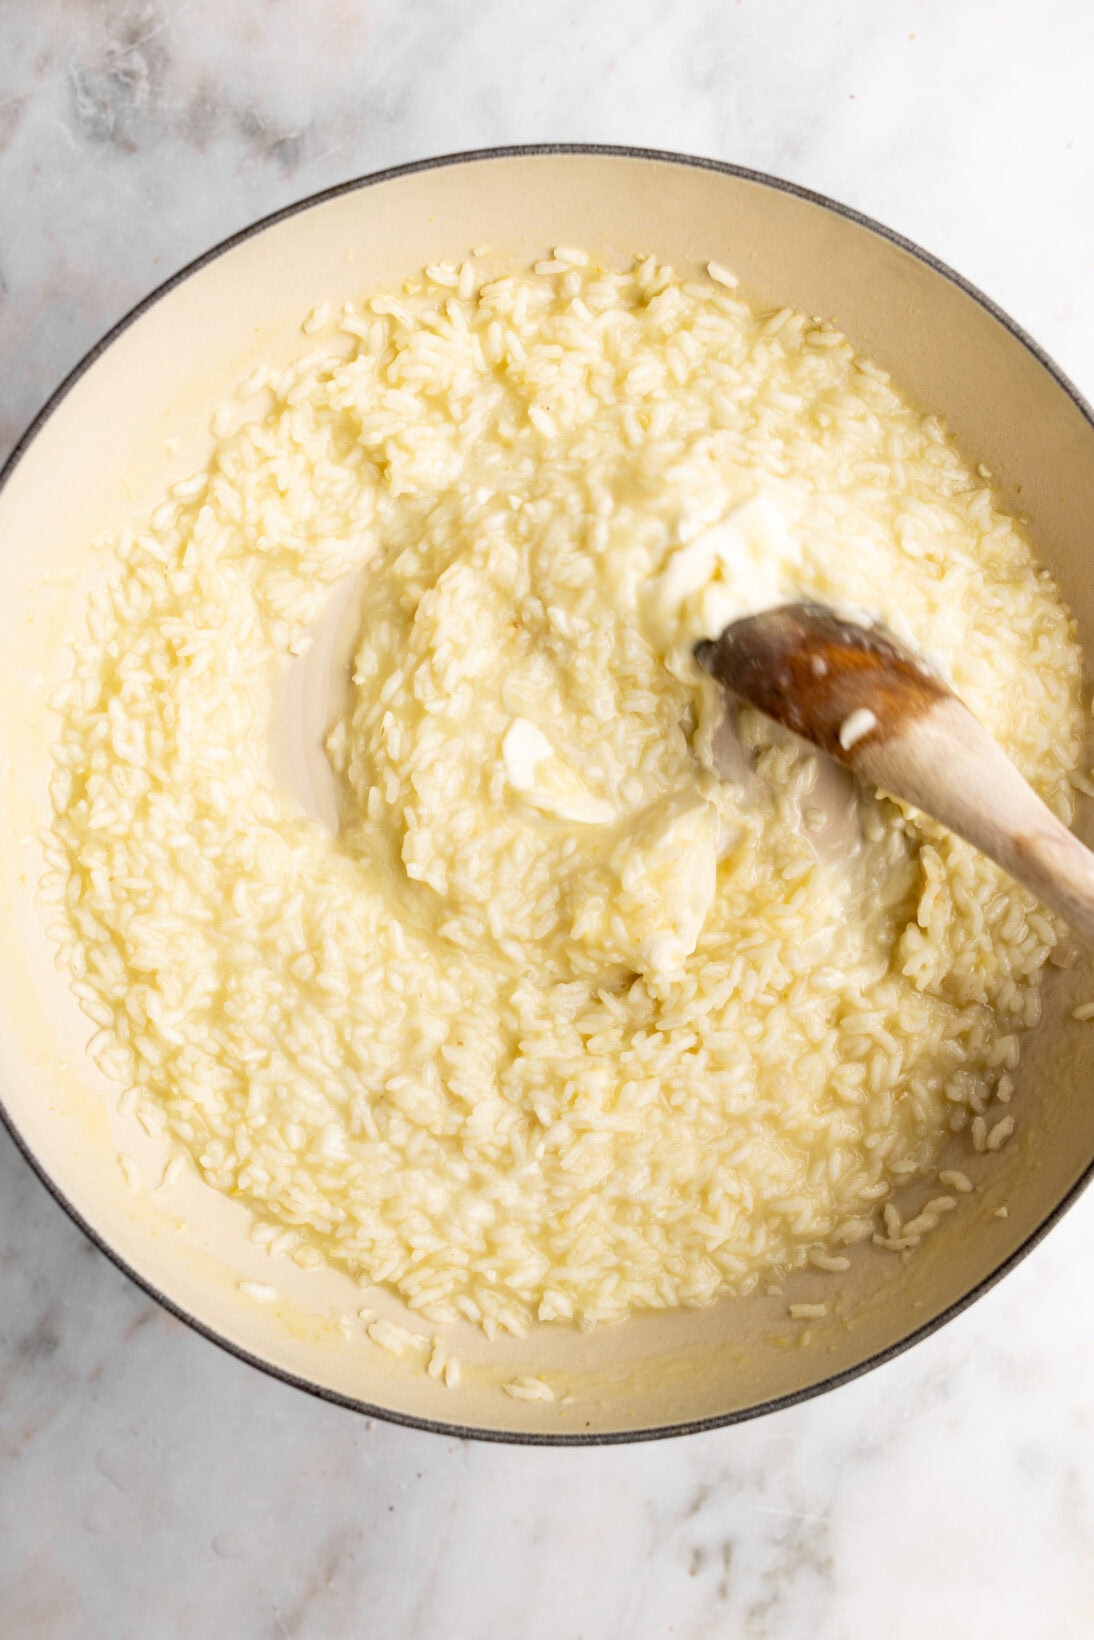
Sauté the base – Add 3 tbsp of butter to a wide pot or pan over medium-low heat. Add the minced garlic and shallots. Cook for 2-3 minutes until soft and fragrant, if it begins to brown the heat it too high.
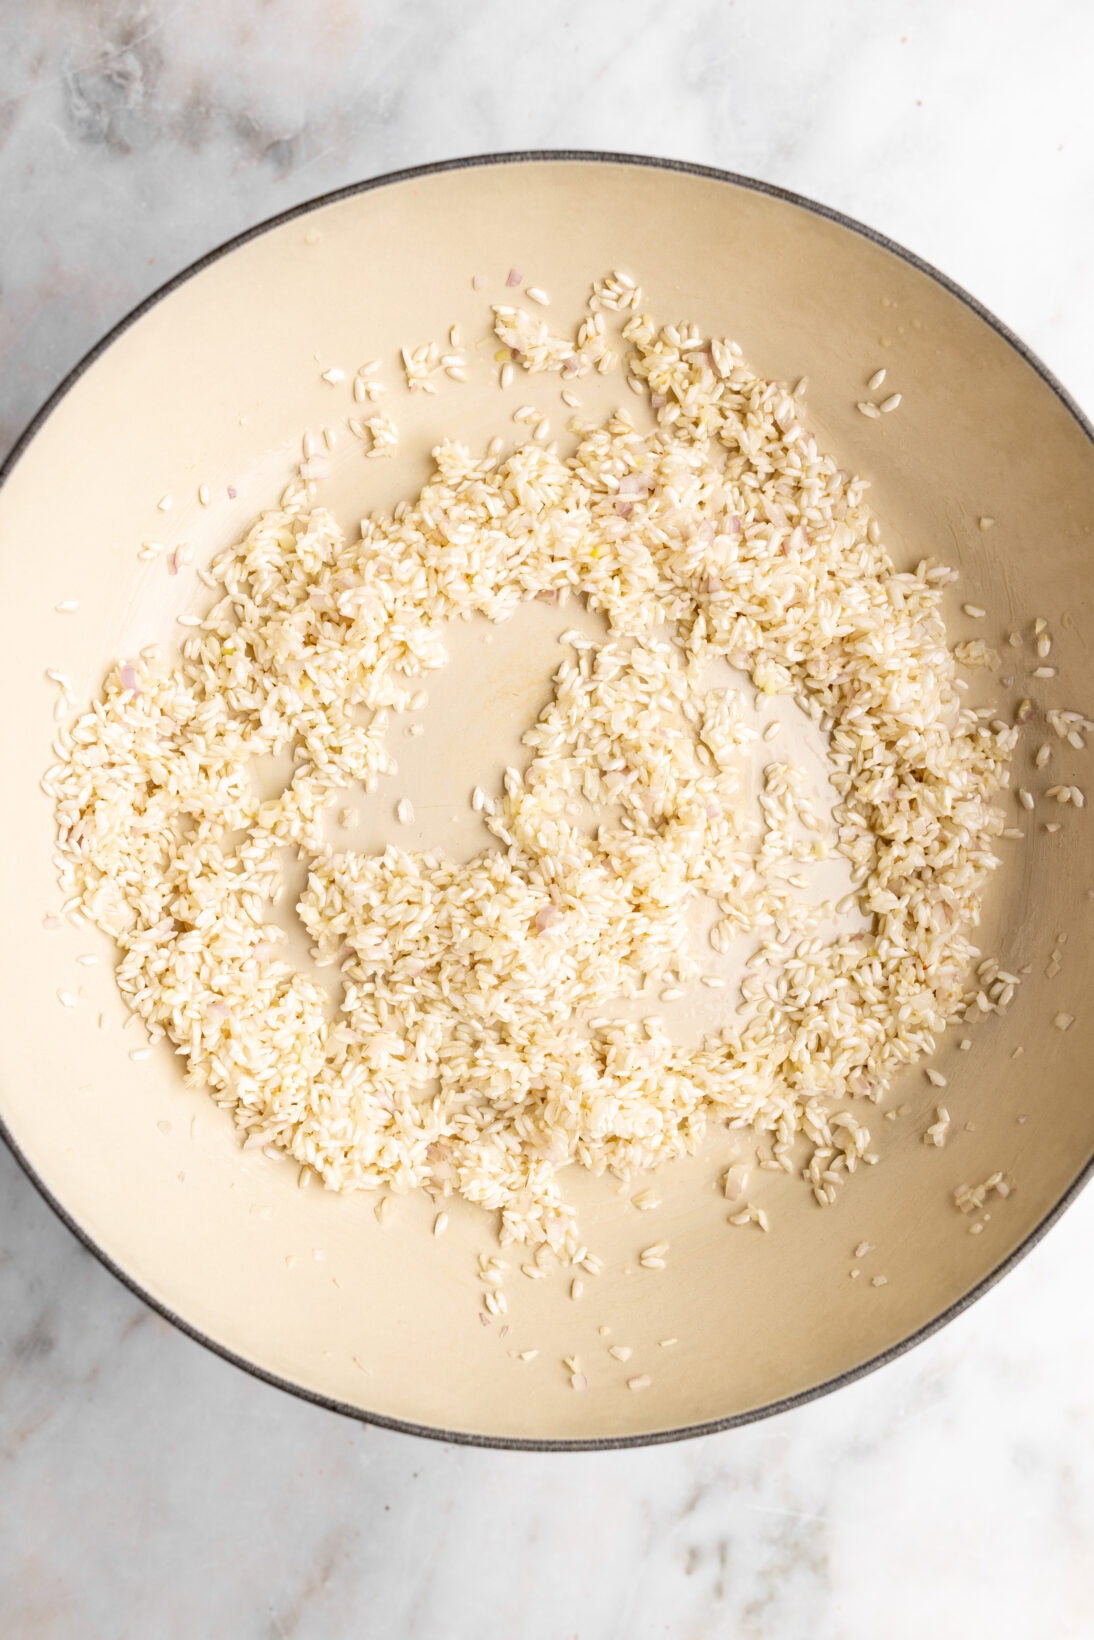
Toast the Rice – Add the unwashed rice to the pan and toast it for 2–3 minutes, stirring occasionally. I cannot stress this enough… do not wash the rice. Washing removes the starch that’s essential for achieving the rich, creamy texture risotto is known for.
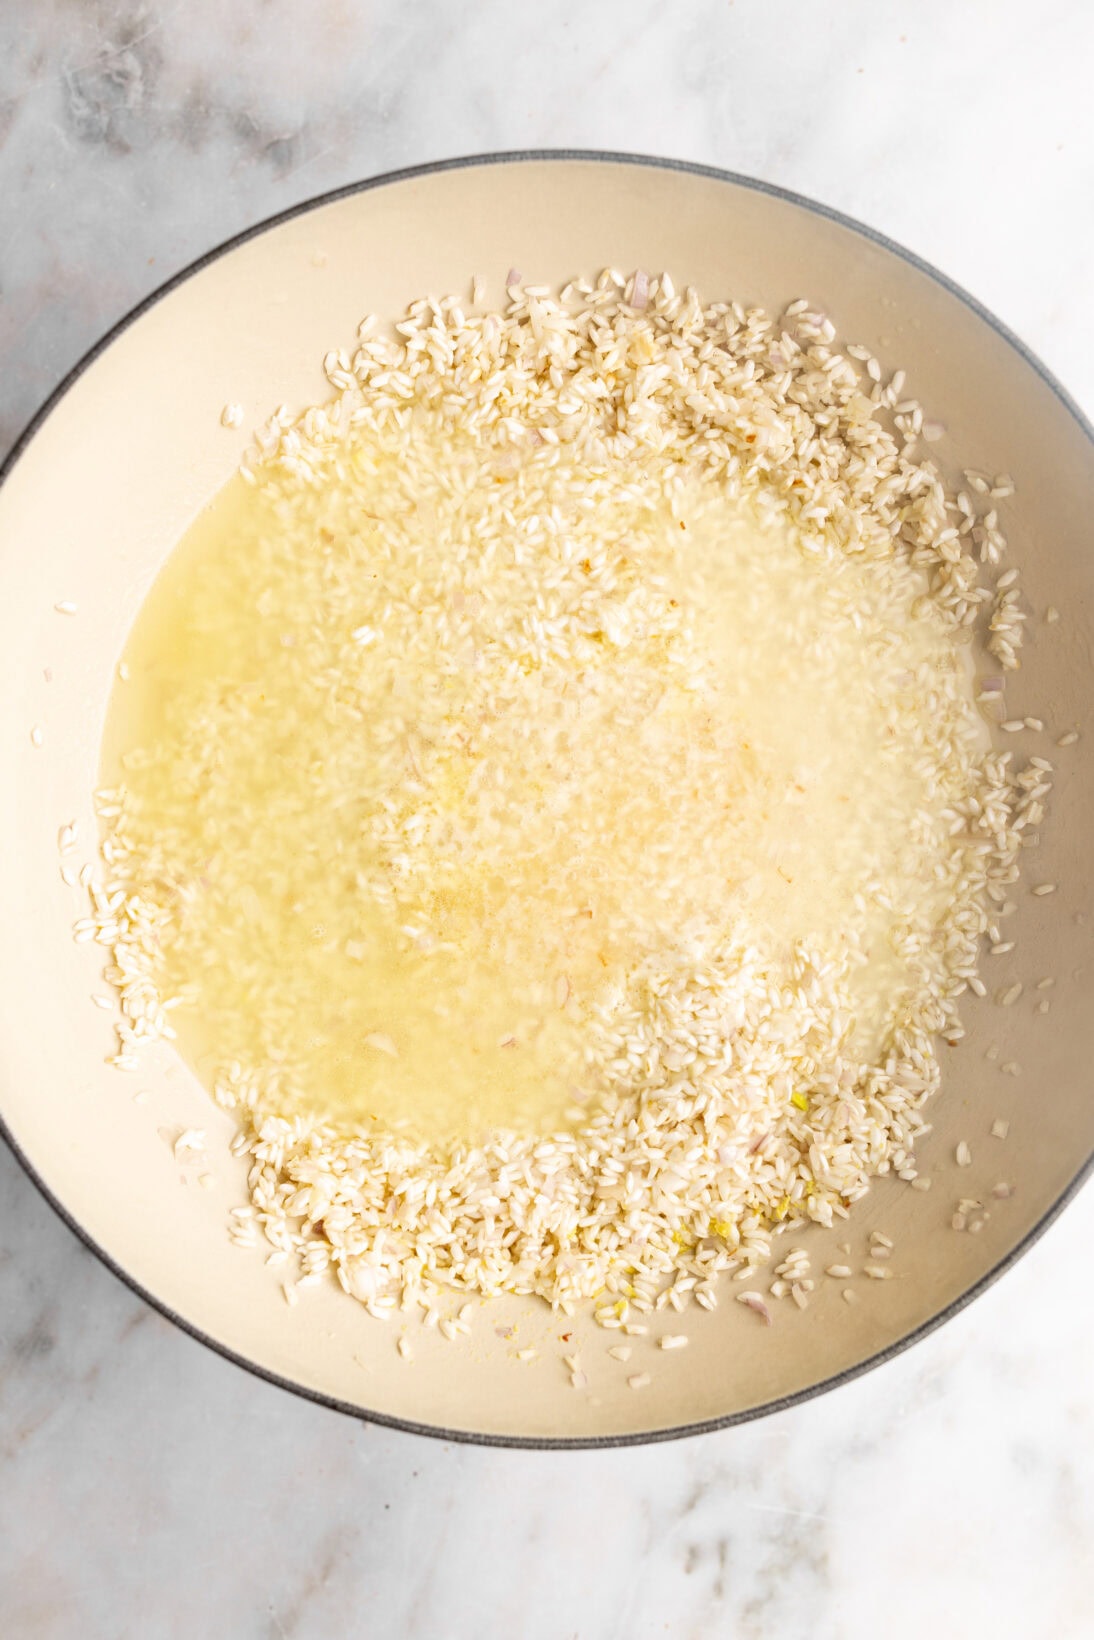
Add the Broth – Add the warm broth to the risotto, but not all at once! For every cup of risotto, you need approximately 4-5 cups of broth. Have extra on hand to account for evaporation. My rule of thumb is to pour just enough broth to cover the risotto. When the broth starts to dip below the grains, it is time to add more.
This is the time to season with salt. I’ll leave the amount up to you, it will all depend on how salty your chicken broth is. After the first addition of broth, give it a taste (avoiding the rice) and adjust the seasoning as needed. I usually start with a generous pinch of salt early on, then fine-tune it just before the risotto is finished.
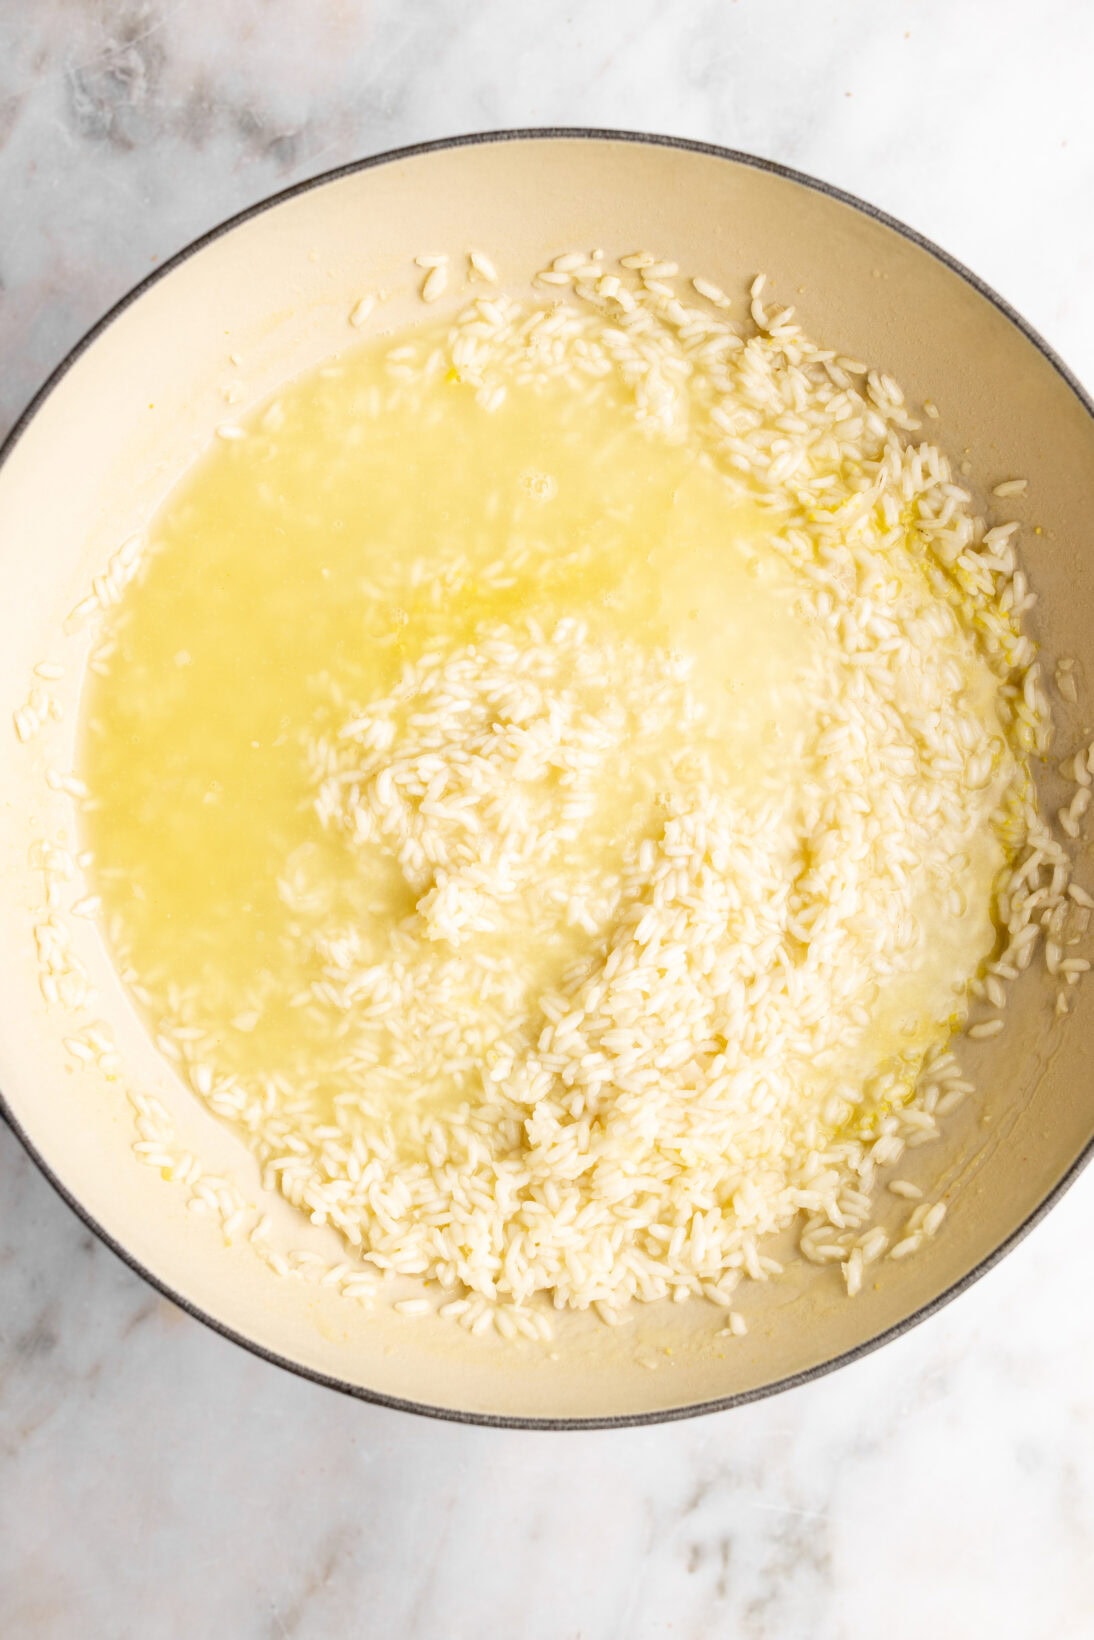
Mix, add, shake – Mix 2-3 times per broth addition. If you end up mixing more, no biggie! Also, give the pan a mix or a shake to make sure the rice doesn’t stick to the bottom. I usually mix once right after I add the broth and then 2-3 times a few minutes later. Taste as you go, does it need more salt?
Finish – When the risotto has absorbed the majority of the broth and is al dente (if it isn’t al dente yet, continue adding broth), turn off the heat. The risotto should be loose, but not completely soupy. Squeeze the roasted garlic in and crush it with the back of a wooden spoon. Once incorporated add in the mascarpone cheese and mix until combined. The risotto should still be a bit loose at this point, don’t worry it’ll come together in just a few minutes. Serve immediately.
Wondering how to serve it? This mascarpone risotto is a great blank canvas for protein such as the grilled shrimp and black pepper as photographed or even roasted chicken. OR serve with roasted vegetables and make it vegetarian.
Risotto is designed to be eaten immediately, and sorry to say this, but it doesn’t heat up as well as you would hope. With that said, leftovers for this mascarpone risotto can be stored in an airtight container for 2-3 days. When ready to reheat, place in a skillet with a splash of broth to loosen and heat on low.
My preferred way of eating risotto leftovers is fried! Check out my Fried Risotto Cakes recipe and the risotto recipes below!
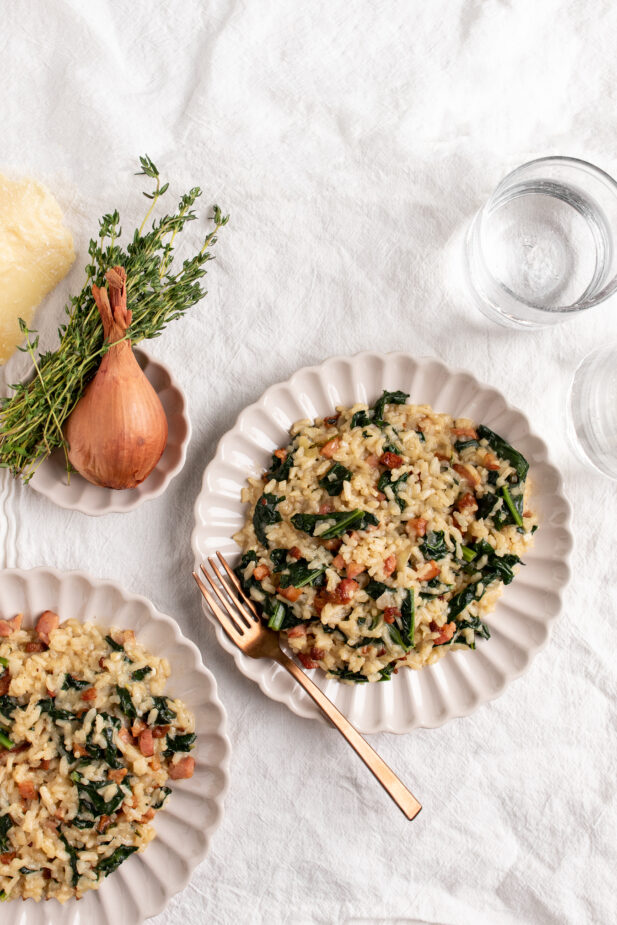
Risotto alla Milanese // Kale & Pancetta Risotto
Lemon Parm Risotto // Cacio e Pepe Risotto
Spicy Vodka Risotto // Brown Butter & Sage Risotto
Creamy Tomato Risotto // Smoked Gouda Risotto
Lobster Risotto // French Onion Risotto
Risotto Carbonara // Crab Risotto
Corn Risotto // Mushroom Risotto
 July 18, 2022
Pasta, Noodles & Grains
July 18, 2022
Pasta, Noodles & Grains 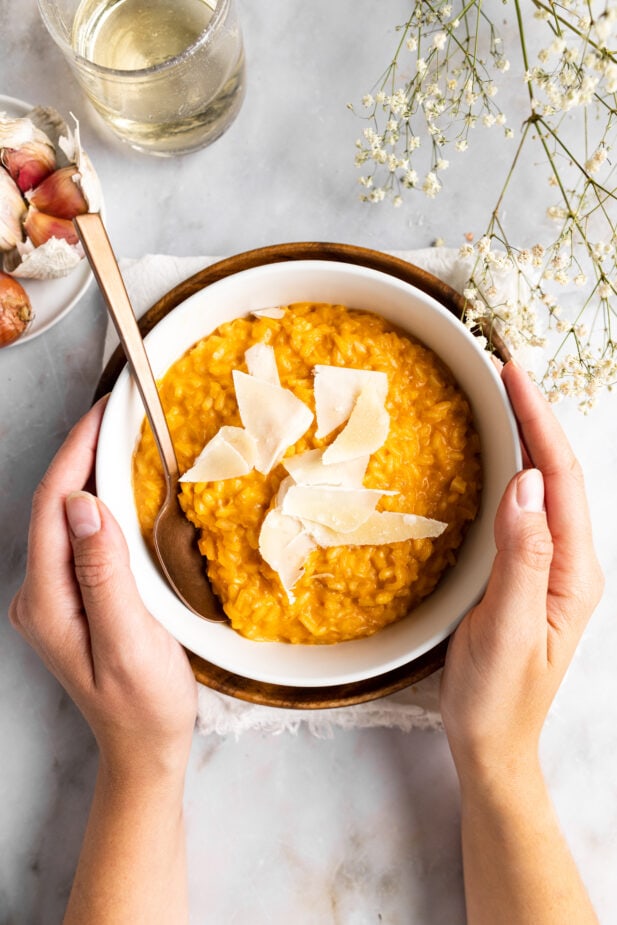 October 5, 2022
Pasta, Noodles & Grains
October 5, 2022
Pasta, Noodles & Grains 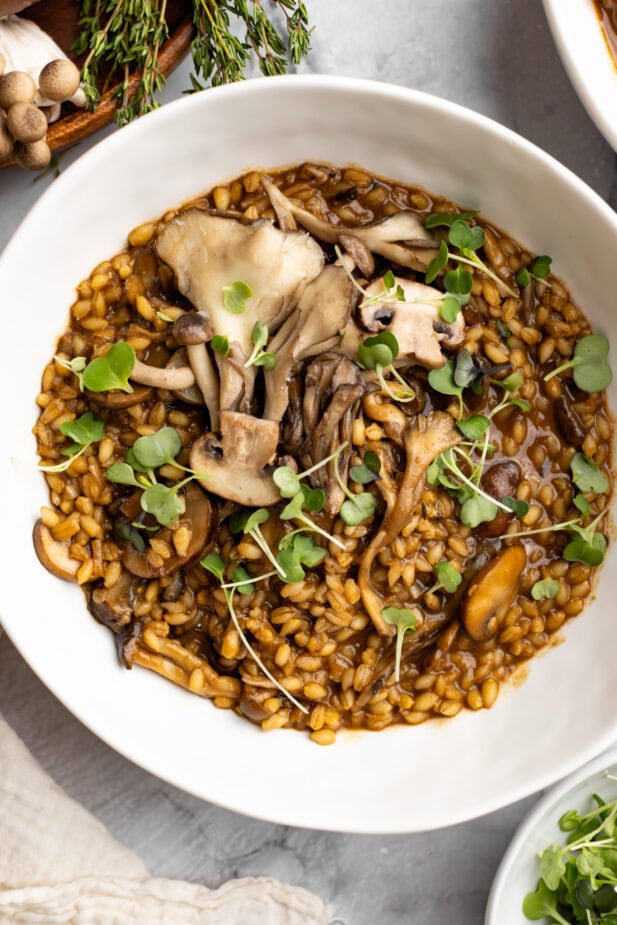 December 16, 2024
Pasta, Noodles & Grains
December 16, 2024
Pasta, Noodles & Grains 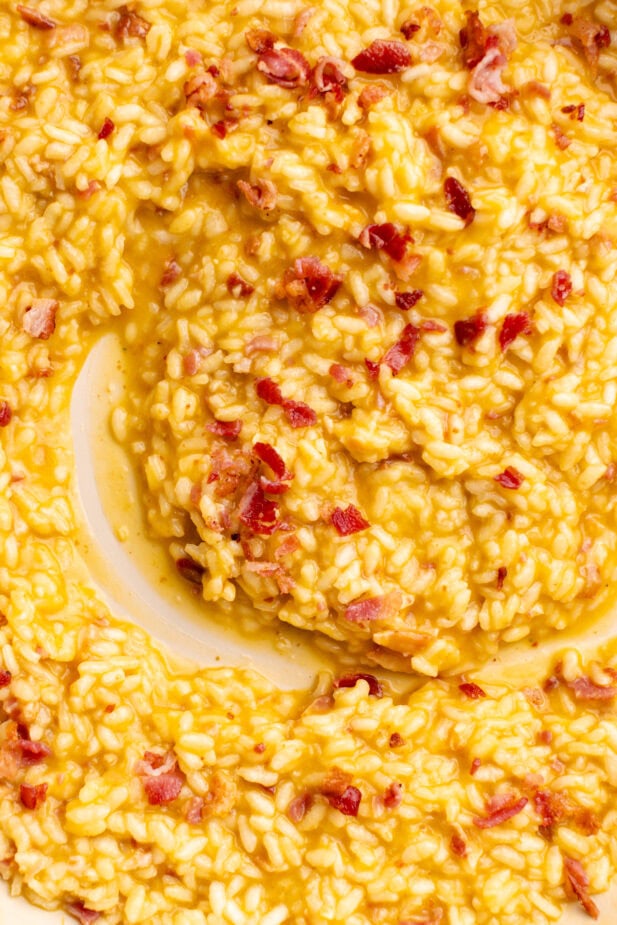 November 16, 2024
Pasta, Noodles & Grains
November 16, 2024
Pasta, Noodles & Grains
RATE + REVIEW