 February 1, 2025
Save it for Sunday
February 1, 2025
Save it for Sunday
February 1, 2025
Save it for Sunday
February 1, 2025
Save it for Sunday 


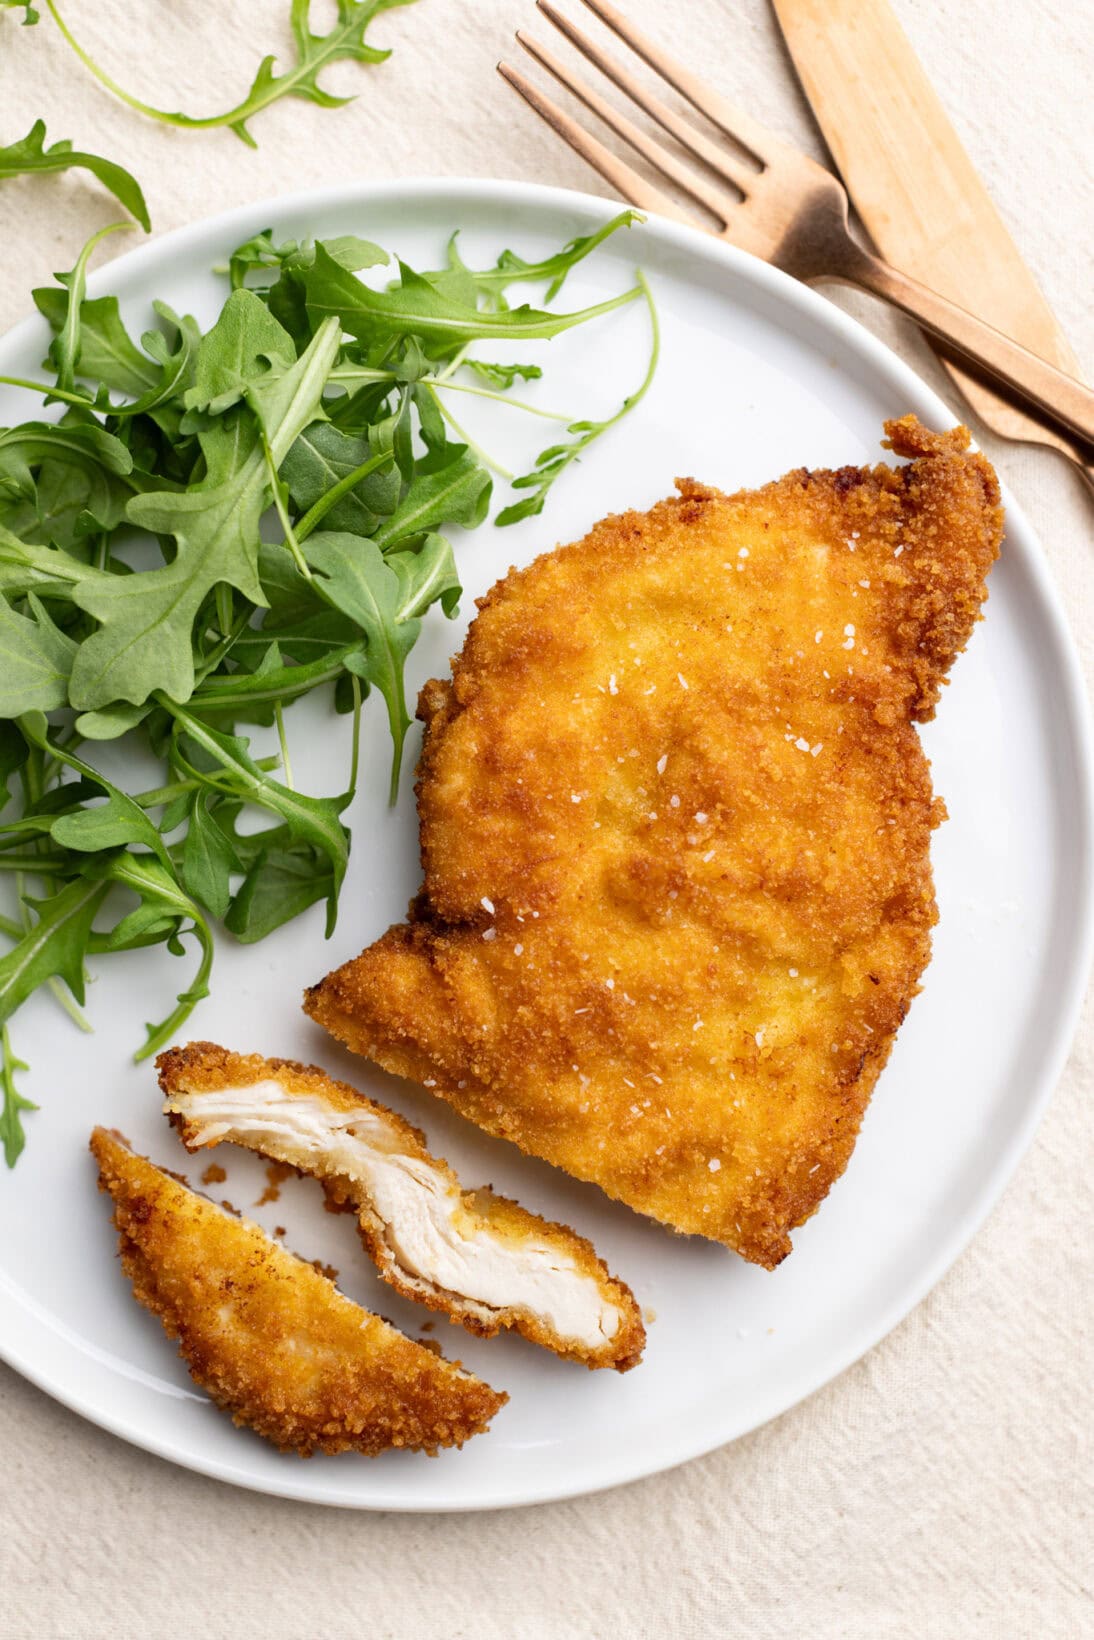
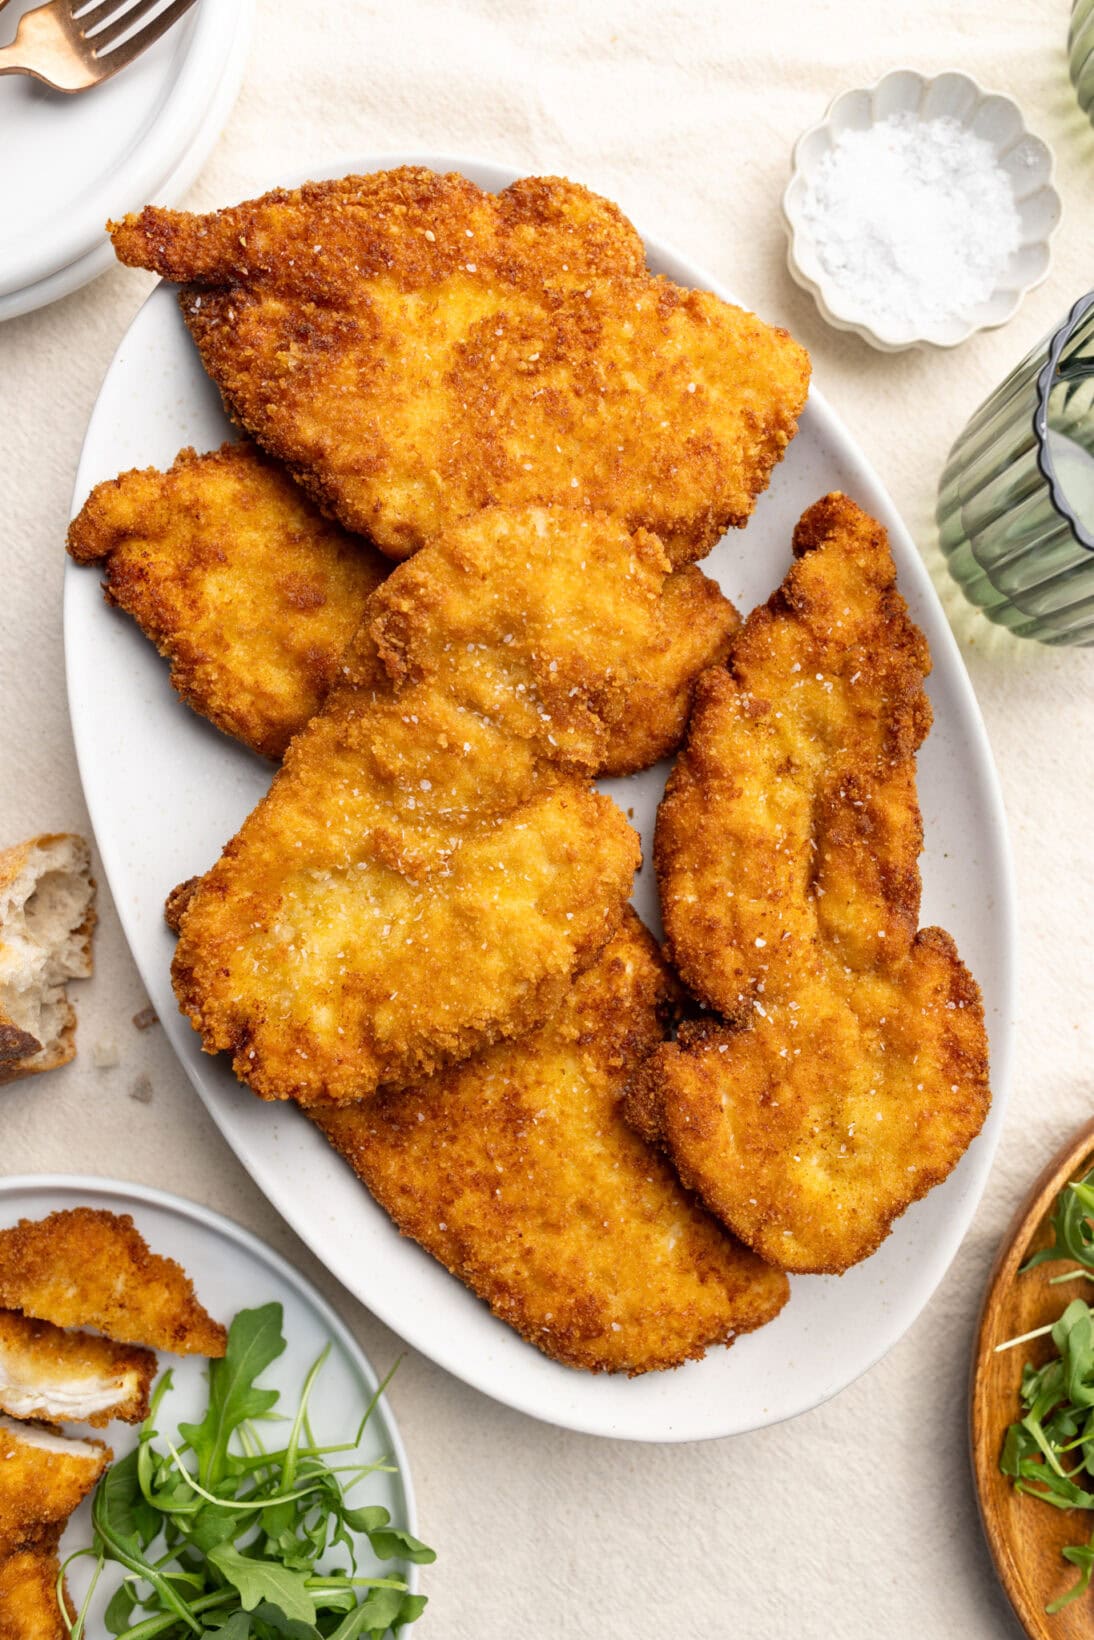
This juicy chicken cutlet recipe is the definition of crispy and easy enough for a beginner in the kitchen. If there’s one recipe you should save from my site…this is it.
If there’s one thing you need to know how to make, it’s crispy breaded chicken cutlets. For starters, buying breaded chicken cutlets costs an arm and a leg, and half the time they’re cold and need reheating anyway. Second, they’re an absolute staple to have in your back pocket—perfect for a thousand different dishes and ideal for meal prepping at the start of the week. I believe every home cook should know a few essentials: how to mince garlic and onions, how to salt properly, and how to make crispy chicken cutlets.
If you are looking to mix up the breading it’s worth taking a peak at my Cornflake Breaded Chicken Cutlets. Need a break from chicken? Yeah, same. Check out this Crispy Pork Schnitzel instead.
1. Prep + Cut the Cutlets – If starting with pre-cut chicken cutlets, move to the next paragraph. If starting with chicken breasts: Hi! You’ll need to cut them before pounding them out. Place the chicken breast flat on a cutting board. Using a sharp knife, slice the breast in half horizontally. The best way to do this is to place your other hand flat on top of the breast and use long, steady strokes to guide the knife through the center. Aim to make the pieces as even as possible.
Next, find something heavy if you don’t have a meat mallet a wine bottle works well. Place each cutlet between two sheets of plastic wrap. Pound the cutlet until it is half its original thickness. If you prefer super-thin cutlets, continue pounding until you reach your desired thickness.
2. Pre-Bread- Yes, we are going to pre-bread all the cutlets beforehand. Why? Because no one wants to start frying while breading at the same time. It’s messy, and you risk getting distracted and potentially burning the chicken.
Set up your breading station:
– A bowl of flour
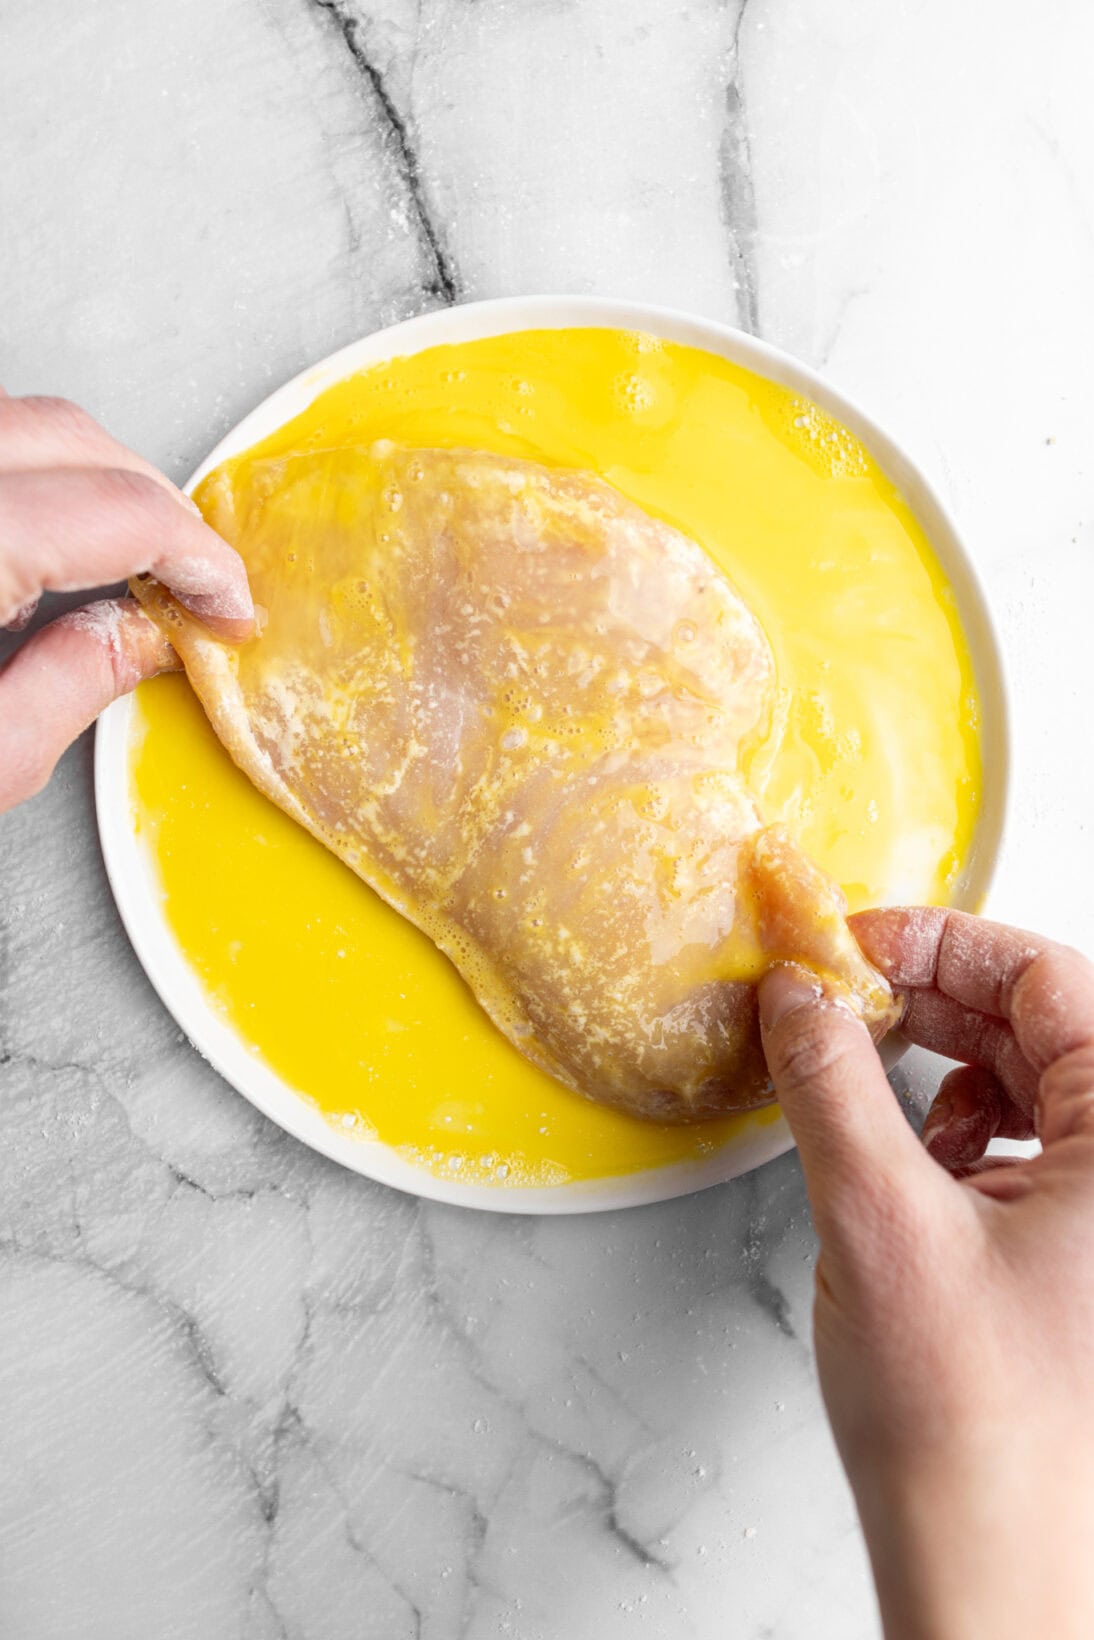
– A bowl of 3 beaten eggs
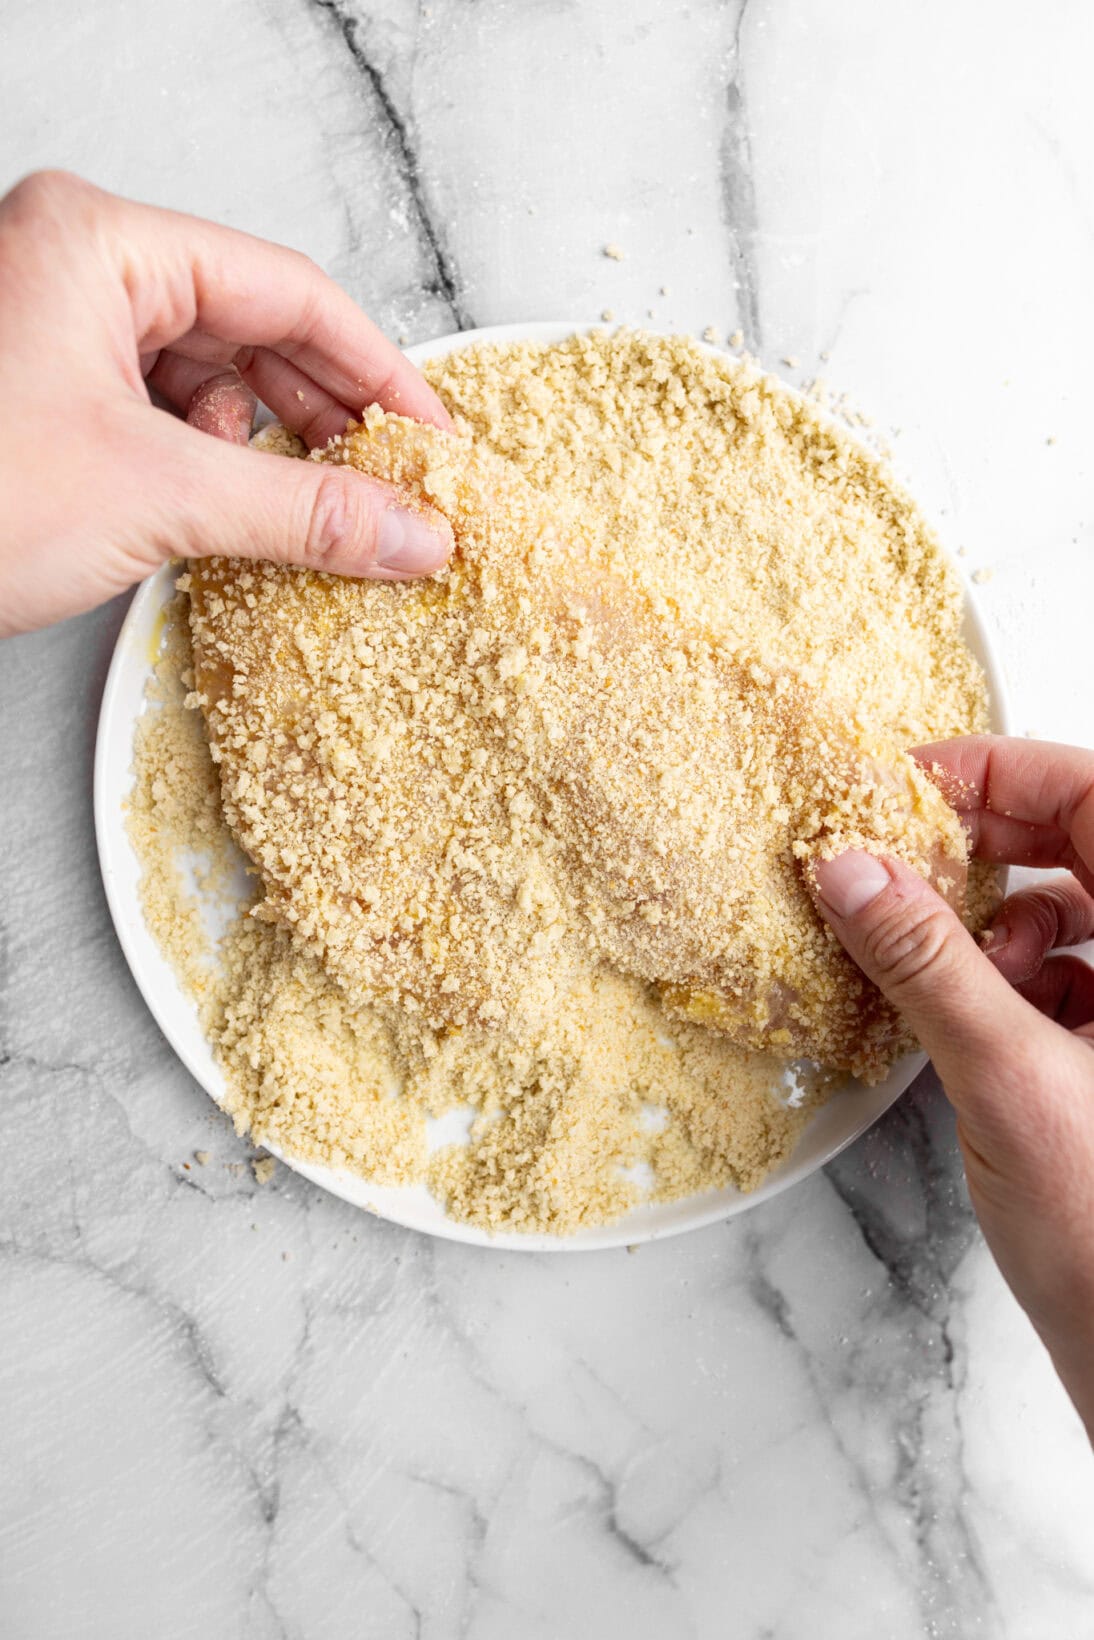
– Combo of both breadcrumbs in a bowl.
Season each shallow bowl with a heavy pinch of salt.
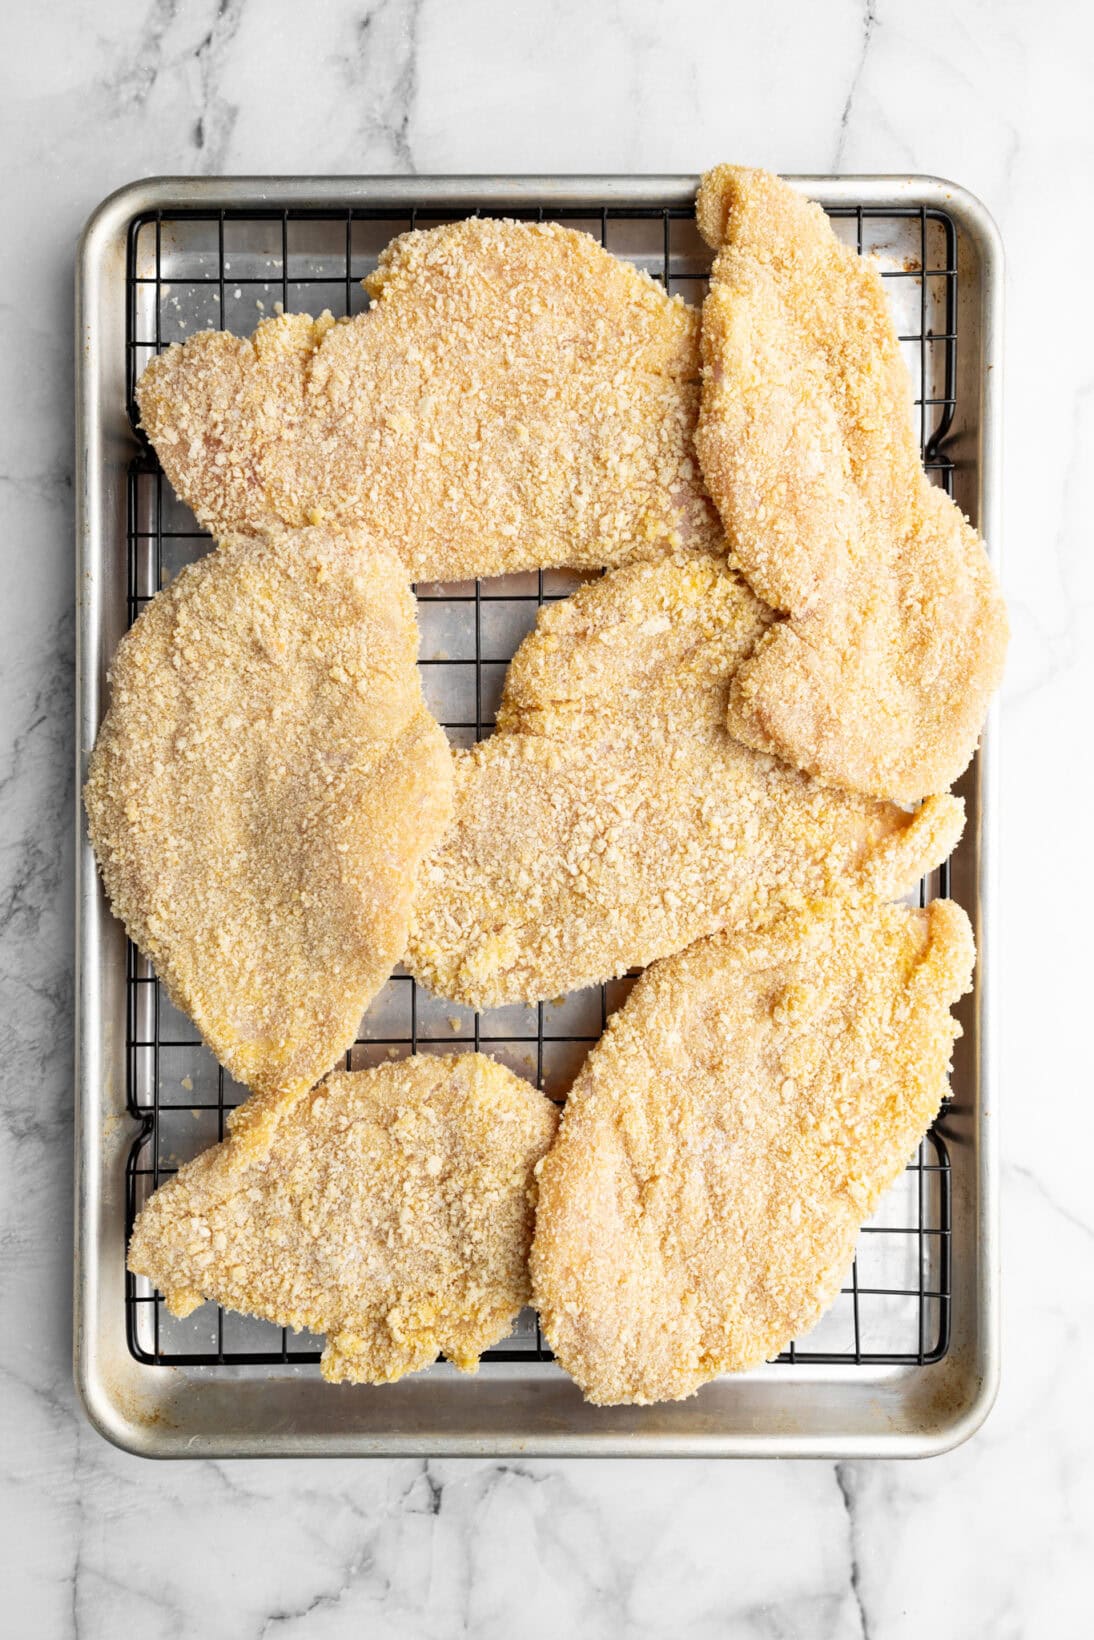
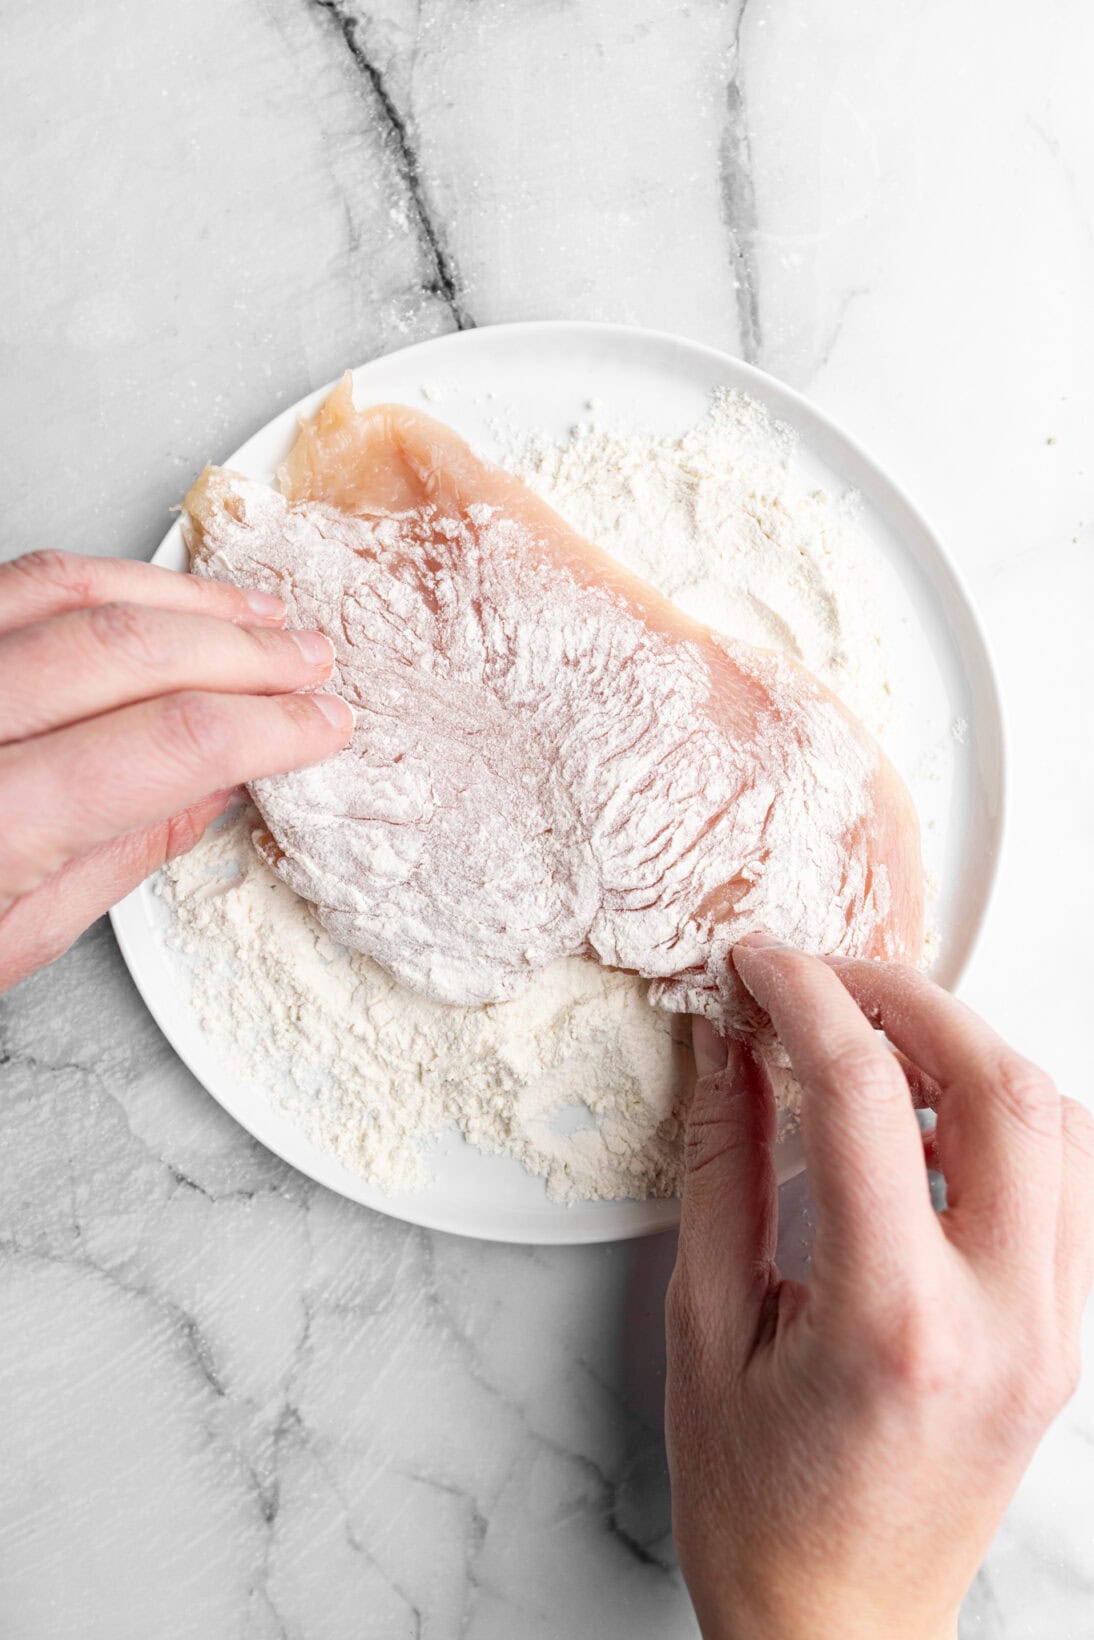
Season the cutlets generously with kosher salt. One by one, dredge each piece of chicken in flour, then dip in egg, and finally coat with the breadcrumb mixture, pressing firmly to ensure the breadcrumbs adhere. Place the breaded cutlets on a baking sheet and repeat with the remaining pieces. At this point, you can either refrigerate them (covered) for later or proceed directly to frying.
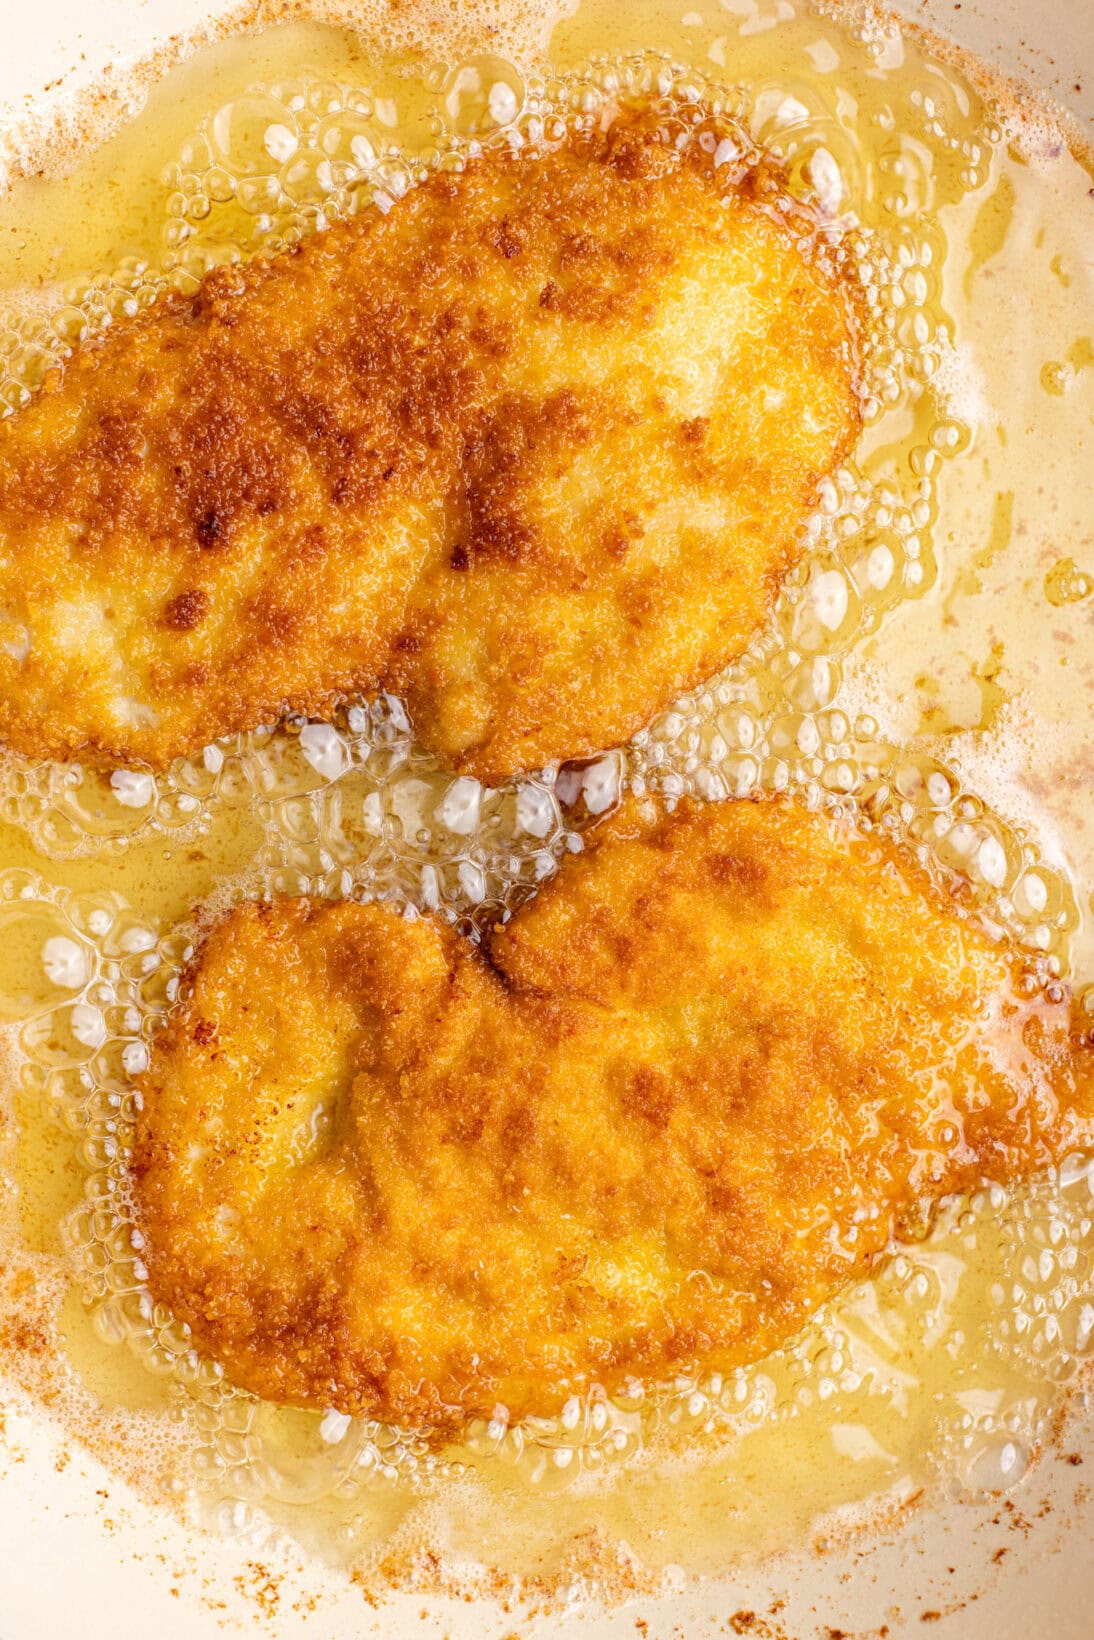
3. Fry – In a large, deep pan or skillet, add 1 ½ inches of oil and heat it to 350°F over medium-high heat. Once at temp, lower to medium. If you don’t have a thermometer, test the temperature by dipping the edge of a piece of chicken into the oil—I find that using a breadcrumb can be misleading. If the oil starts bubbling around the chicken, it’s ready. Depending on thickness, the cutlets will cook for 3–5 minutes per side and should be golden brown before flipping.
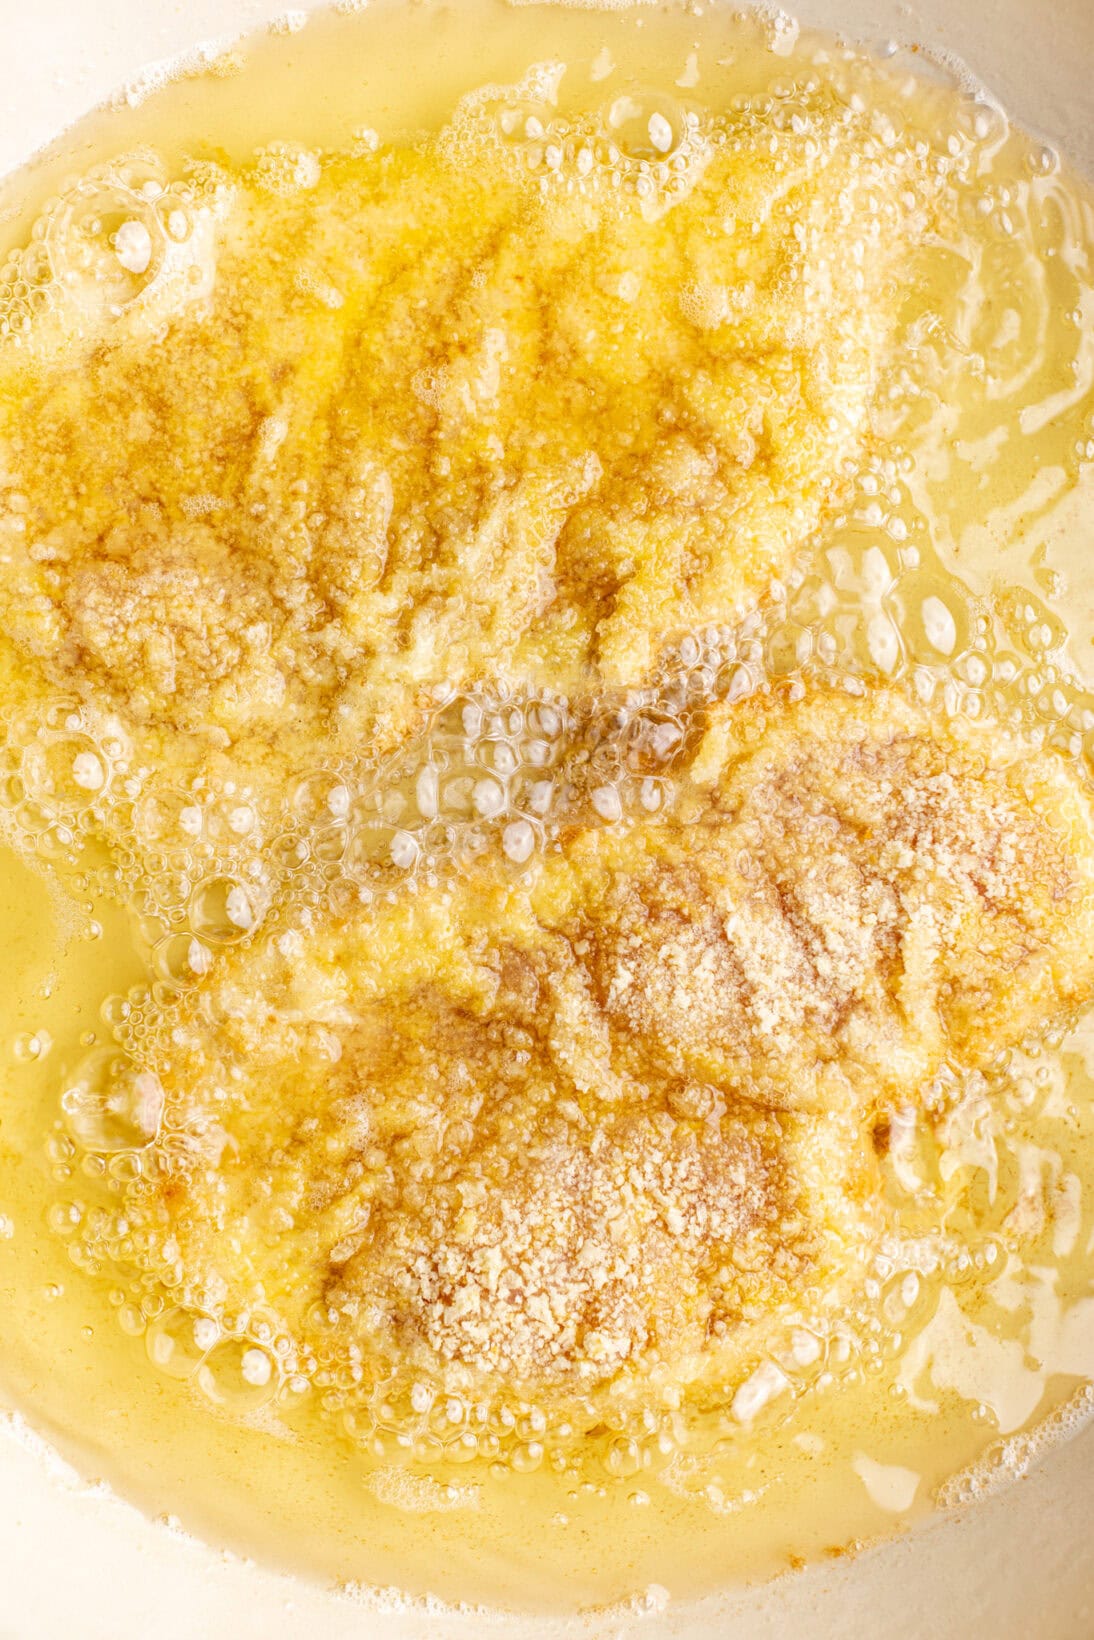
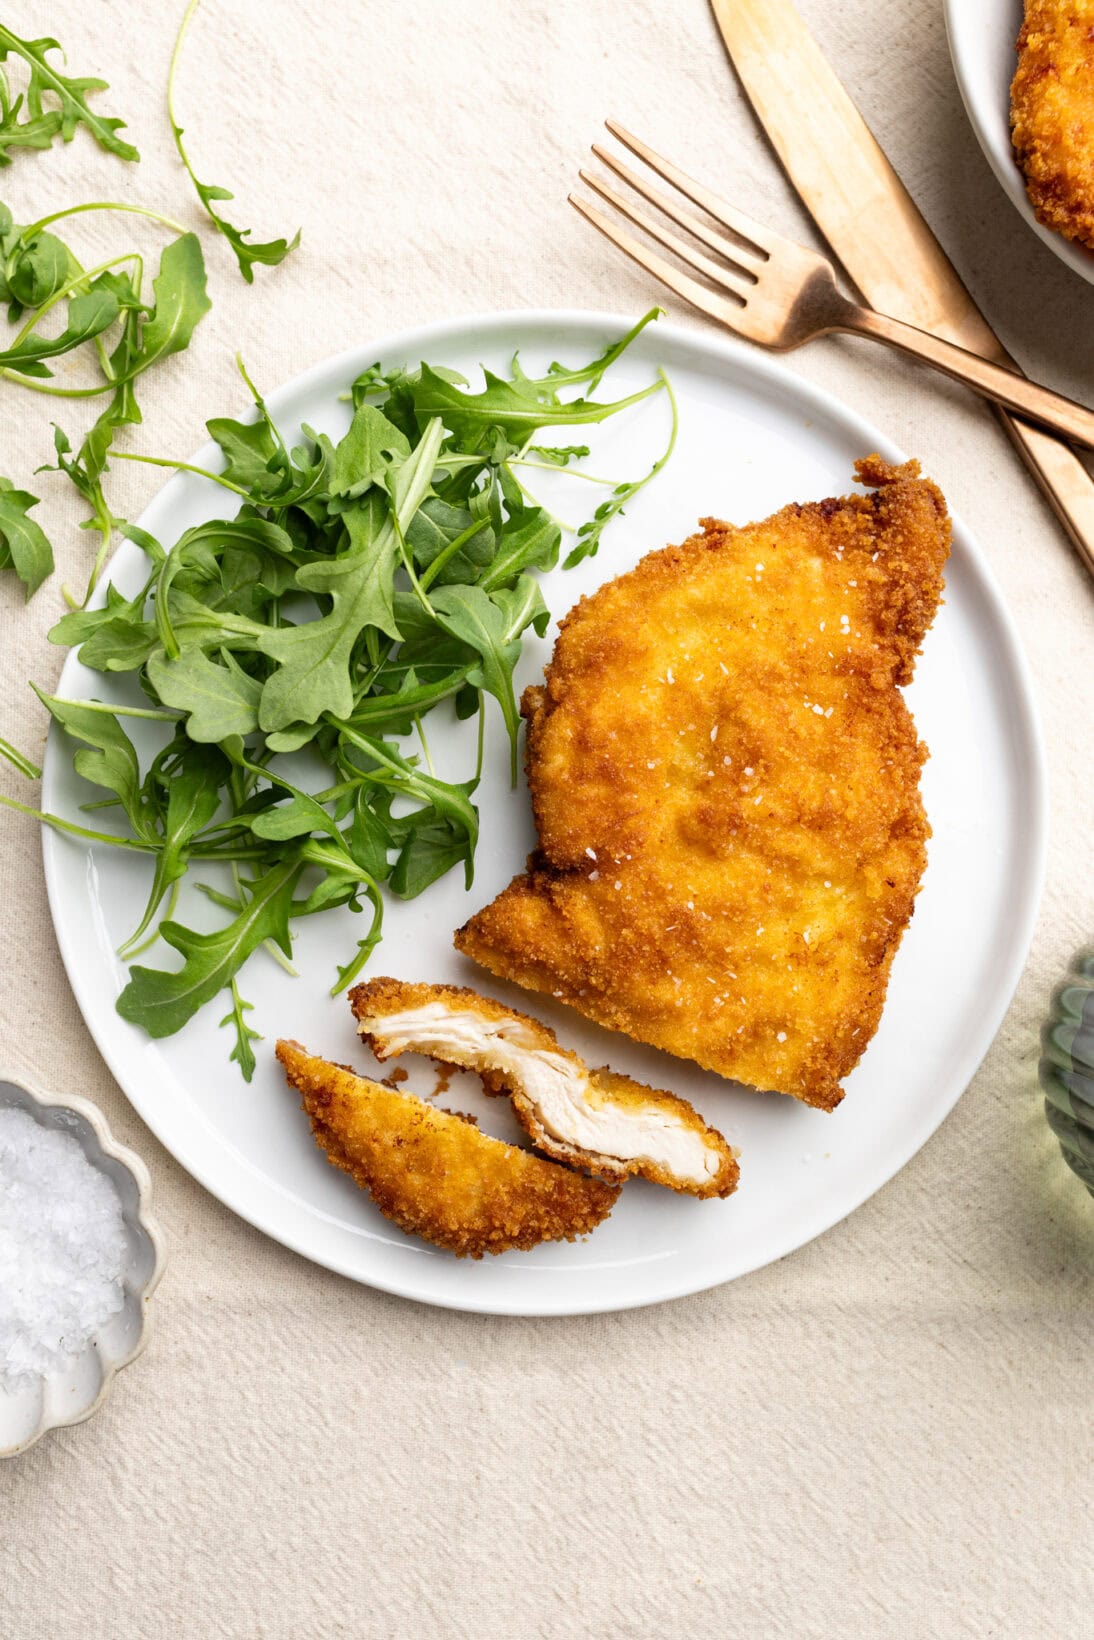
Once done, remove them from the pan and place them on either a paper towel-lined plate to soak up the excess oil or a wire rack. Sprinkle with a pinch of salt, then continue cooking the remaining cutlets.
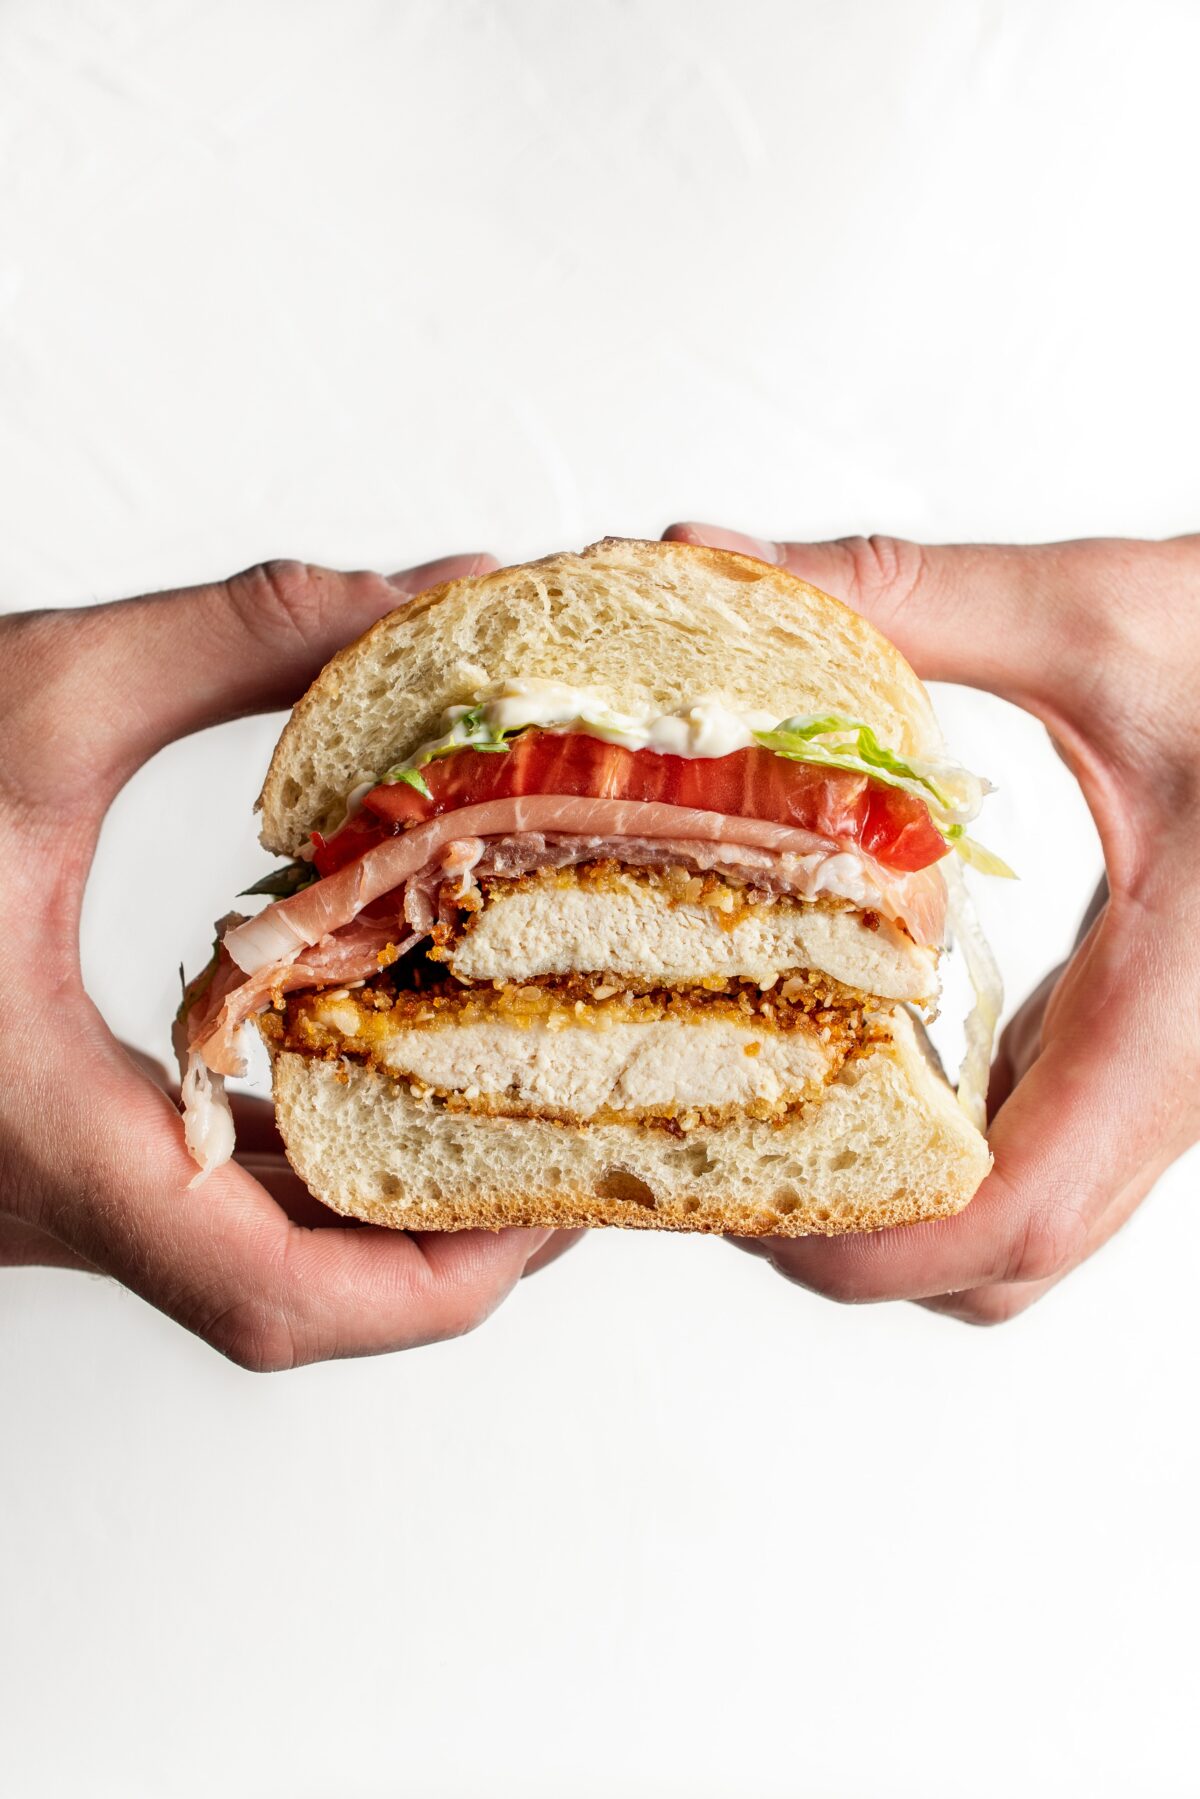
Honestly, I eat these as they are (sometimes with a side of arugula)—they’re that good! But if you’re looking for inspiration on how to enjoy this dish, look no further.
My go-to is always a sandwich. A crusty baguette or soft roll with tomato, lettuce, bacon, and mayo makes for an easy, delicious combo that complements the chicken without overpowering it.
You can also slice these crispy chicken cutlets and add them to a salad. They pair especially well with my Kale Caesar Salad , Brussels Sprouts Caesar Salad, or Spicy Caesar Salad.
Add it to pasta dishes such as my Buffalo Chicken Pasta or this Roasted Tomato Pasta Sauce for a crispy protein addition.
Trust me, you don’t want to. Using too little oil increases the risk of running out and having to add more mid-cook. When you do that, the oil must reheat, which can lead to uneven cooking. Just add the proper amount at the beginning for the best results.
As long as its not extra virgin you are good. Olive oil will impart flavor, but I’ve been frying in olive oil my whole life.
Dip the corner of a chicken cutlet in, if it bubbles it’s most likely ready, but you might be slightly below or above the recommended temperature. Do yourself a favor and invest in a thermometer.
No. Baking results in a dry chicken cutlet where the breading flakes off.
Cooked breaded chicken cutlets can be wrapped in aluminum foil and stored in the refrigerator for 3–4 days, making this a great meal prep option. When ready to reheat, place them in a 400°F oven for 5–10 minutes until warmed through. I recommend avoiding the microwave, as it will make them lose their crispiness.
You may also store them breaded, but uncooked in the fridge for 1-2 days or in the freezer for up to a month. When ready to fry the frozen ones defrost in the fridge a day in advance.
February 1, 2025
Save it for Sunday 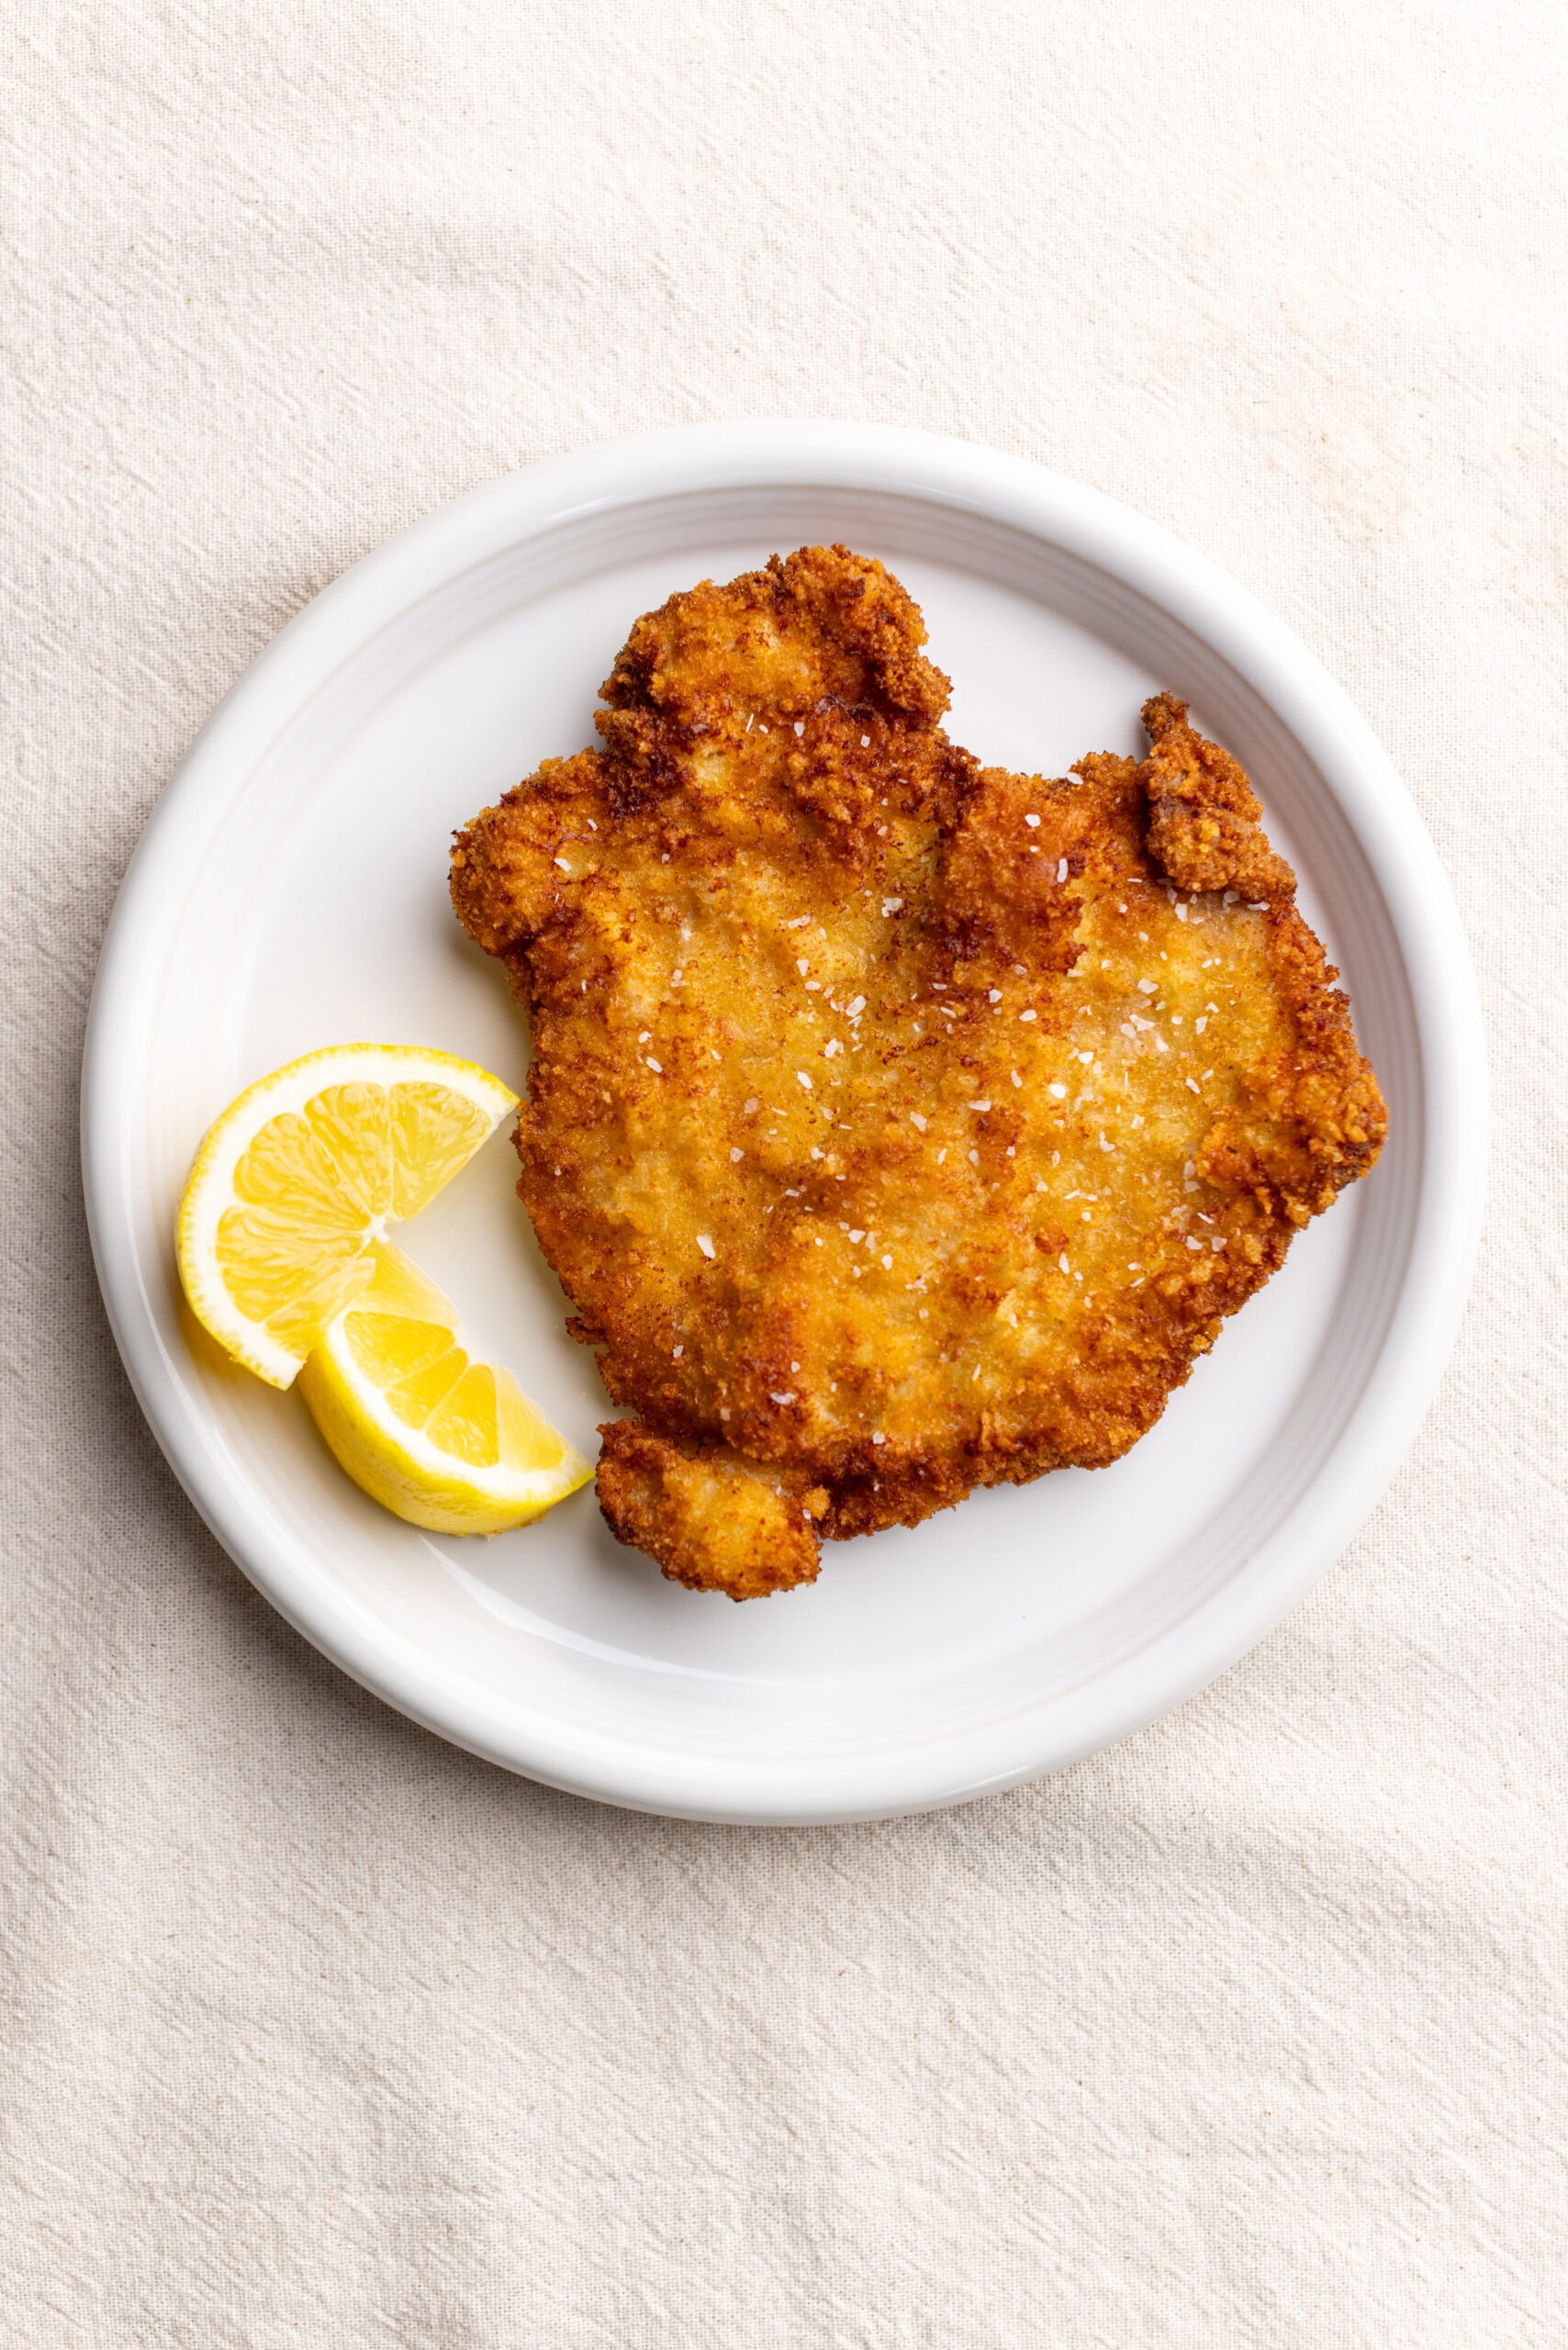 February 1, 2025
Meat + Chicken
February 1, 2025
Meat + Chicken 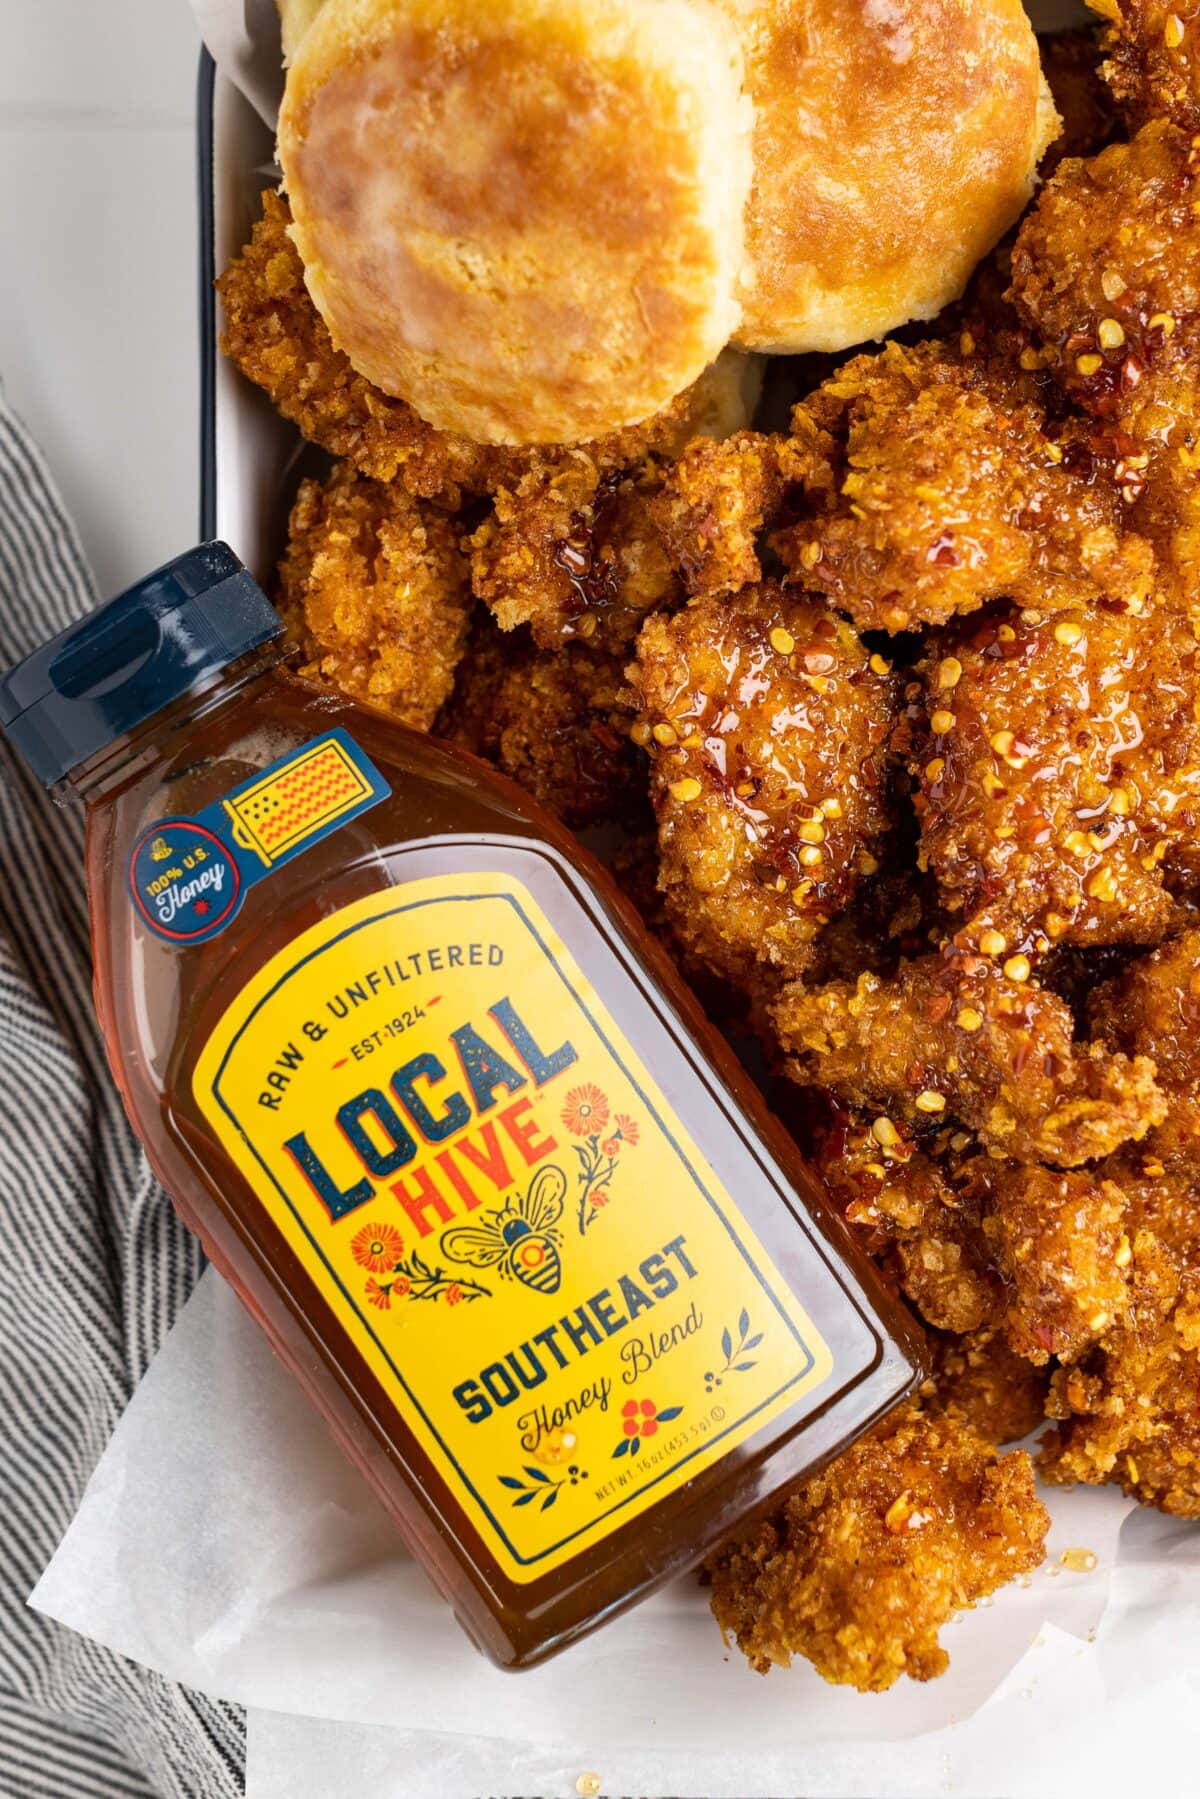 February 1, 2025
Meat + Chicken
February 1, 2025
Meat + Chicken  February 1, 2025
Salads
February 1, 2025
Salads 
 March 25, 2025
Meat + Chicken
March 25, 2025
Meat + Chicken  June 4, 2025
Meat + Chicken
June 4, 2025
Meat + Chicken  January 11, 2024
Meat + Chicken
January 11, 2024
Meat + Chicken  June 21, 2024
Meat + Chicken
June 21, 2024
Meat + Chicken
Love these teciprs
Our mouths are watering! So darn good! Off to the grocer To Restock !😋
5 star chicken cutlets!!! So crispy and perfectly thin. I like making a sandwich but id eat these plain too!
Gosh these crispy chicken cutlets were outstanding! I made a simple caesar salad for them and it was perfect. I love how crispy they were and beyond easy to make.