 July 18, 2022
Pasta, Noodles & Grains
July 18, 2022
Pasta, Noodles & Grains
July 18, 2022
Pasta, Noodles & Grains
July 18, 2022
Pasta, Noodles & Grains 


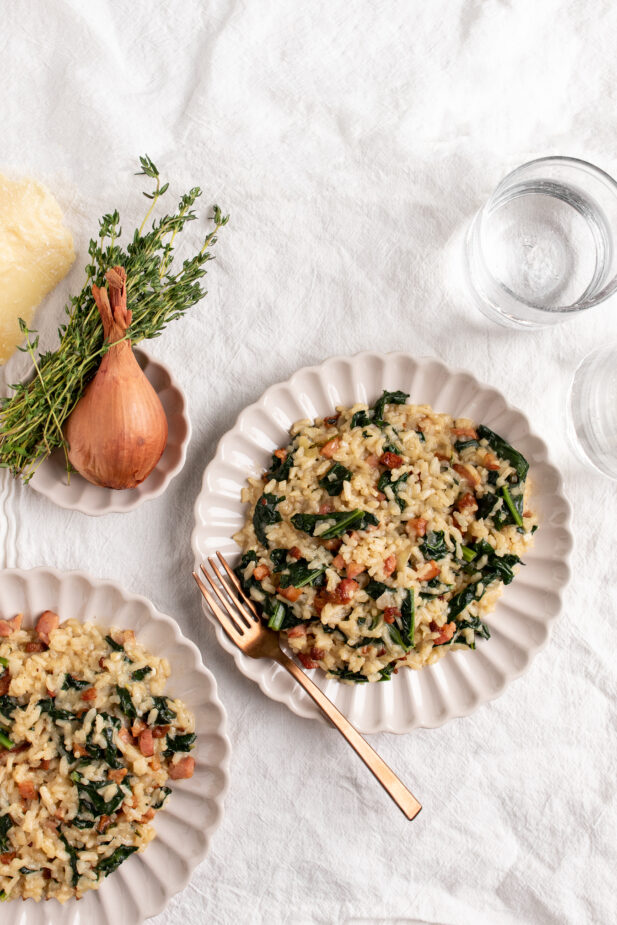
There’s no denying that risotto as a whole leans more into fall and winter. I mean, no one is stopping you from enjoying this creamy rice dish in the summer, but it just hits differently when the temperatures drop. If there’s one risotto to make this season, it’s this creamy Pumpkin Risotto. Made with salty bacon and earthy thyme, this easy-to-make risotto is the dish of the season.
Not a fan of pumpkin? Yeah neither am I, and I LOVE this dish. Give this pumpkin risotto a try, trust me.
Somehow risotto has gotten a bad reputation… (silly cooking show). Risotto is actually one of the easiest dishes you can make. To constantly stir or not? To add wine or not? There are some myths out there that just aren’t true. With that said there are definitely some handy tips that can make or break your risotto.
I say this about a dozen times in this post but the rice you use matters. You need a short grain high starch rice such as arborio or carnaroli rice. I’ve seen people try and make risotto with that standard medium grain that is always on-hand in the pantry and it just won’t yield the same creamy consistency.
Perfectly cooked risotto is al dente, not mushy, or even worse, hard. Think about the bite that you get with perfectly cooked pasta, that is what you are looking for here. It should be loose, which means when you plate it, it should spread just a bit. By the time you get the rice to the table, it will absorb a little more of that liquid and be the perfect texture. If you have never made risotto before then it might come as a surprise that it seizes relatively fast, it’s imperative that it is served immediately.
The type of pan you use matters. Don’t make this in a saucepan, you need to surface area for even cooking. Use a saute pan or a large frying pan, something with enough depth. That means no dutch ovens here.
You could follow the instructions below perfectly, but without using some intuition while cooking, there’s a chance the dish might not turn out quite right. Remember to cook with feeling—does the dish need more salt? My salt tolerance might be very different from yours. Have you added all the broth but the rice is still too firm? Add more! I can provide the most detailed instructions, but only you can bring the recipe to life.

What!? No wine?! Wine is optional here—but if you’re set on using it, add 1/2 cup of a dry white wine (like a sauvignon blanc or pinot grigio, preferably one you’d enjoy drinking.
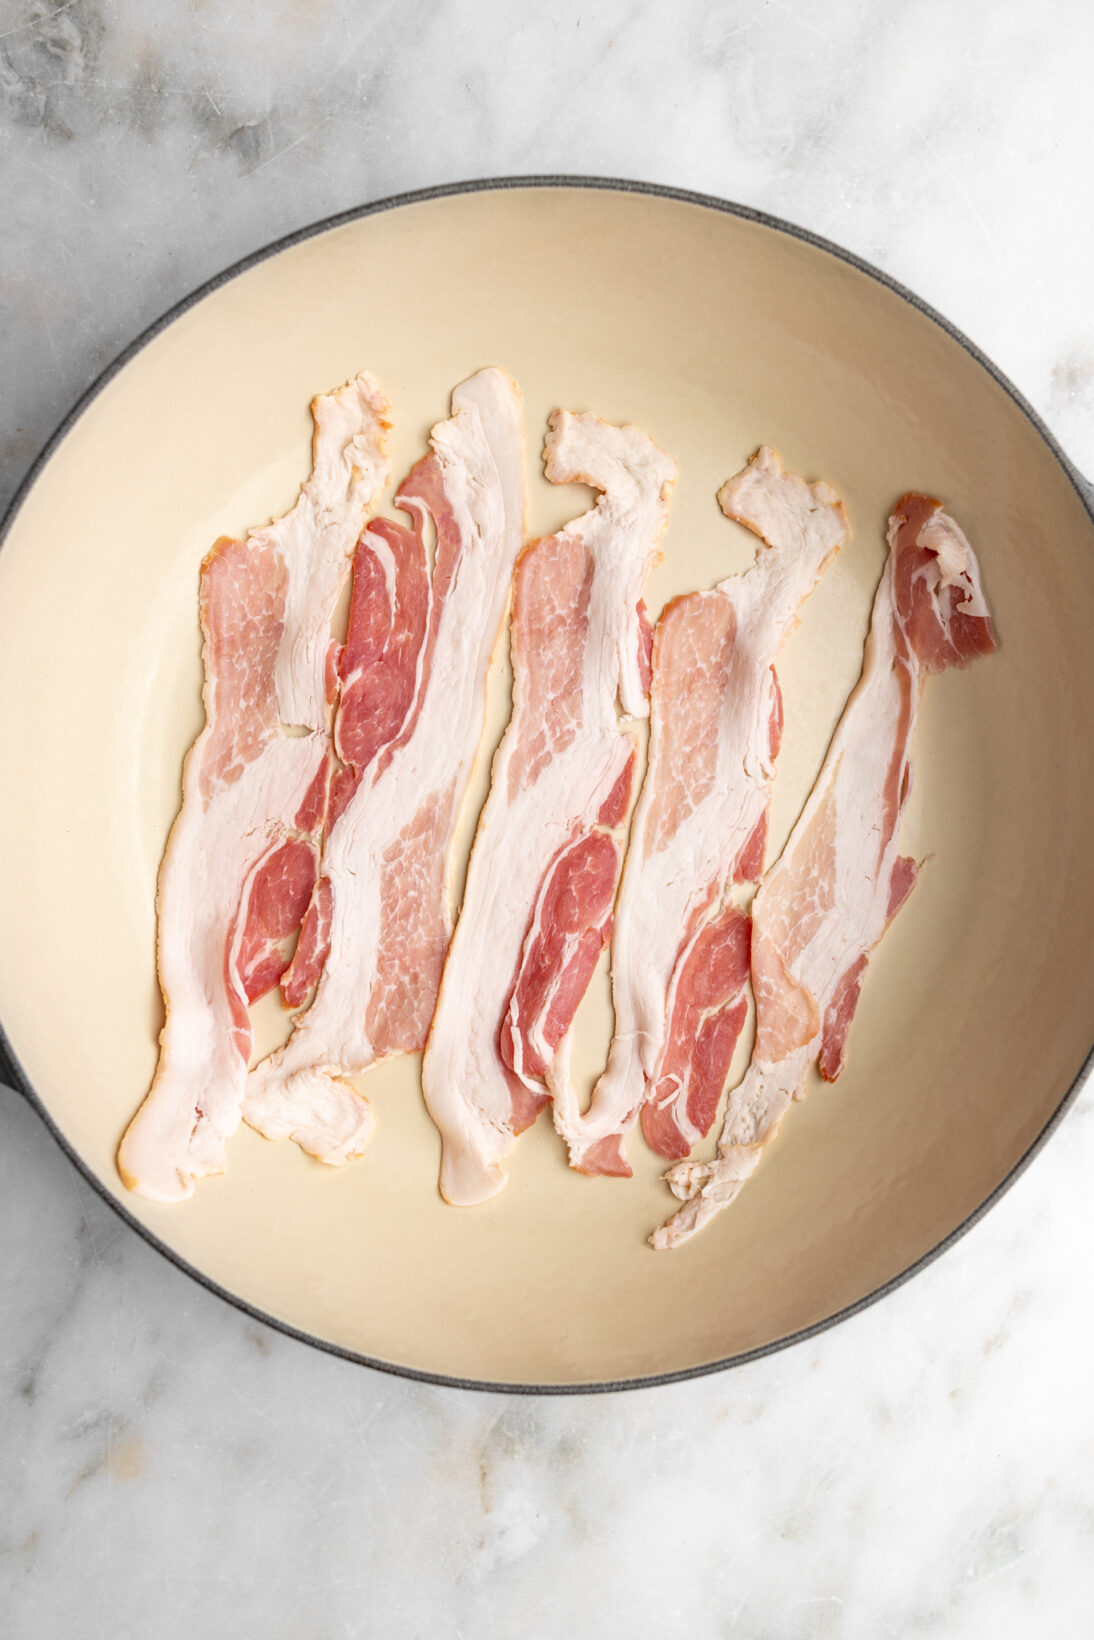
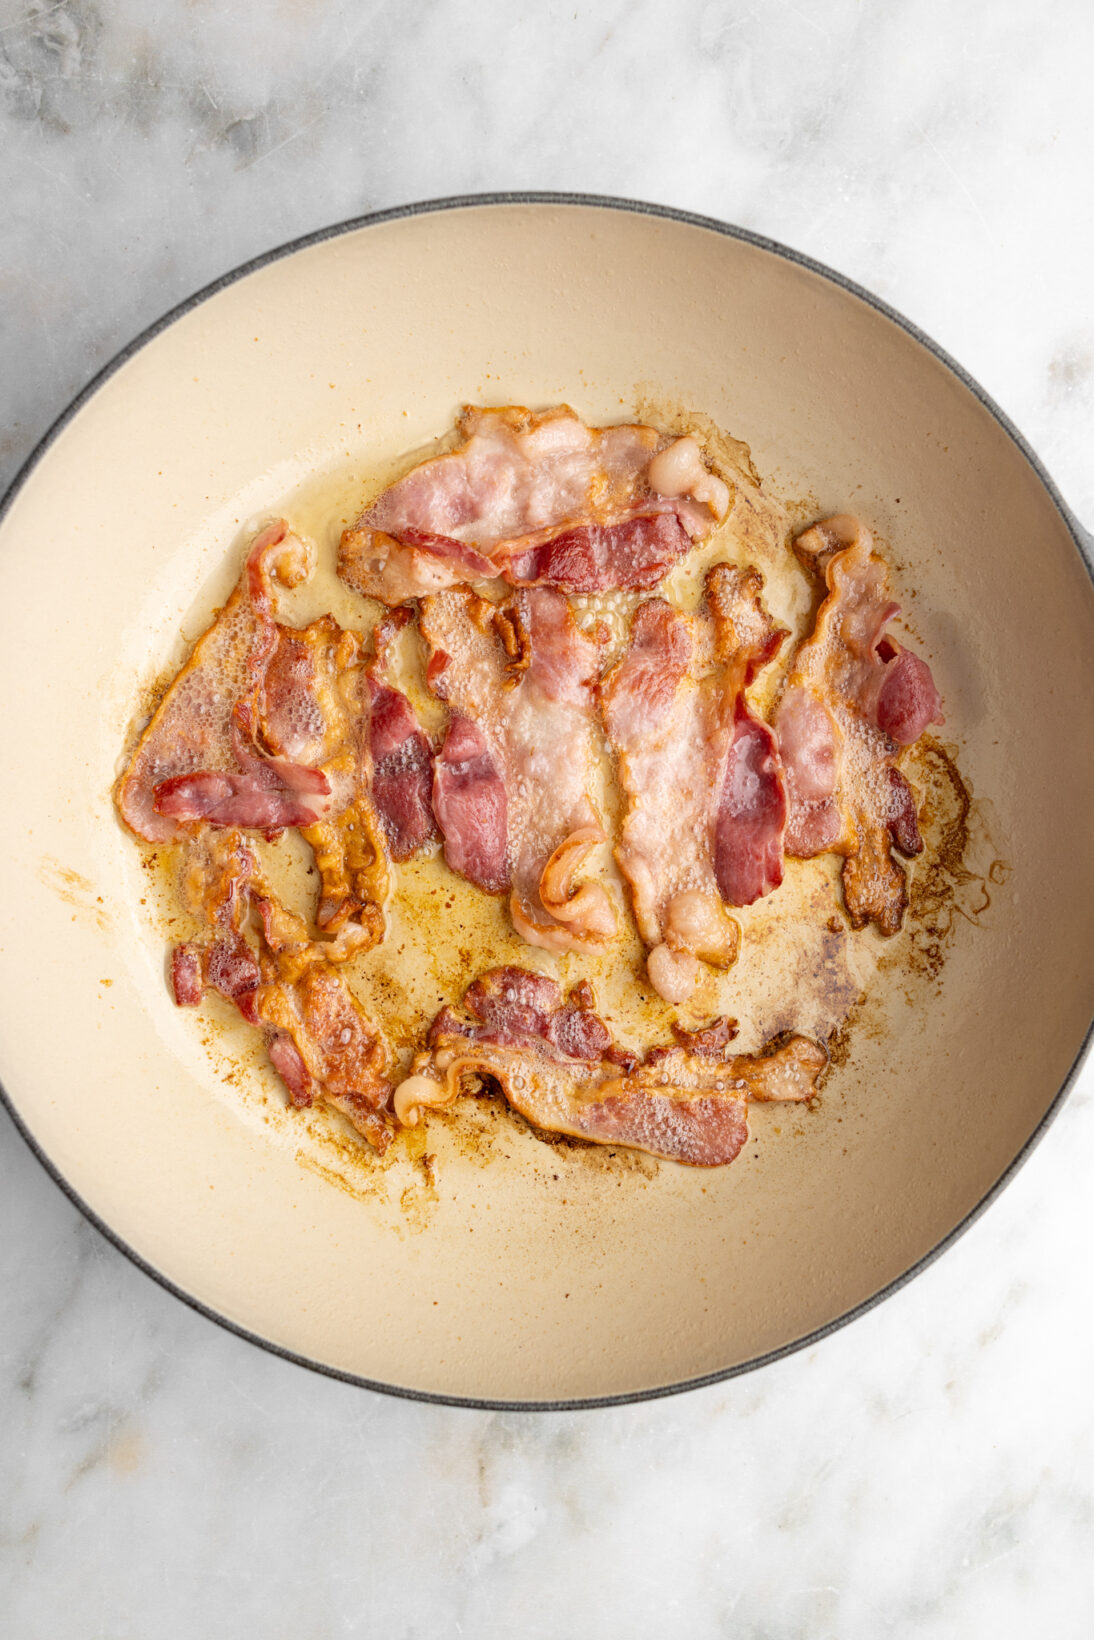
Render the Bacon – I actually like to do this step in a separate pan. One, because bacon likes to stick to enamel coated cast iron, and second so that my risotto is smooth and creamy at the end without burnt bits. Heat a dry pan over medium heat. Once hot place the bacon down in a single layer. Cook for 3-4 minutes each side or until brown and crispy.
Once crispy remove the bacon and place on a paper towel lined plate. (This helps drain any additional fat, and will crisp up the bacon once it cools.)
Prep + Cook the Base – Before you even start the risotto, place your broth in a pot on the stove over low heat. It is important to get and keep your broth warm throughout the cooking process. Adding cold broth to the risotto will increase the cooking time and require the risotto to come back up to temperature with every addition. Simply bring the broth to a simmer, then lower the heat to the lowest setting to keep it warm.
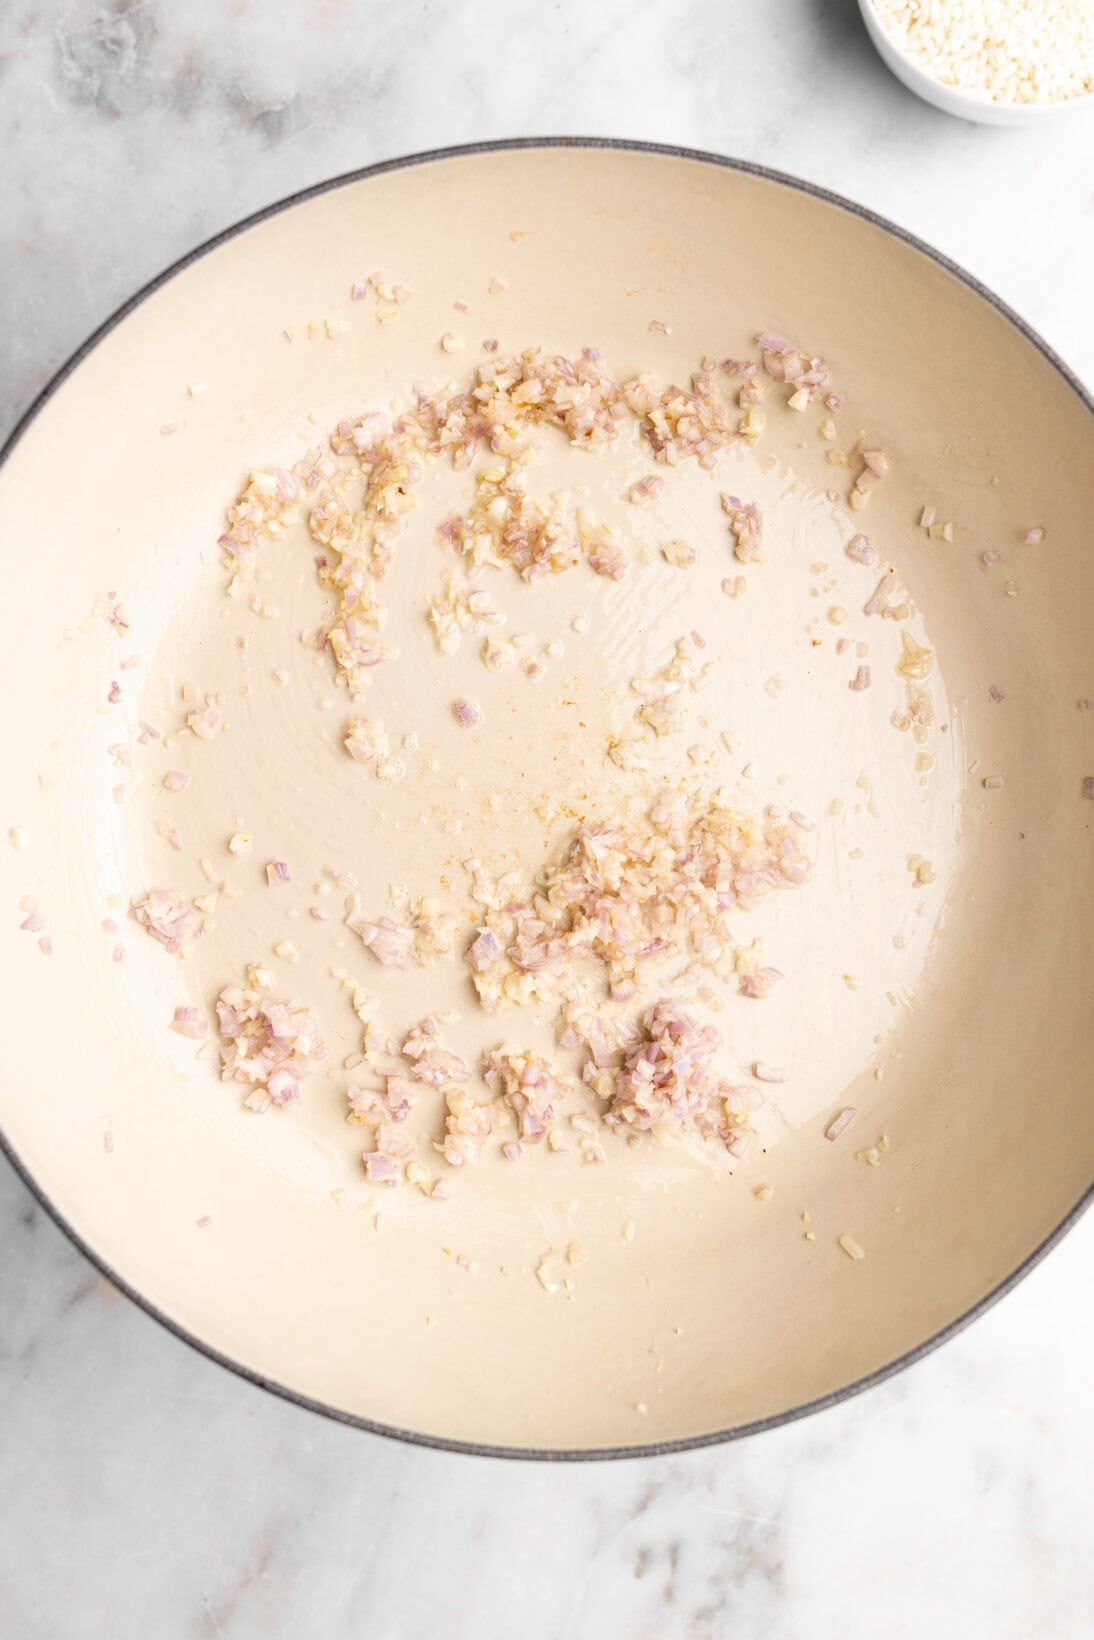
Add 3 tablespoons of the bacon fat to your risotto pan over low-medium heat. Once hot add in your shallot, garlic and thyme and cook for 2-3 minutes until soft and fragrant.
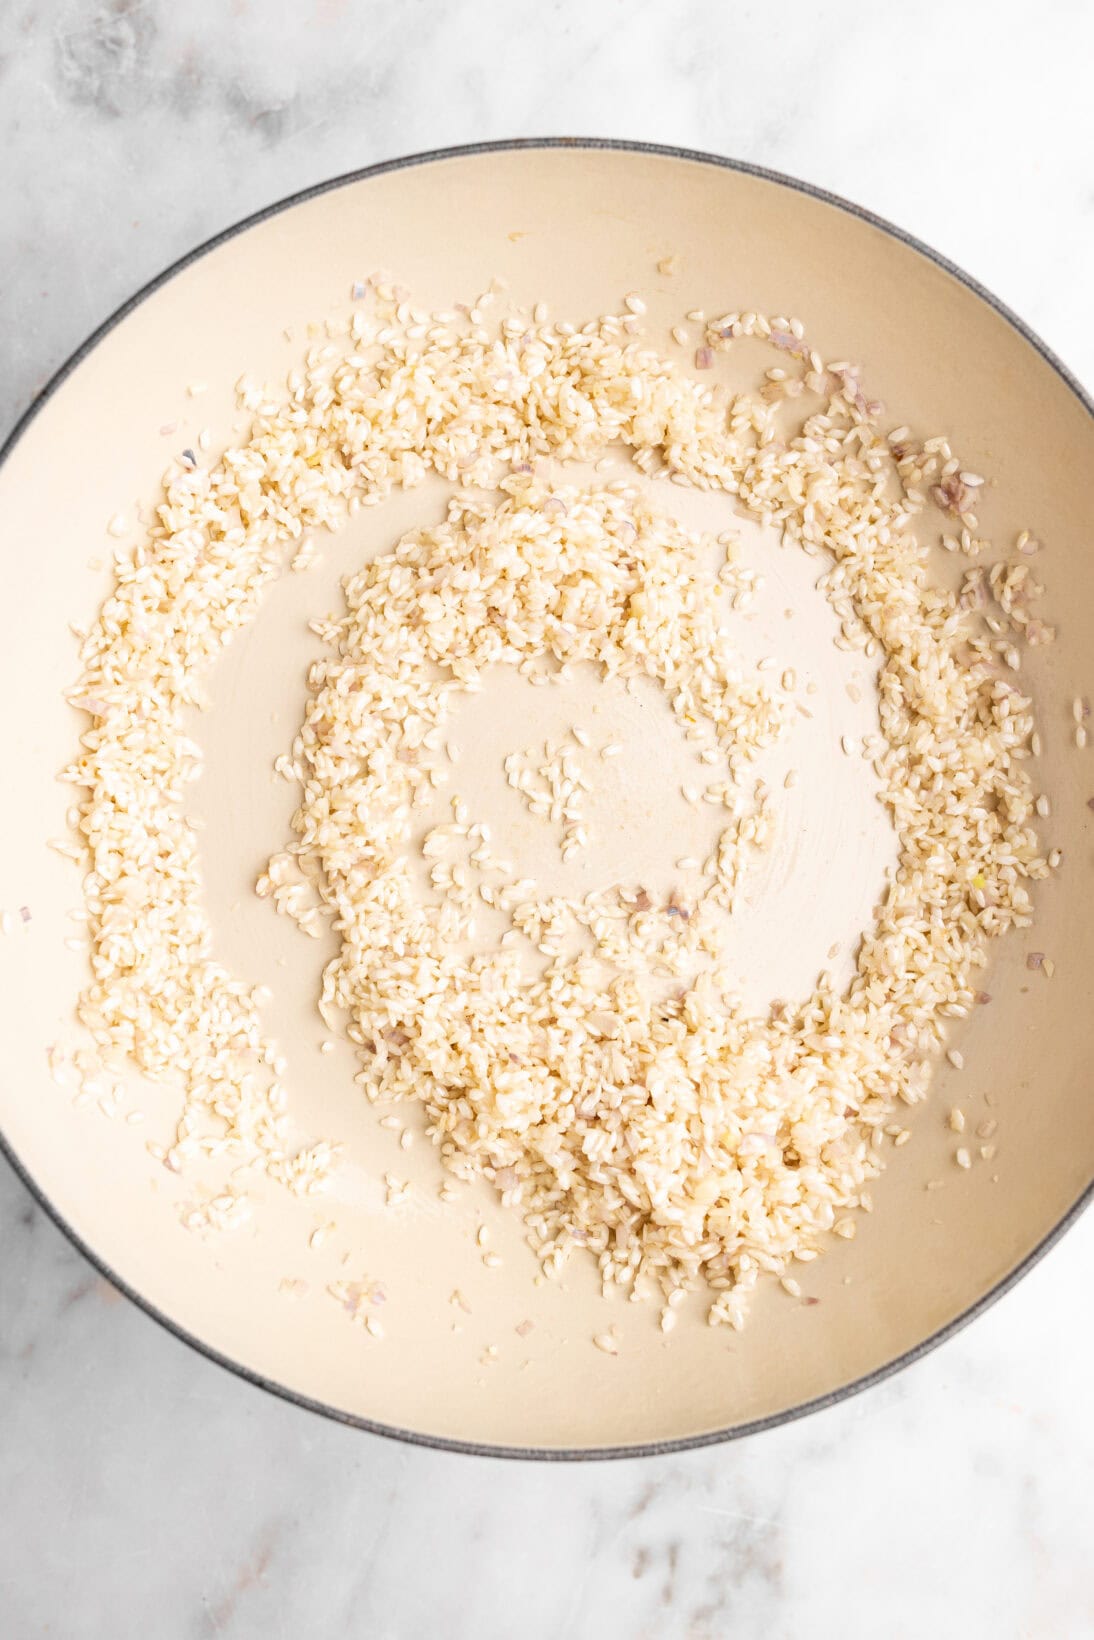
Toast the Rice – Add in your unwashed arborio or carnaroli rice. Mix to evenly coat in the bacon fat. Toast it for 3-5 minutes until the grains start to become translucent. Do not, and I repeat, do not wash the rice beforehand. Rinsing the rice will strip it of the necessary starches needed to make this dish creamy.
Add the Broth – Setting the stove to medium-low heat, add the warm broth to the risotto, but not all at once! For every cup of risotto, you need approximately 4-5 cups of broth. Have extra on hand to account for evaporation. My rule of thumb is to pour just enough broth to cover the risotto. When the broth starts to dip below the grains, it is time to add more.


This is also the place to season with salt. I leave this up to you. Depending on how salty your chicken broth is will determine how much salt you add. After the first liquid addition, taste it (avoiding the rice) and adjust the seasoning. I usually start with a heavy pinch of salt in the beginning, then adjust right before it is done.
Stir, Add, Shake – Remember, you do not need to be constantly stirring this recipe. Mix 2-3 times per broth addition. If you end up mixing more, no biggie!

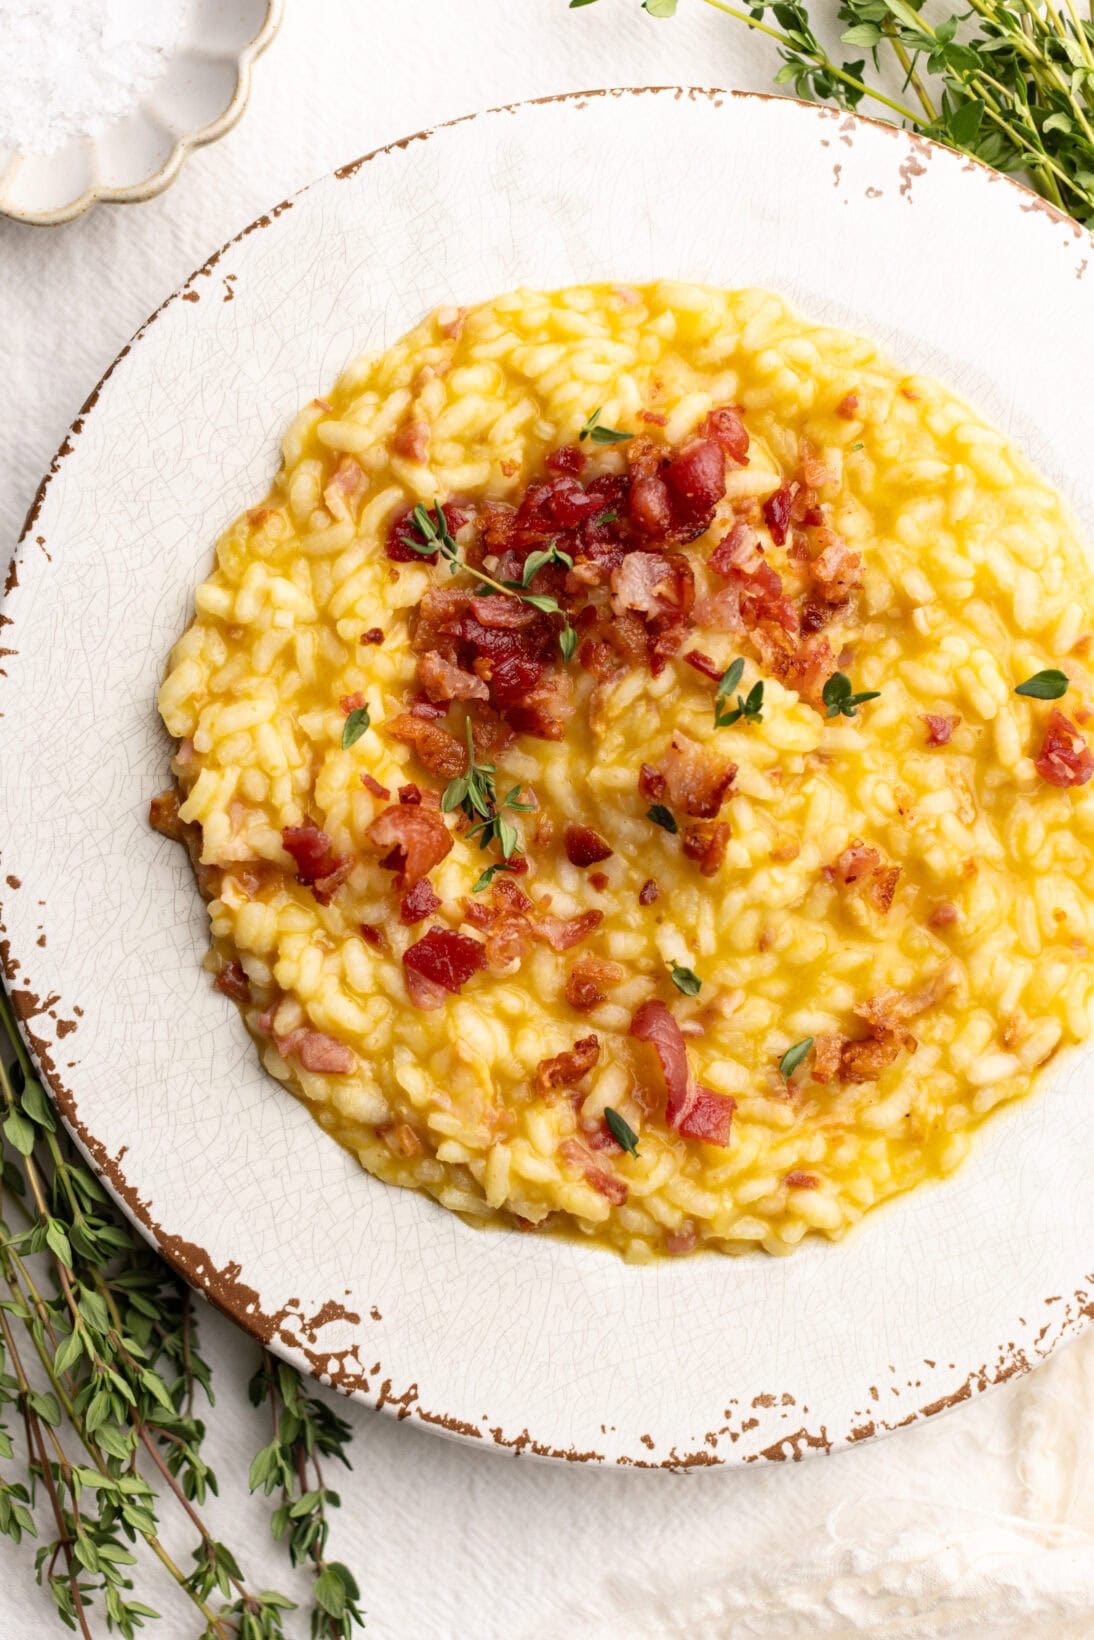
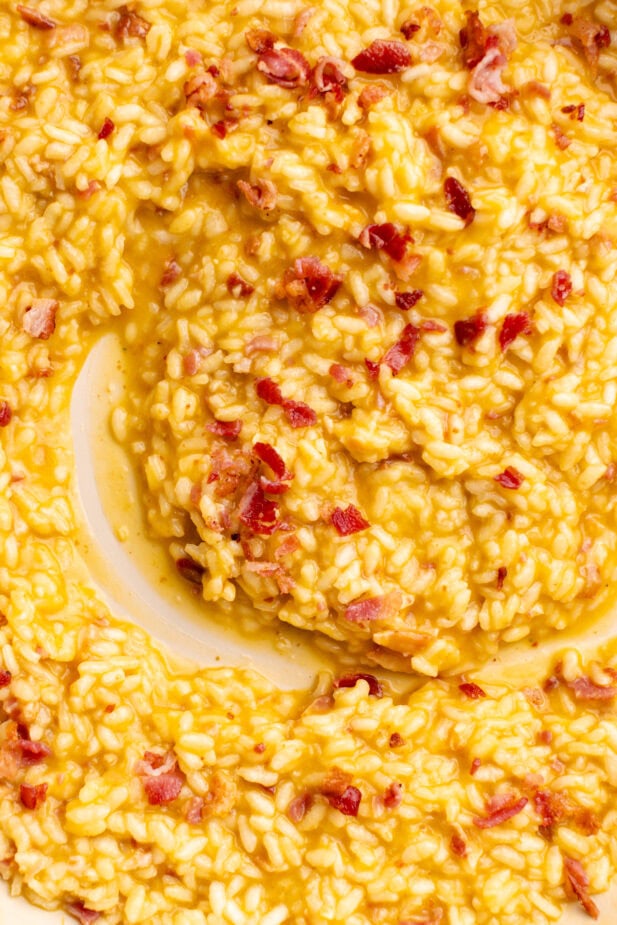
Finish – When the risotto has absorbed the majority of the broth and is al dente (if it isn’t al dente yet, continue adding broth), turn off the heat. The risotto should be loose with a creamy consistency but not completely soupy; it will come together on its own in the next few minutes. This particular risotto is a little thicker than most because of the addition of the pumpkin pureé. Add the bacon and Parmesan cheese and mix to incorporate. Serve immediately.

Risotto really should be enjoyed right away, however leftovers do happen. Pumpkin risotto can be stored in an airtight container in the fridge for 2-3 days. While you could microwave it, I highly recommend putting it back in a pan over low heat with a splash of broth to rehydrate it.
Did you know this site has a deep list of risotto recipes? Check out the below for more recipes!
Risotto alla Milanese // Kale & Pancetta Risotto
Lemon Parm Risotto // Cacio e Pepe Risotto
Spicy Vodka Risotto // Brown Butter & Sage Risotto
Creamy Tomato Risotto // Smoked Gouda Risotto
Lobster Risotto // French Onion Risotto
Risotto Carbonara // Crab Risotto
Corn Risotto // Mushroom Risotto
Roasted Garlic Mascarpone Risotto
 July 18, 2022
Pasta, Noodles & Grains
July 18, 2022
Pasta, Noodles & Grains  August 31, 2022
Pasta, Noodles & Grains
August 31, 2022
Pasta, Noodles & Grains  December 16, 2023
Pasta, Noodles & Grains
December 16, 2023
Pasta, Noodles & Grains  December 16, 2024
Pasta, Noodles & Grains
December 16, 2024
Pasta, Noodles & Grains
Pumpkin is one of my favorite ingredients to cook with and I loooooved it in this risotto! It made the risotto super creamy and fluffy, and the bacon gave it that salty flavor without being too much. I can’t wait to make this again!!