 January 6, 2022
Under 30 Minutes
January 6, 2022
Under 30 Minutes
January 6, 2022
Under 30 Minutes
January 6, 2022
Under 30 Minutes 


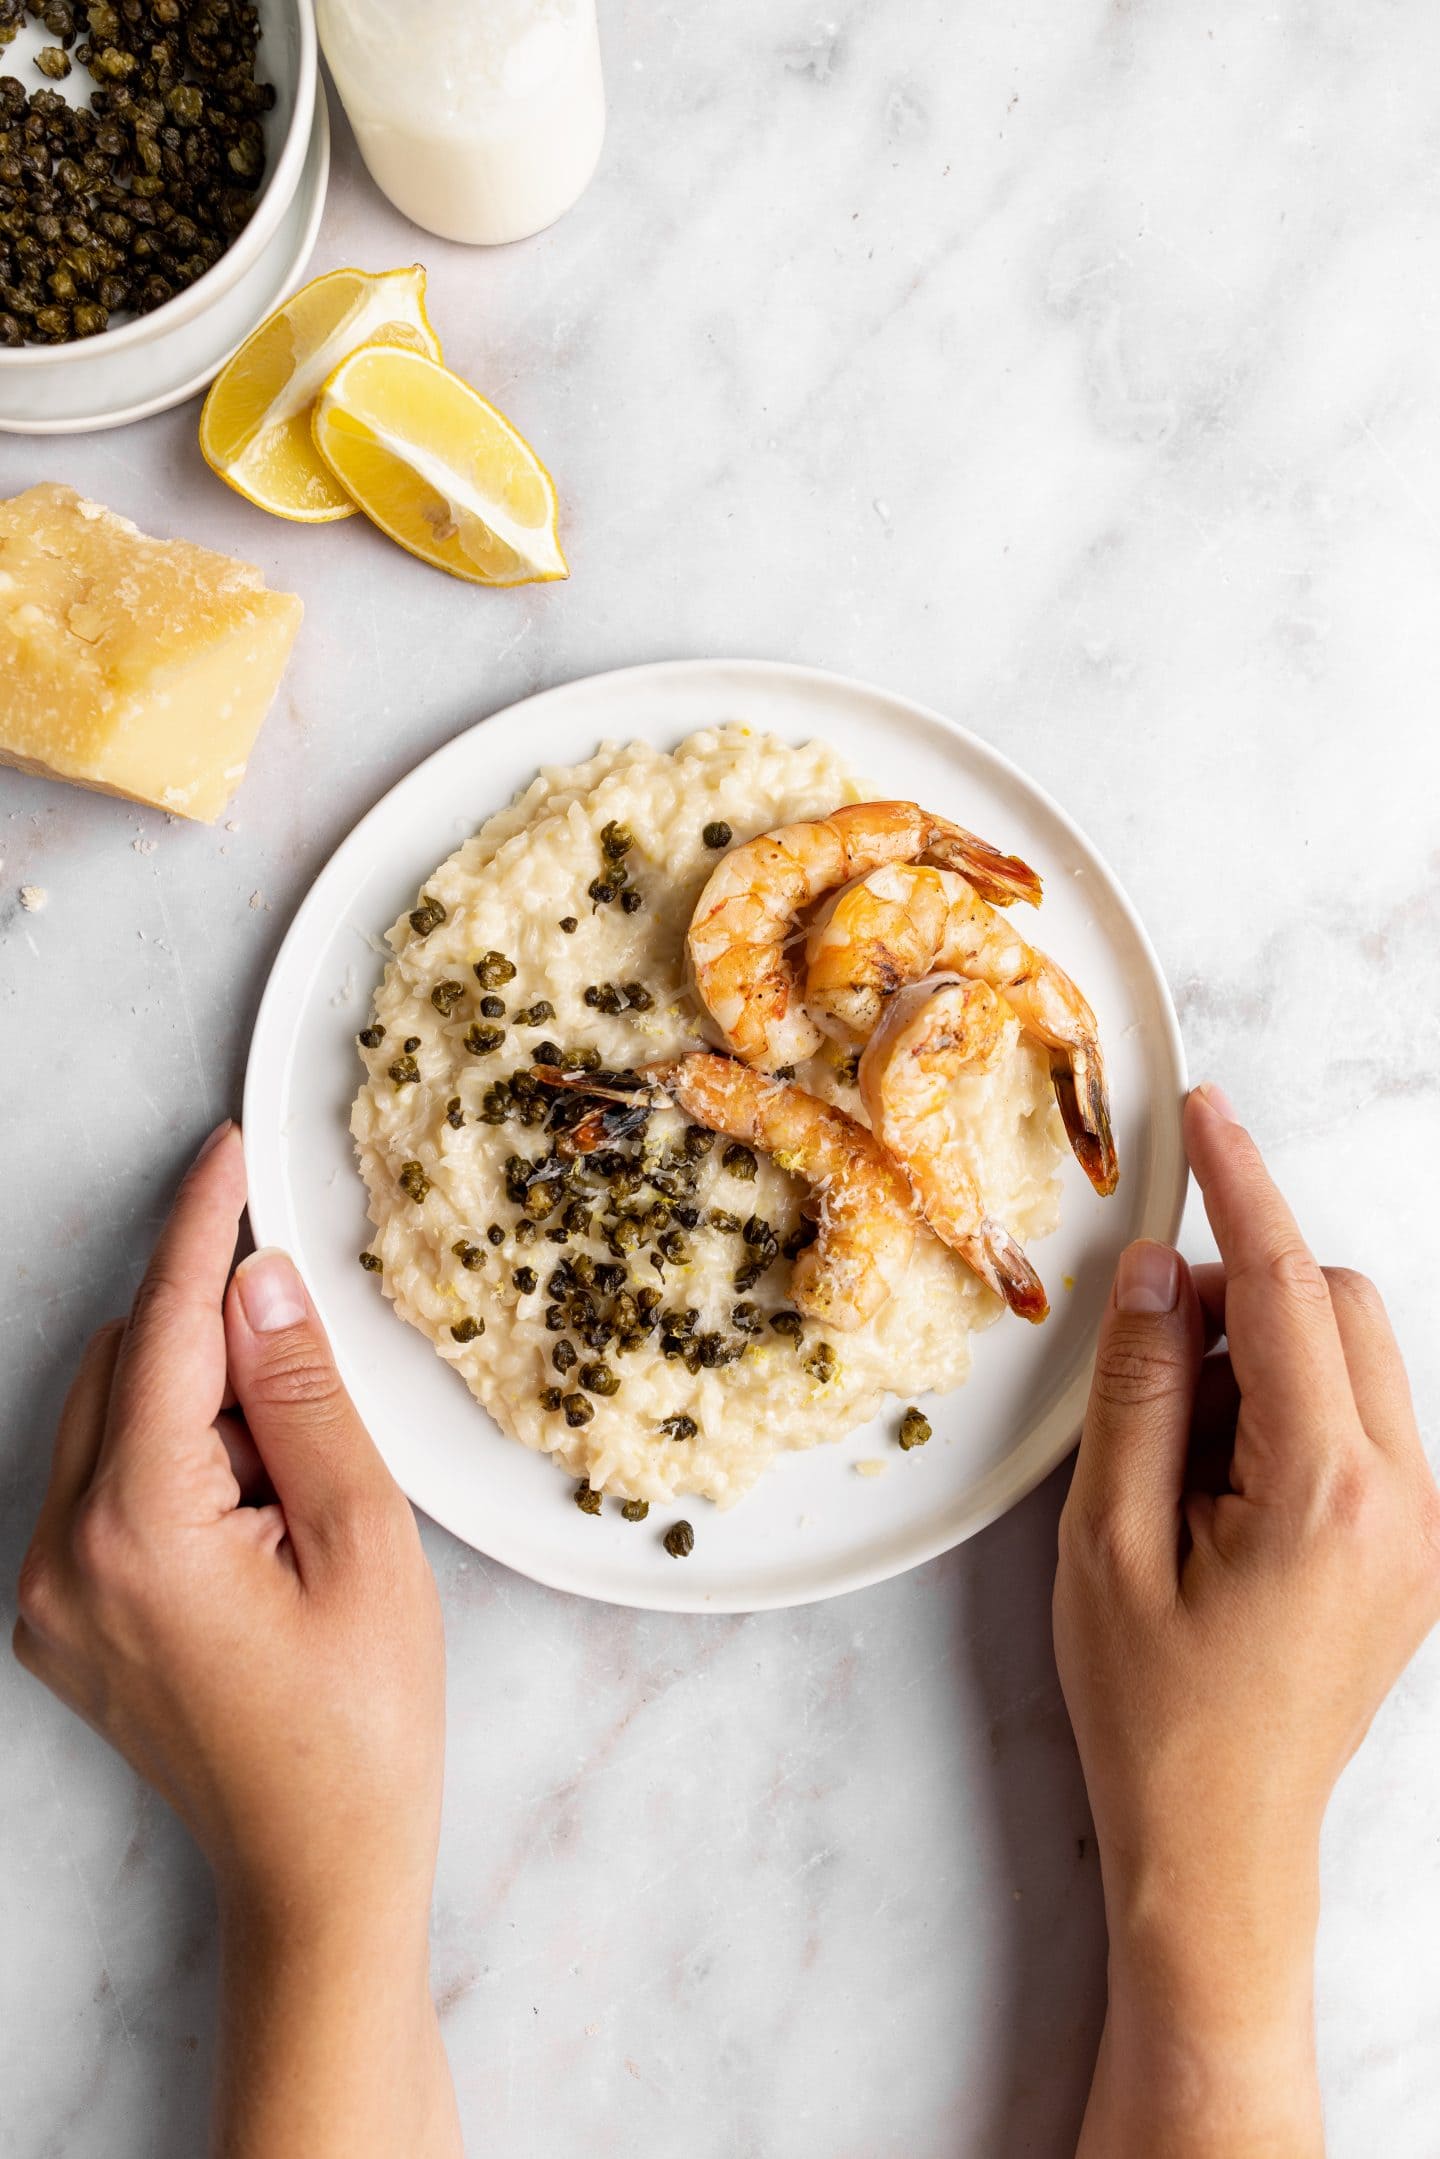
If I’ve learned one thing, it’s that people LOVE risotto, and this Creamy Parmesan & Lemon Risotto is definitely a recipe that’s hard not to love. With bright notes of zesty lemon and a velvety, creamy consistency, this dish is a must-make. This, dare I say, superior carb, is a blank canvas for endless flavor profiles. Once you learn the basics, you can make it any way you like, or stop by here for more risotto inspiration. Like my other risotto recipes (see bottom of the post for the list!), this quick and easy version can be made without that constant arm workout of endless stirring.

New to risotto? Then THIS is the recipe to start with. This rich risotto is straightforward (the shrimp and fried capers are completely optional, though highly recommended if you want to take this risotto up a notch) and always a crowd-pleaser, after all, who doesn’t love lemon, cream, and Parmesan? Unlike my Risotto alla Milanese, there aren’t any expensive tricky ingredients or techniques here, and the whole dish comes together in about 30 minutes, making it the perfect anytime meal.
Before you dive into the very detailed instructions below on how to make this beloved dish, I thought I’d give you some tips on how to make creamy, fool-proof risotto every time. Let’s be real, risotto has a bad rep, and it really shouldn’t considering that it’s a relatively easy dish to make. Below are some tips to keep in mind whether you are making this recipe or any of my others.
I can not express this enough: use the right rice. Since this is a rice dish, using the wrong rice will completely ruin the recipe. That long grain chilling in your pantry is NOT the right choice here. Arborio or even Carnaroli are great options that will yield a creamy risotto.
Risotto needs to be al dente, not mushy, or even worse, hard. It’s really easy to overcook or undercook risotto if you don’t know what to look for. When done, the rice will have a slight bite to it—think of the same bite that you get from perfectly cooked pasta. It should be loose, which means when you plate it, it should spread just a bit. By the time you get the rice to the table, it will absorb a little more of that liquid and be the perfect texture.
Risotto seizes fast; trust me, I know—I have spent countless hours across multiple recipes photographing it. Remember to serve immediately.
As mentioned above, the best pan for this is a wide sauté pan or a braiser. Do not make risotto in a Dutch oven or saucepan; it won’t cook evenly.
Truth is, I cook with feeling, not tablespoons. All the recipes on this site, one way or another, started with a pinch here and a taste there. When the dish comes together, then they are further tested, and true measurements are made.
Follow the recipe below, but cook with feeling. Taste the food as it is cooking. Does it need more salt? (FYI, different brands of salt have different saltiness levels.) You used all the broth yet it is still a little hard? Add a touch more broth. Don’t go making full substitutions, but trust yourself in the kitchen.
This risotto is a play on my Lemon Caper Pasta…. and all my other lemon caper recipes (I have a lot). What can I say? I love a good briny lemon combo. These little pops of salt and lemon flavor add so much brightness to a dish. However, adding capers straight out of the jar didn’t feel right. Once fried, these capers lose a lot of their vinegar taste and instead become nutty and crispy. Please don’t skip these! I know frying can be intimidating, so below are some tips on frying these little buggers.
Use a Small Pot – The smaller the pot the less oil you need to use. You are looking for about an inch of oil.
Drain and Dry – Make sure the capers are absolutely dry before placing them in the hot oil. Lay the capers out on a few layers of paper towels and pat them dry. Any moisture left on them will cause the oil to violently bubble and splatter.
Multiple rounds – Don’t be impatient here, fry a single layer of capers at a time. Depending on how many you are making this might be 2-3 rounds of frying.
Optional* Fry the Capers – Over medium heat, fill a small pot with about an inch of neutral, high–smoke point oil. While the oil is heating to 300°F, pat the capers dry. If you don’t have a thermometer, test the oil with a caper—it should bubble immediately on contact. Ladle in a spoonful of capers, careful not to overcrowd the pot. Fry for 3-5 minutes, until the capers have begun to crisp. Ladle the capers out and dry them out on a paper towel lined plate. Continue this process until all the capers are fried.
Warm the Broth – Before starting the risotto, place the broth on the stove over low heat. You want to keep the broth warm throughout the entire cooking process. Adding cold broth to the risotto will bring down the temperature, increasing the cooking time, and potentially alter the texture. Once the broth is warm either keep the pot over low heat or cover it and turn off the heat.
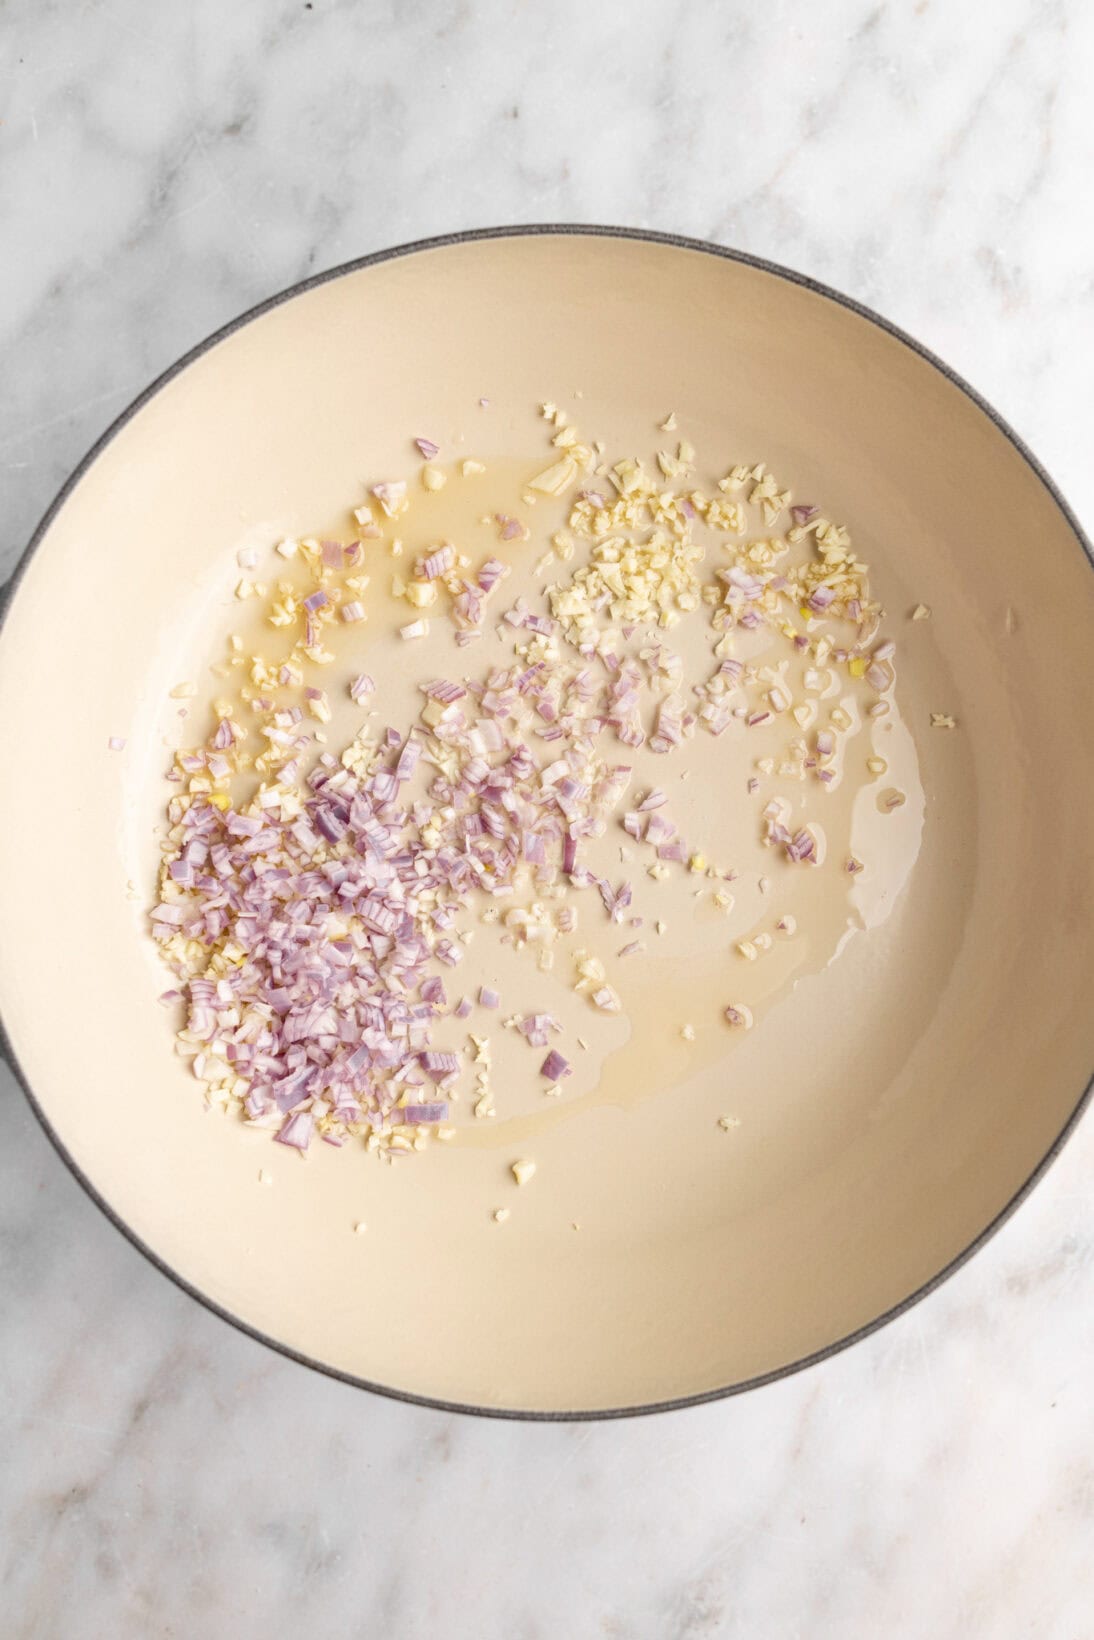
Sauté the base – Add butter to a wide pot or pan over low heat. Once hot, add the shallots, garlic, and a generous pinch of salt. Cook for 2-3 minutes until the aromatics are soft and fragrant, but not browned. If the garlic begins to brown, the heat is too high.
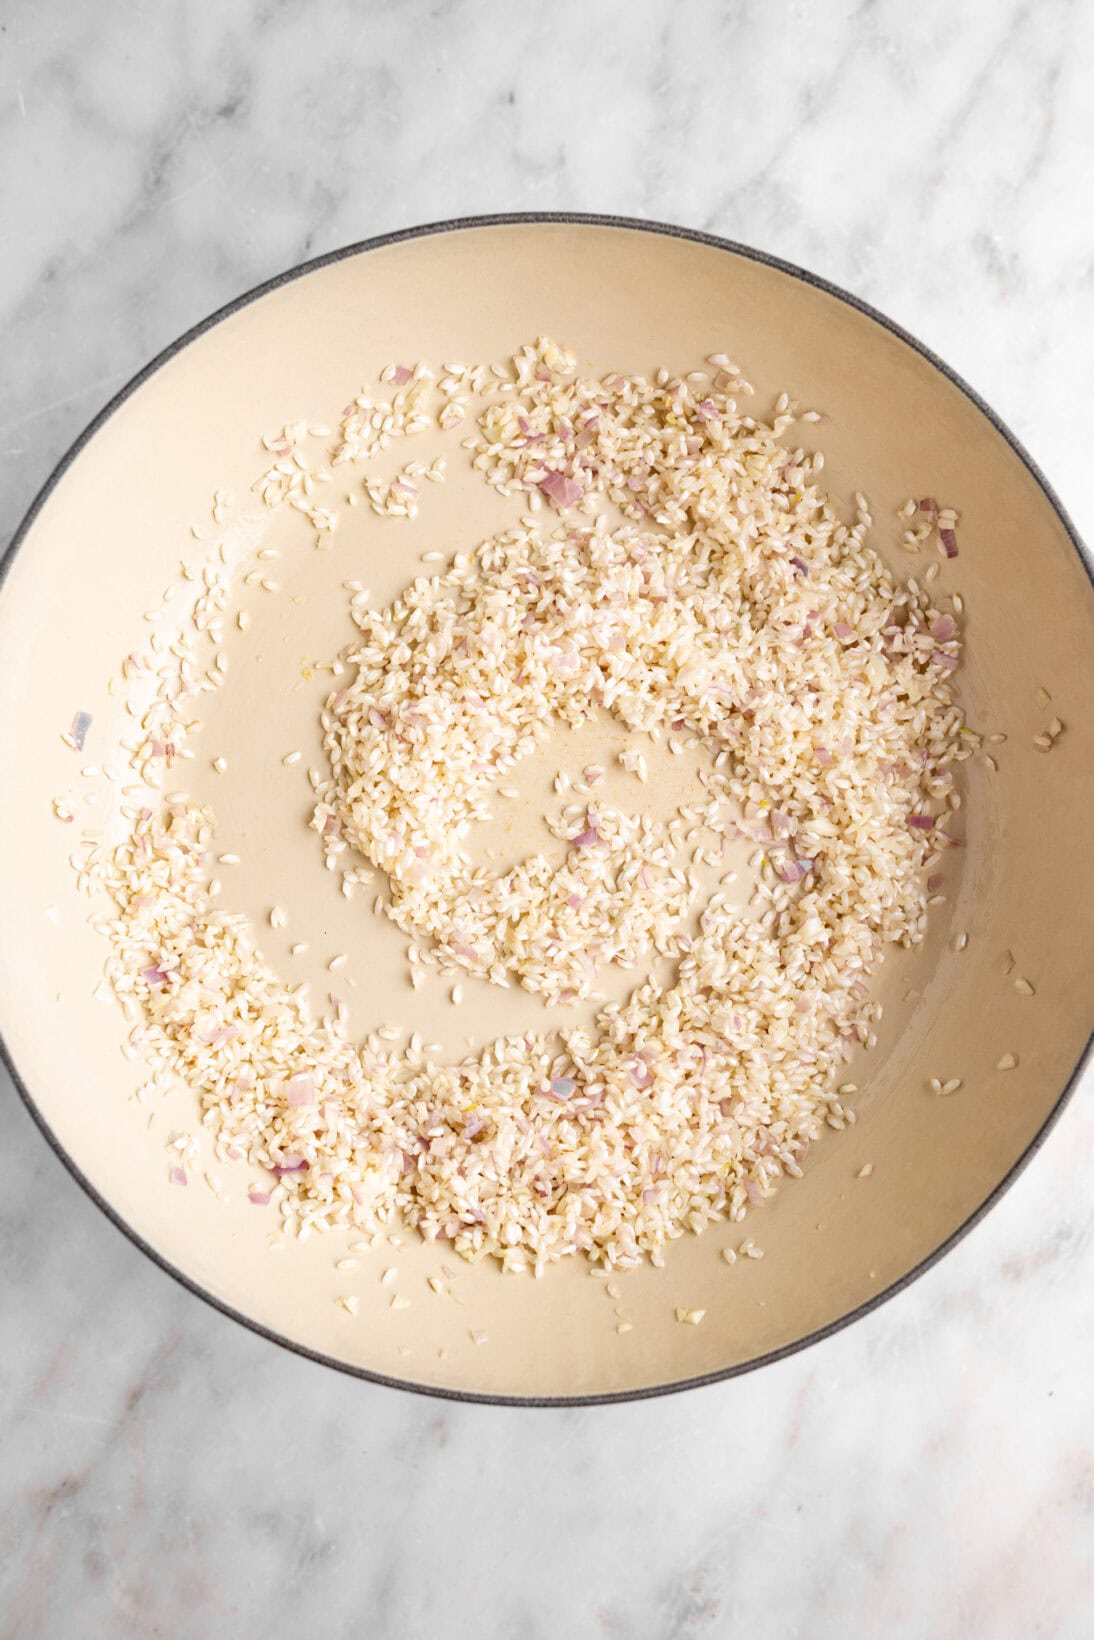
Toast the risotto – Add the dry, unwashed rice to the pan and toast it for 3-4 minutes until the grains start to become translucent. I cannot stress this enough: do not wash the rice beforehand. Washing the rice will strip it of the starches needed to make this dish super creamy.

Add the Wine – Add the wine and cook for another 2-3 minutes until the rice nearly absorbs it all. Typically you would cook wine off for longer, but the aborio rice will absorb most of it by the end of the 3 minutes.
Add the Broth – Once all the wine is nearly absorbed, it’s time to add the broth, lemon juice, and zest. Add the lemon juice, zest, and warm chicken broth to the risotto. But don’t add all the broth at once! For every cup of risotto, you need approximately 4-5 cups of broth, so have extra on hand. I found that with different brands of Arborio rice, I needed ±1 cup. My rule of thumb is to pour just enough broth to cover the risotto; when the broth starts to dip below the grains, it’s time to add more.
This is also the perfect time to add salt. I recommend salting once when you first add the broth (approx. 1/4-1/3 tsp) and then again after adding the cheese, as the cheese also contributes sodium to the dish.
Mix, Add, Shake – Mix 2-3 times per broth addition. If you end up mixing more, no biggie! You will naturally stir more the closer the risotto gets to being done. Also, give the pan a stir or shake midway to ensure the rice isn’t sticking to the bottom. Once the broth has mostly absorbed, add more.
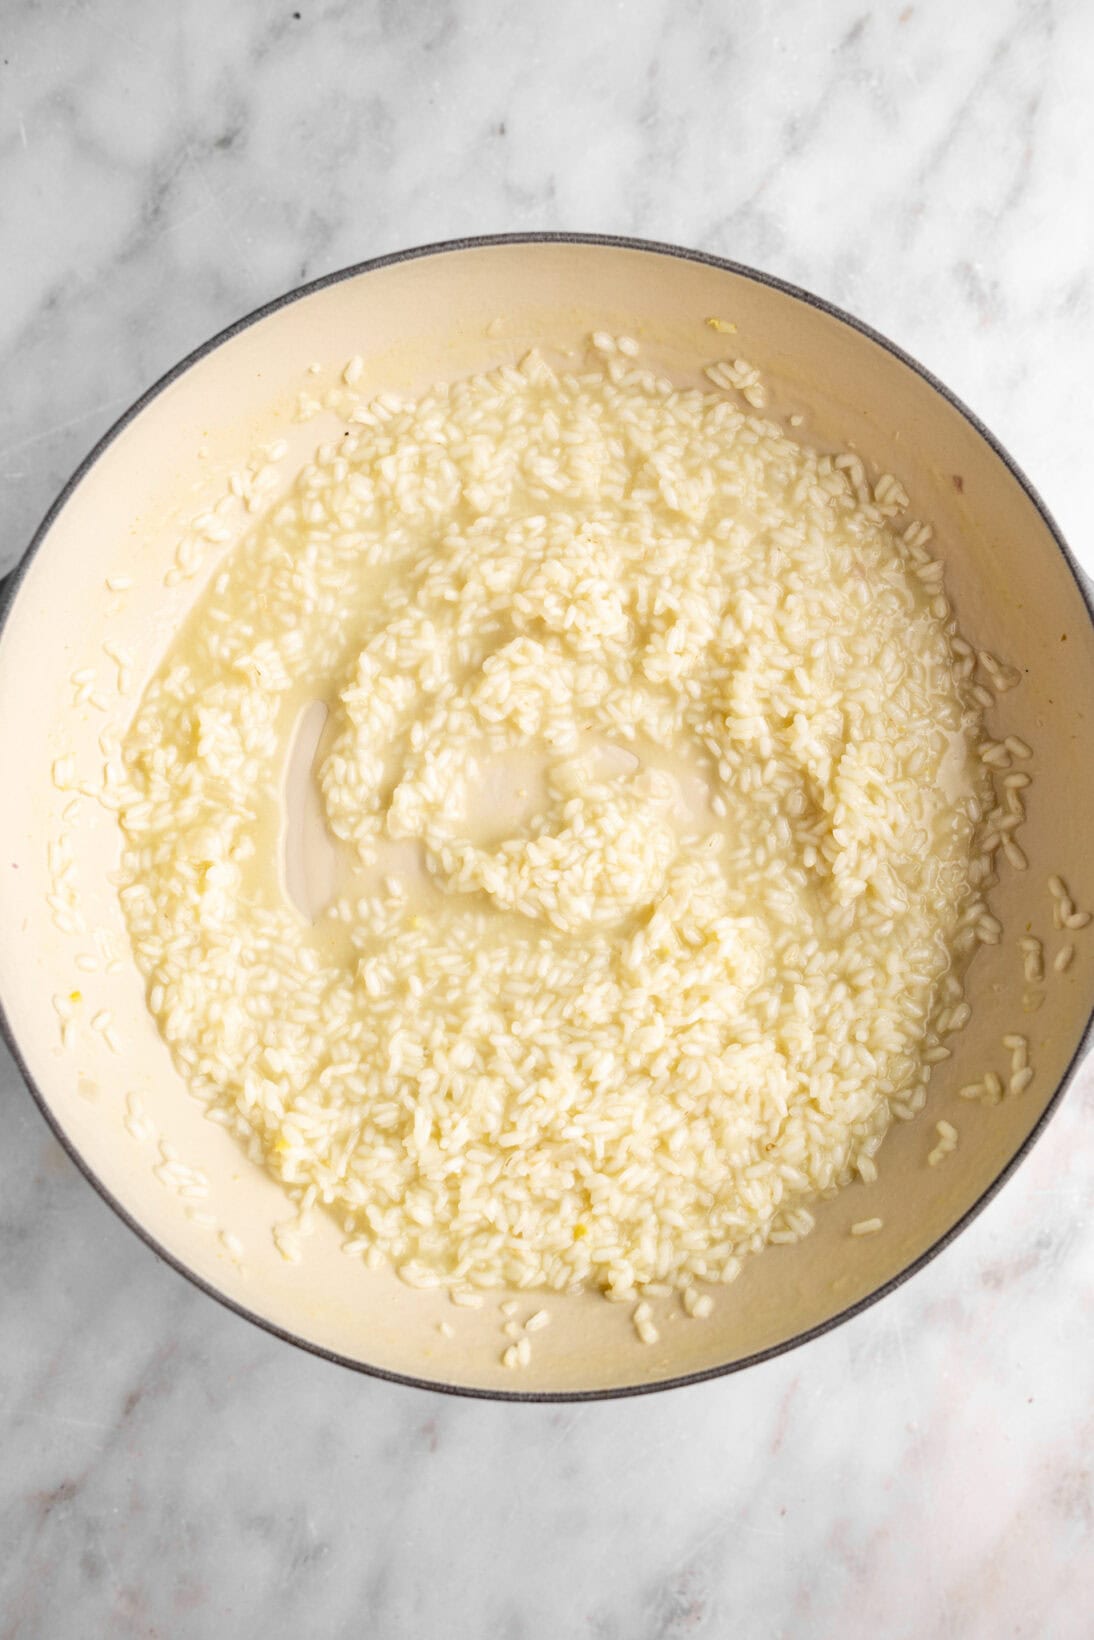
Around the 4-cup mark, taste the rice. Is it al dente? Is it too hard? This is the time to use your intuition; you might not need all 5 cups of broth. Risotto should be al dente when done, similar to the bite of perfectly cooked pasta. The risotto should be loose but not completely soupy; it will come together on its own in the few minutes after adding cheese and bringing it to the table.
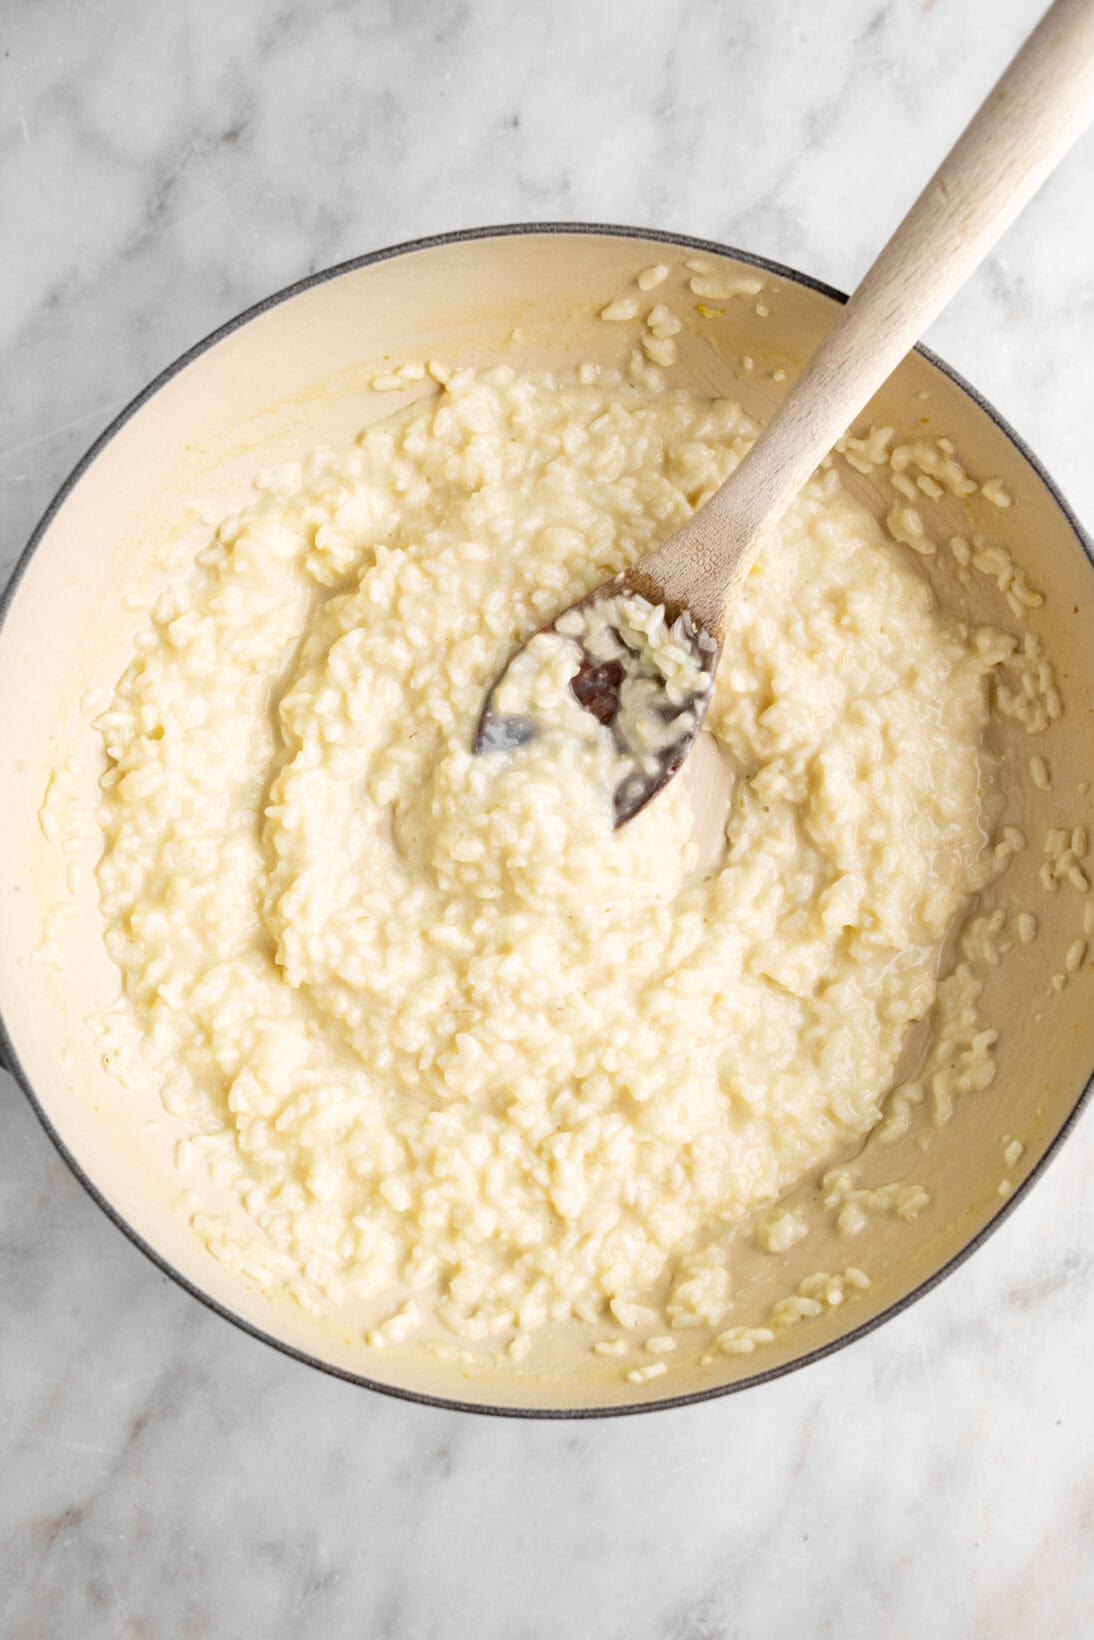
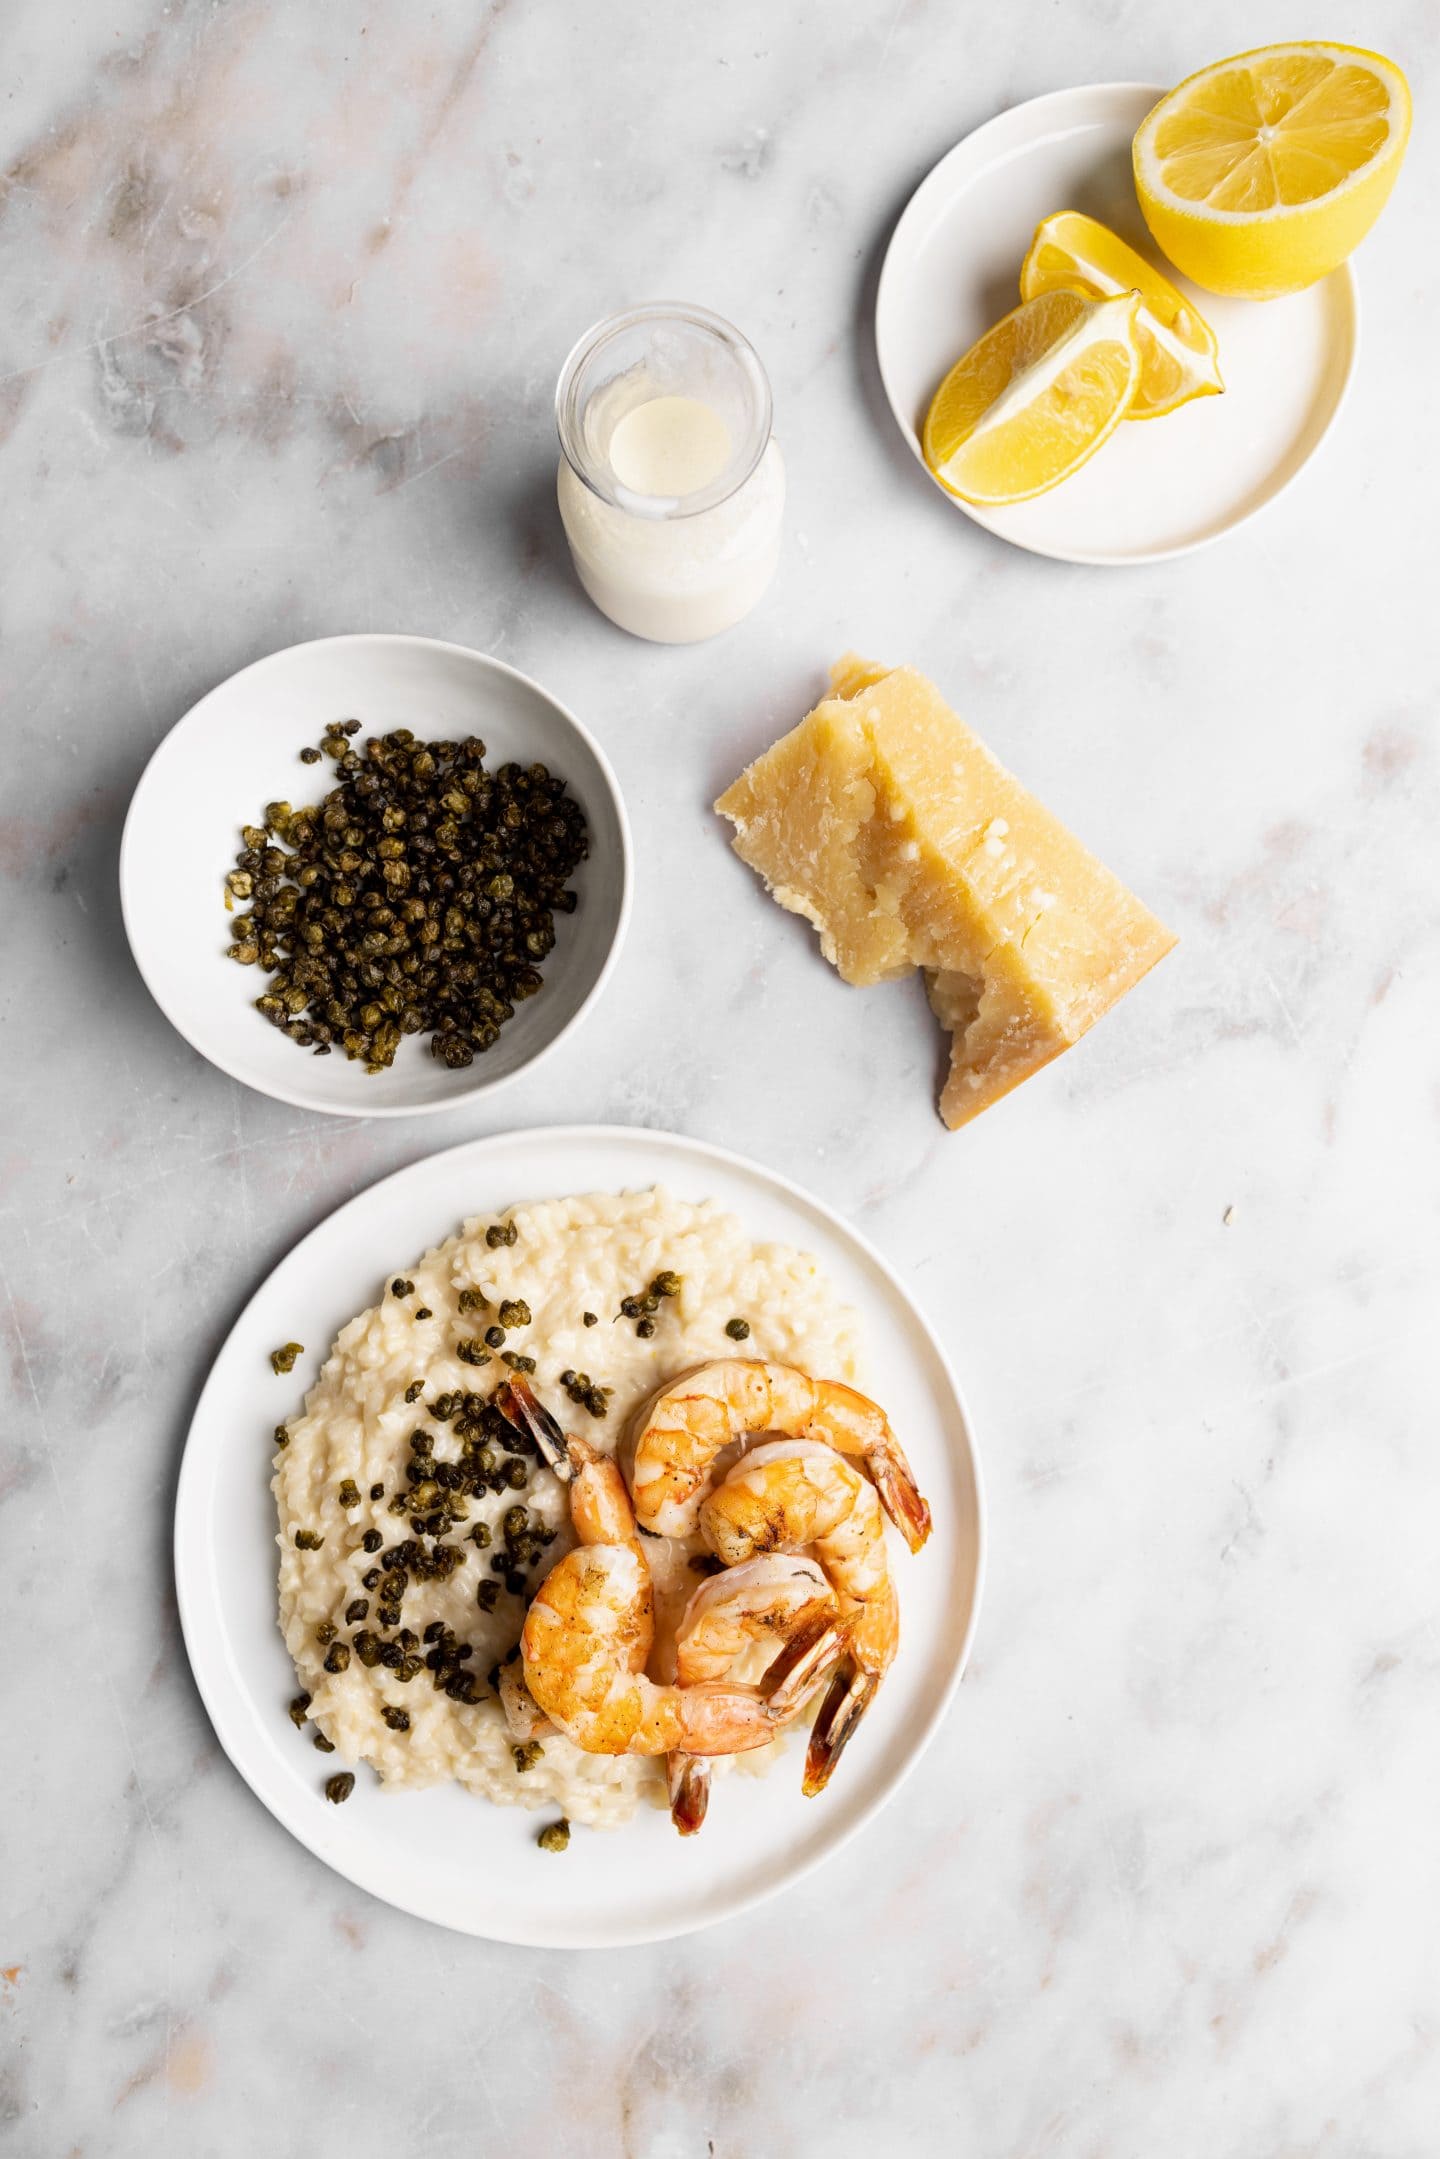
Finish & Serve – When the risotto has absorbed the majority of the broth and is al dente (if it isn’t al dente yet, continue adding broth) turn off the heat. Add the Parmesan cheese, heavy cream, and mix to incorporate. The risotto will be a tad loose, don’t worry by the time you bring it to the table it will come together. Optional: Top with shrimp and fried capers and serve immediately.
What can I serve with this? The recipe calls for grilled (or roasted) shrimp, topped with capers, however this lemon risotto recipe is a blank canvas for protein and would also pair nicely with gently cooked lobster or scallops. If you are looking to make this a more vegetable forward dish consider roasted asparagus of broccolini.
This is the part of the risotto post where I tell you that this lemon risotto won’t bounce back the same way. Risotto is meant to be enjoyed immediately, so please do so and enjoy it right away. Leftovers can be stored in the refrigerator for 2-3 days in an airtight container.
The best way to reheat, is to place the risotto back in a pan over low heat with a splash of chicken broth to loosen it, and add moisture back into the rice. OR use your leftover risotto for my Risotto Cakes recipe.
Looking for more risotto recipes? You have come to the right place! Check out the collection below!
Risotto alla Milanese // Kale & Pancetta Risotto
Pesto Risotto // Cacio e Pepe Risotto
Spicy Vodka Risotto // Brown Butter & Sage Risotto
Creamy Tomato Risotto // Smoked Gouda Risotto
Lobster Risotto // French Onion Risotto
Risotto Carbonara // Crab Risotto
Corn Risotto // Mushroom Risotto
Roasted Garlic Mascarpone Risotto
 January 6, 2022
Under 30 Minutes
January 6, 2022
Under 30 Minutes  March 1, 2022
Pasta, Noodles & Grains
March 1, 2022
Pasta, Noodles & Grains 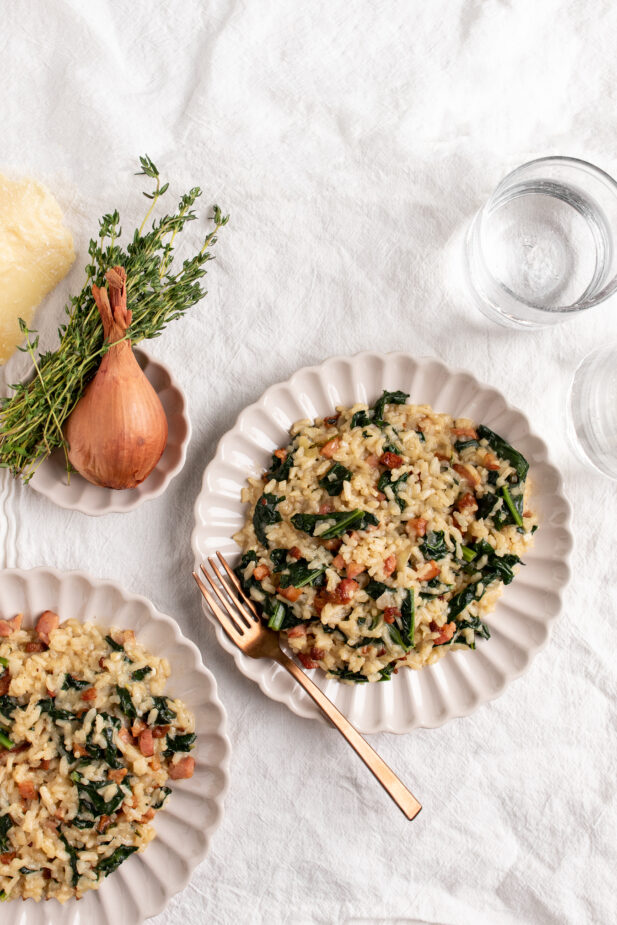 July 18, 2022
Pasta, Noodles & Grains
July 18, 2022
Pasta, Noodles & Grains 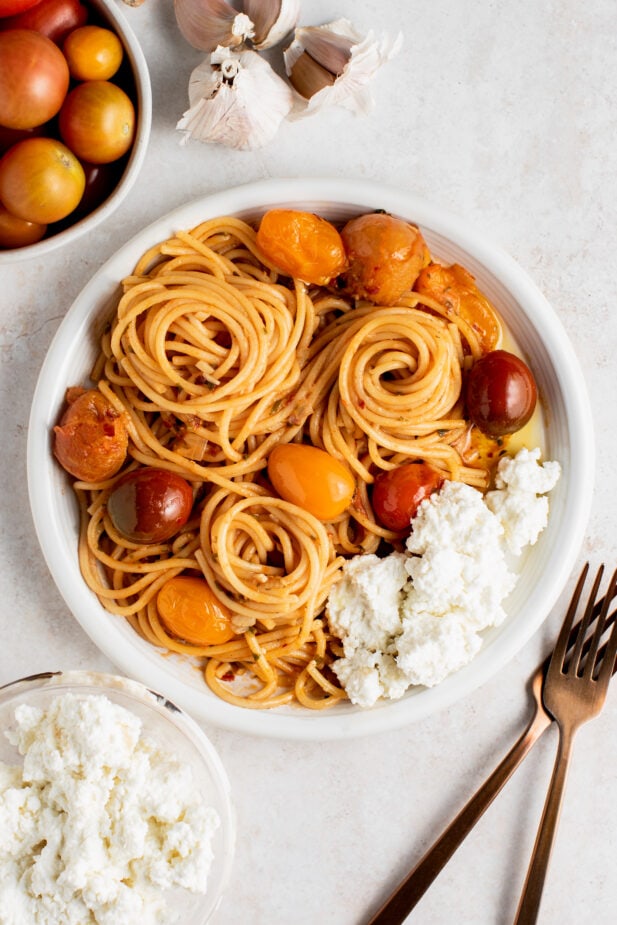 September 16, 2021
Recipes
September 16, 2021
Recipes
This is a huge favorite with my family. My daughter special requested it…..she’s visiting from out of state for her birthday.
We love the creamy, tangy, cheesy deliciousness and enjoy this dish several times a year. Great recipe!