 July 18, 2022
Pasta, Noodles & Grains
  July 18, 2022
Pasta, Noodles & Grains
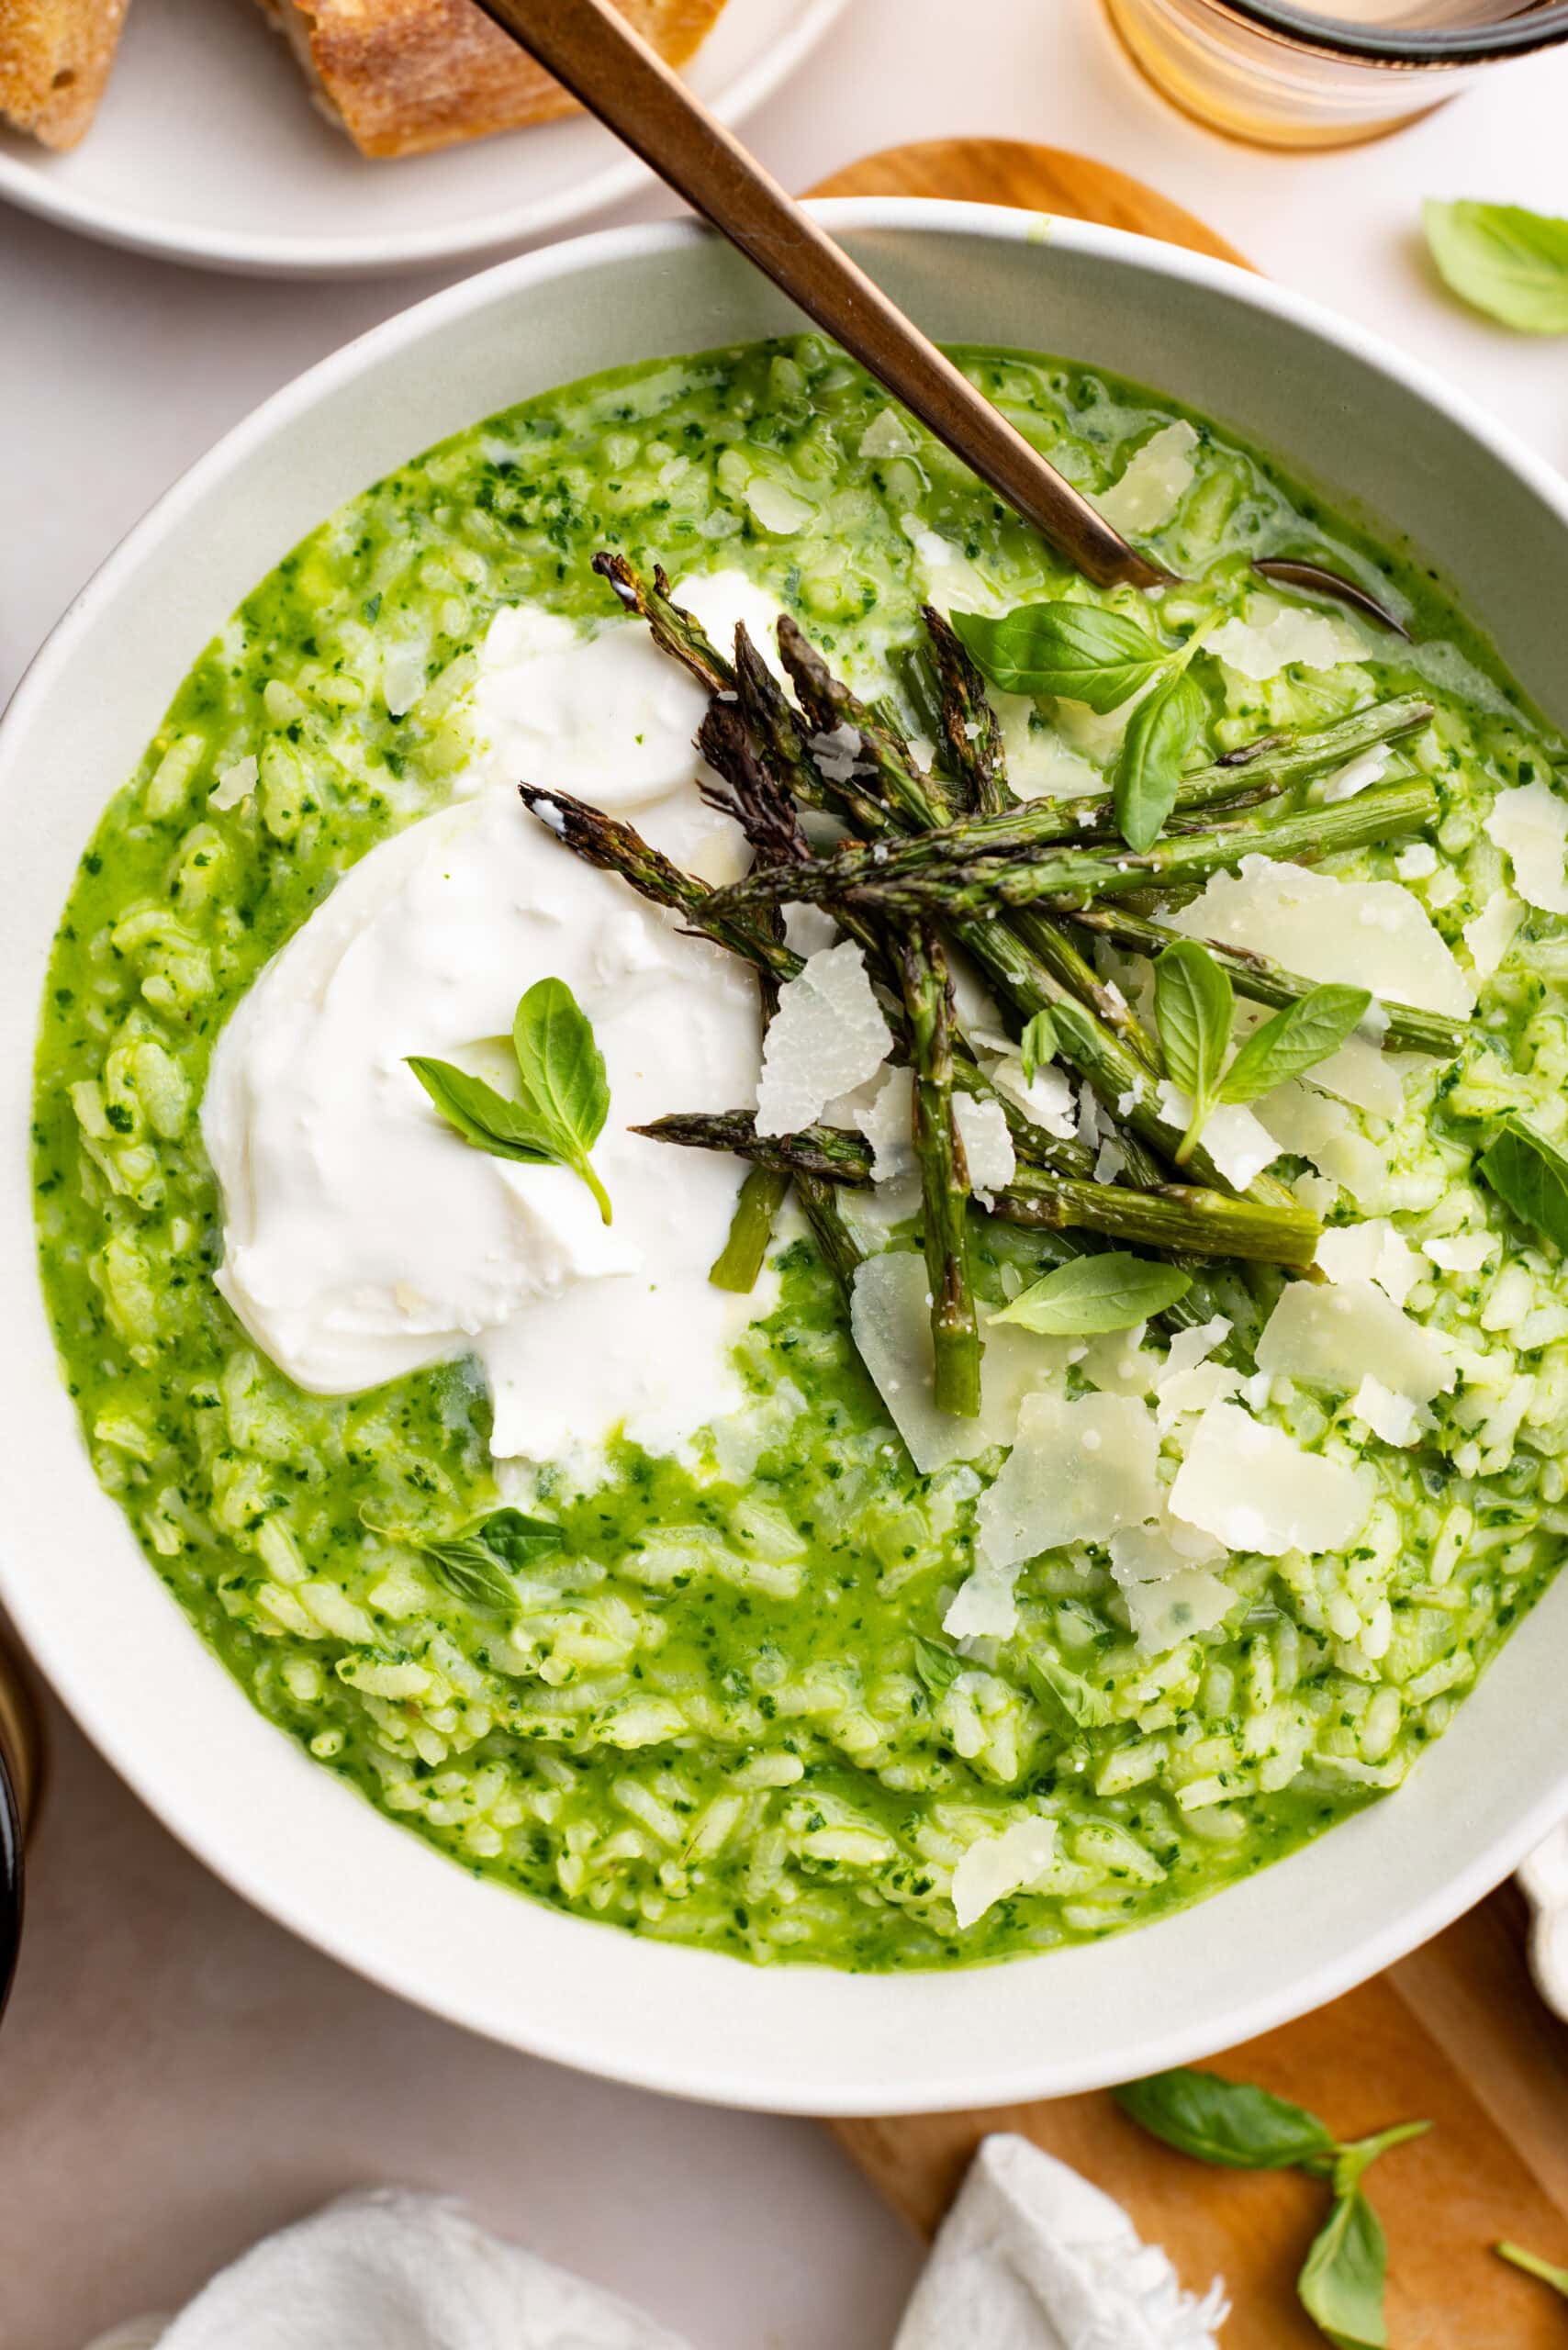
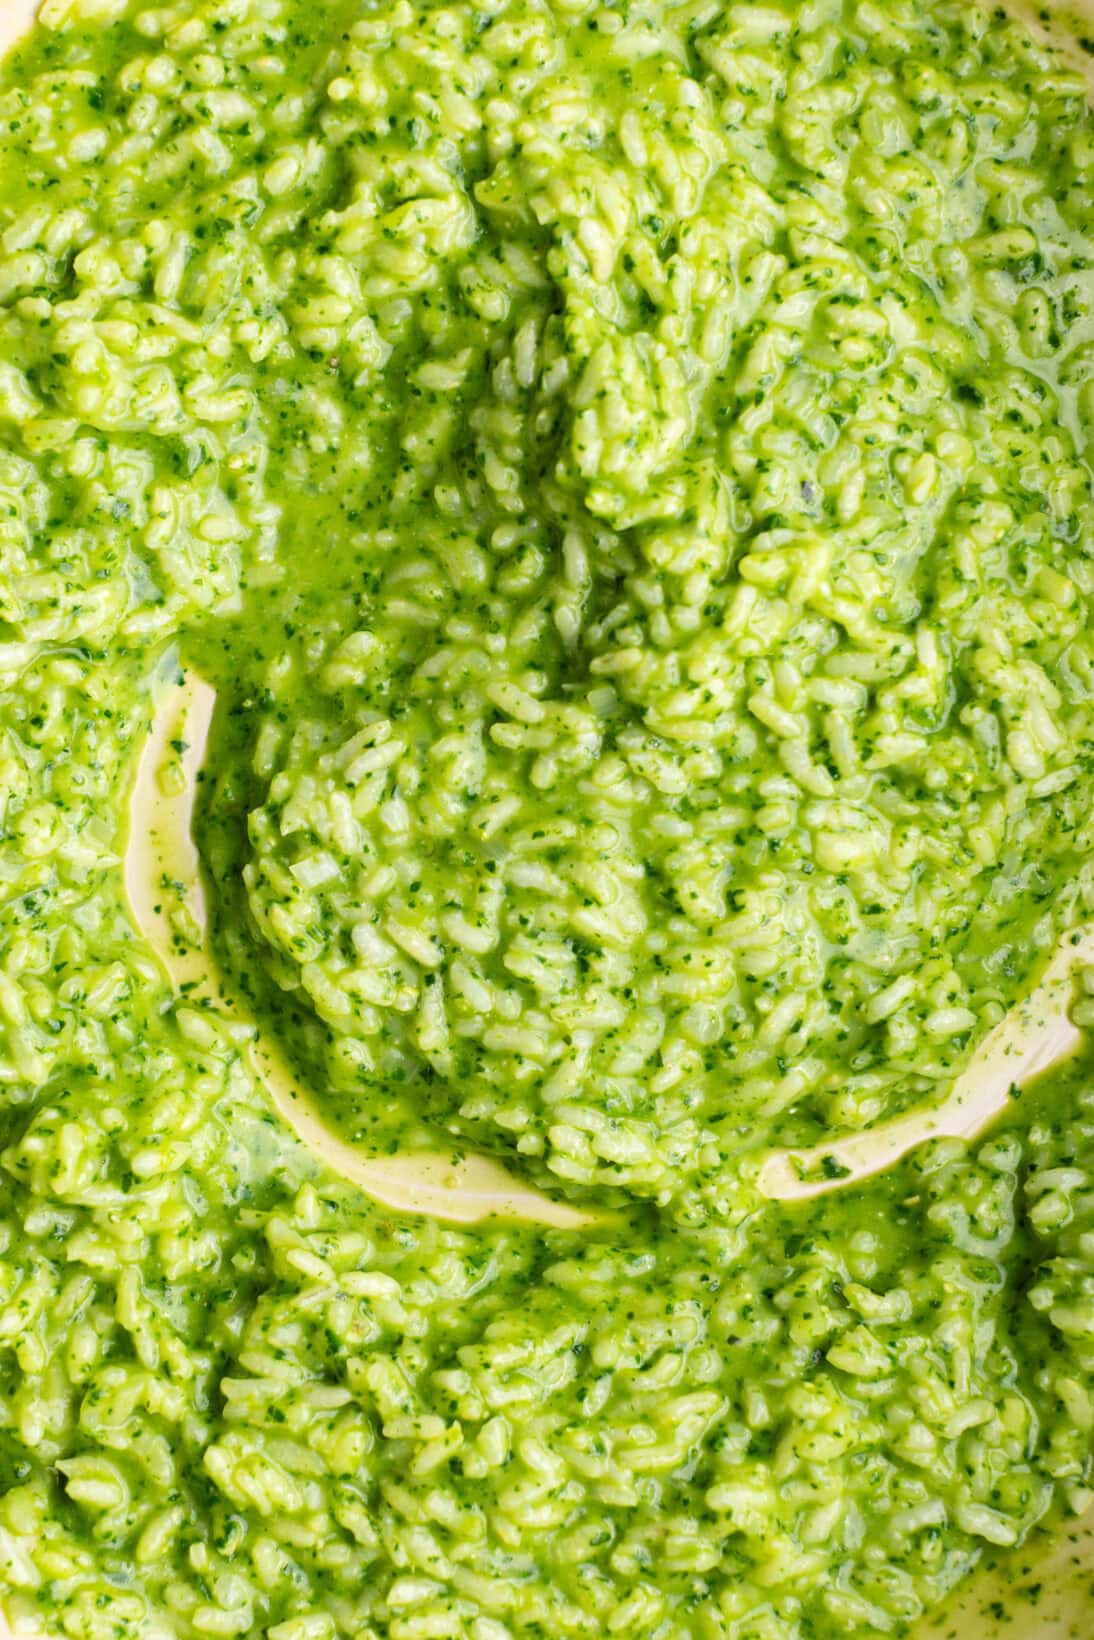
So you want to make a unique risotto, but you don’t want to put in a ton of extra effort. Or maybe you just really love pesto. This Pesto Risotto combines two iconic Italian dishes into one, with herbaceous, nutty pesto folded into a creamy, velvety risotto. It’s a no-constant-stir risotto (not looking for an arm workout) that’s easy enough for a weeknight dinner but elevated enough to serve at a dinner party.
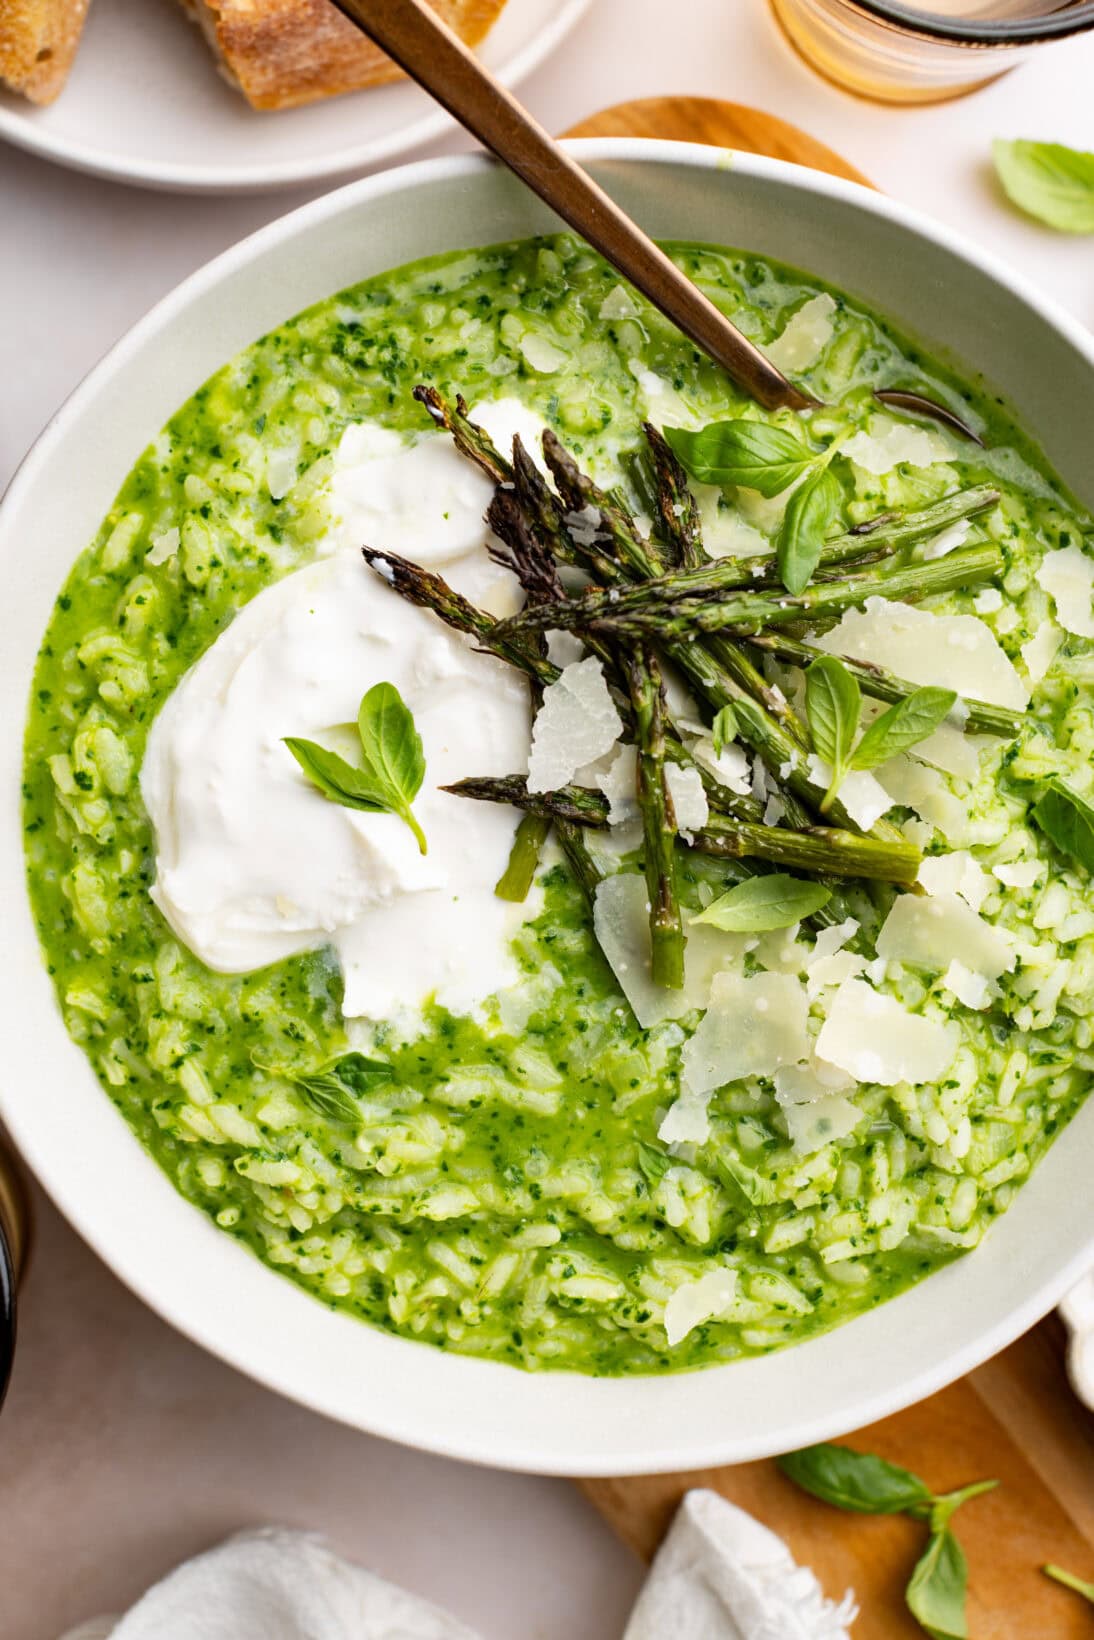
I mention this a few times below, but I need to highlight it: use the right rice. Since this is a rice dish, using the wrong rice will completely ruin the recipe.
Risotto should be al dente, not mushy, or even worse… hard. It’s relatively easy to overcook or undercook risotto if you don’t know what to look for. When done, risotto will have a slight bite to it, think of the same bite you get from perfectly cooked pasta. It will be loose when you plate it, it should spread a bit. By the time you get the rice to the table, it will absorb a bit more of that liquid and be the perfect texture.
Keep in mind risotto seizes fast; trust me—I’ve spent countless hours across 15 recipes photographing it. Remember to serve immediately. Or, make it a day ahead to fry up some Risotto Cakes.
As mentioned under ‘tools’, the best pan to use is a wide sauté pan or a braiser. Do not make risotto in a Dutch oven or saucepan; it won’t cook evenly.
Truth is, I cook with feeling, not tablespoons. I always say cooking is 80% the recipe and 20% intuition. All the recipes on this site, one way or another, started with a pinch here and a taste there. When the dish comes together, then they are further tested, and true measurements are assigned.
Follow the recipe below, but cook with feeling. Taste the food as it’s cooking. Does it need more salt? You used all the recommended broth yet it is still a little hard? Add a touch more. Don’t go making full substitutions, but trust yourself in the kitchen. Everyone’s stove and kitchen are different and conider that when cooking from a recipe (not just this one).
Wide Pan – To properly cook risotto, you need ample surface area. A sauté pan, braiser, or large skillet works well. I personally avoid deep pots and Dutch ovens, as they often lead to uneven cooking. Think wide and shallow.
Warm the Broth – Before you begin, the chicken broth needs to be heated. Why? Because warm broth helps maintain a consistent temperature as you cook, resulting in a smoother, creamier risotto. Not to mention a cold broth slows down the cooking process. In a large pot over medium heat, bring the chicken broth to a simmer. Once it’s hot, either turn off the heat and cover it, or reduce it to a gentle simmer while you cook the risotto.
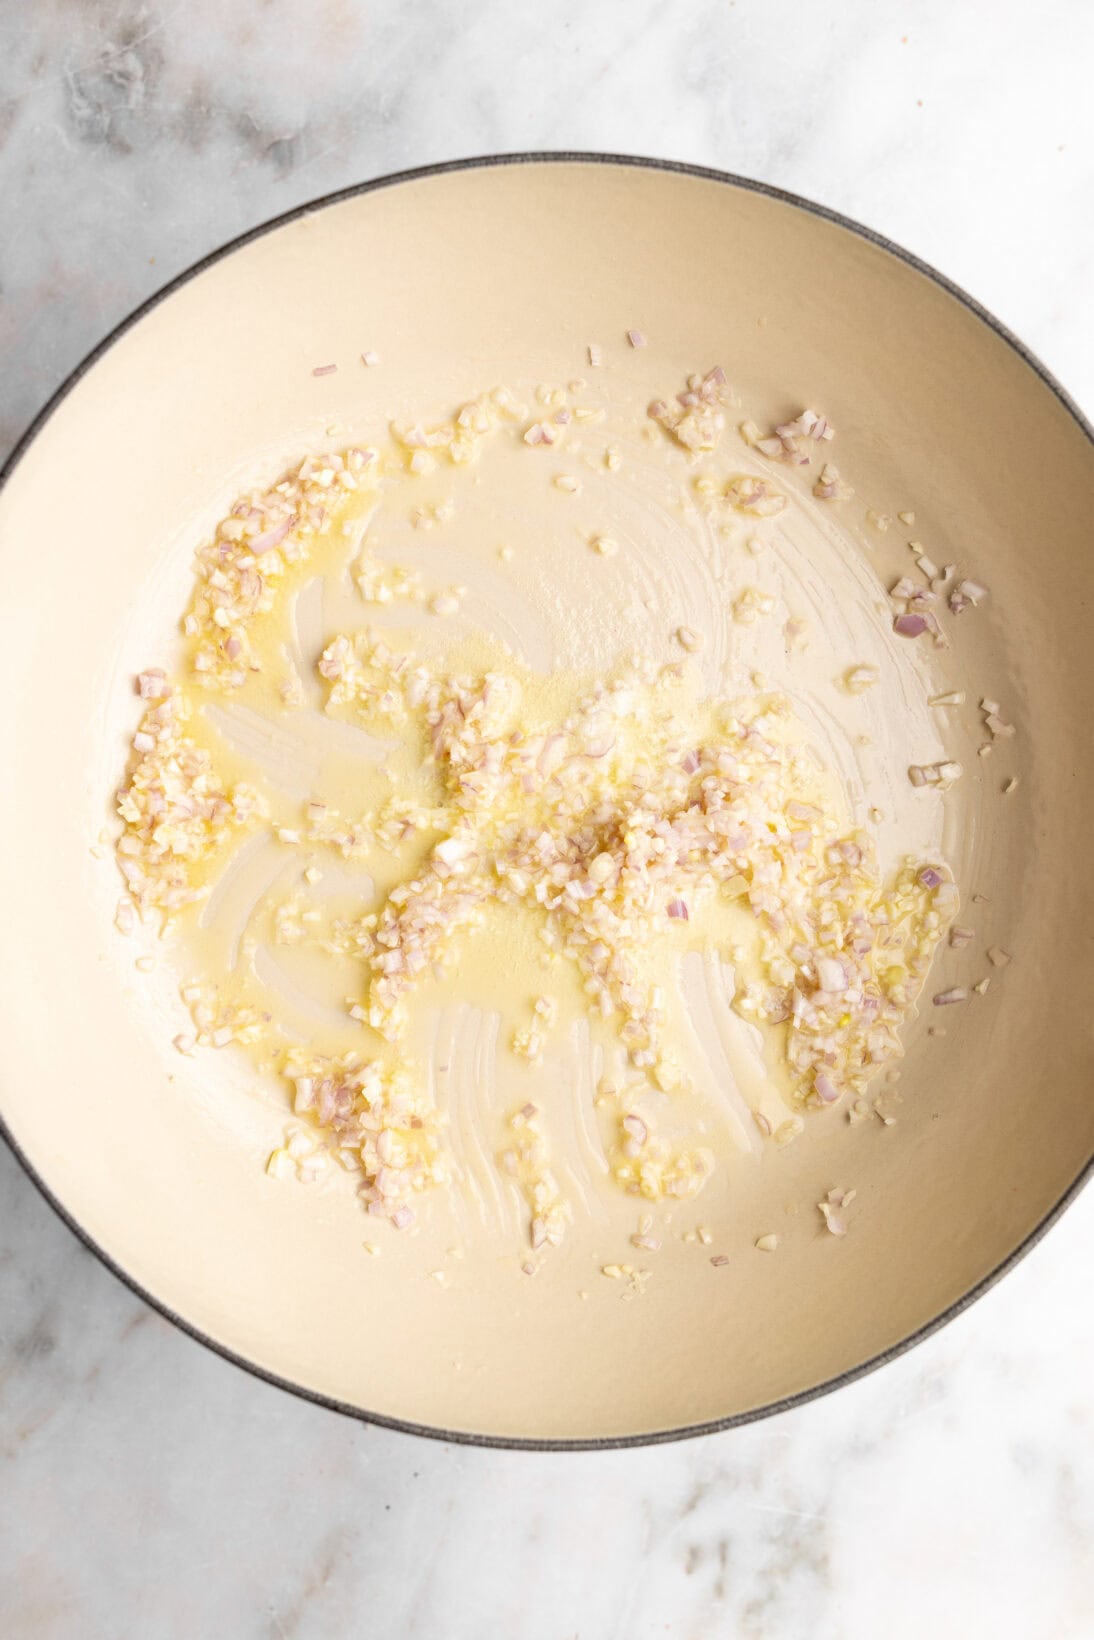
Sauté the base – To a wide pan over medium-low heat, add 3 tbsp of butter. Once melted and hot add in the minced garlic and shallots. Cook for 2-3 minutes until soft and fragrant, but not brown. If either begin to brown lower the heat.
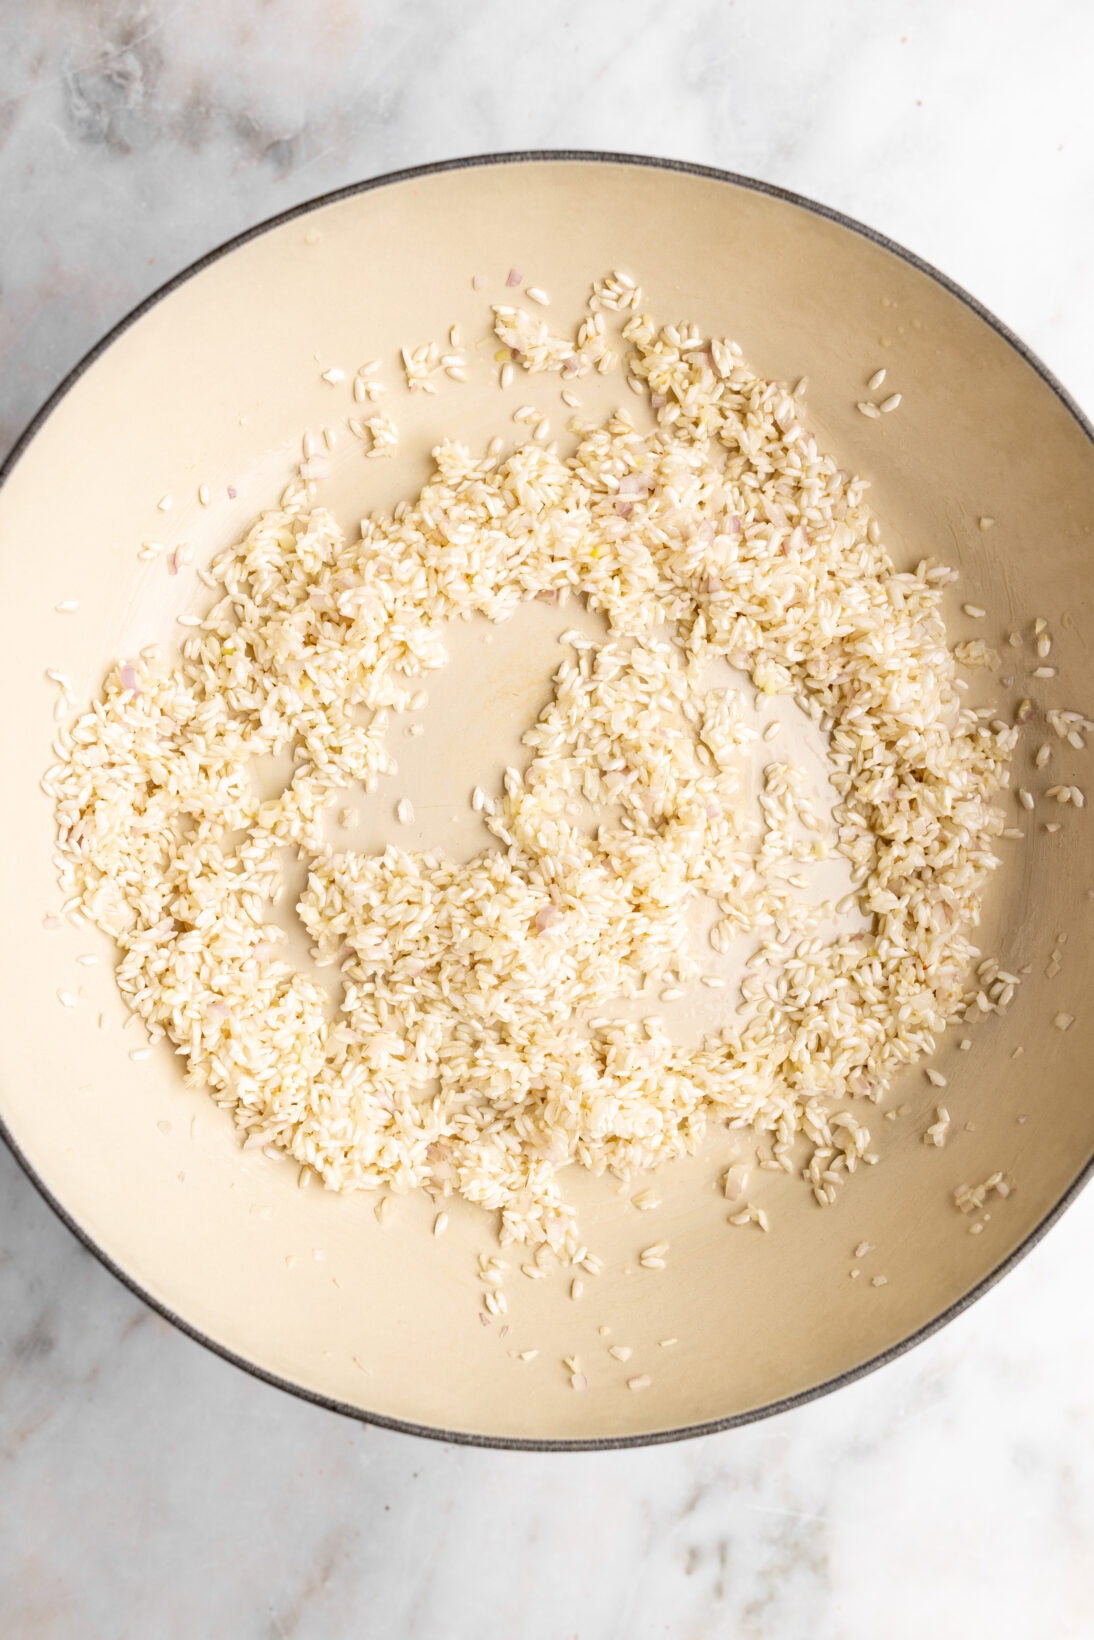
Toast the Risotto – Toss in the unwashed rice to the pan and toast it for 2–3 minutes, stirring every few seconds to ensure even toasting. I’m going to say it again… do not wash the rice. Rinsing the rice removes the starch that’s essential for achieving the rich, creamy texture risotto is known for.
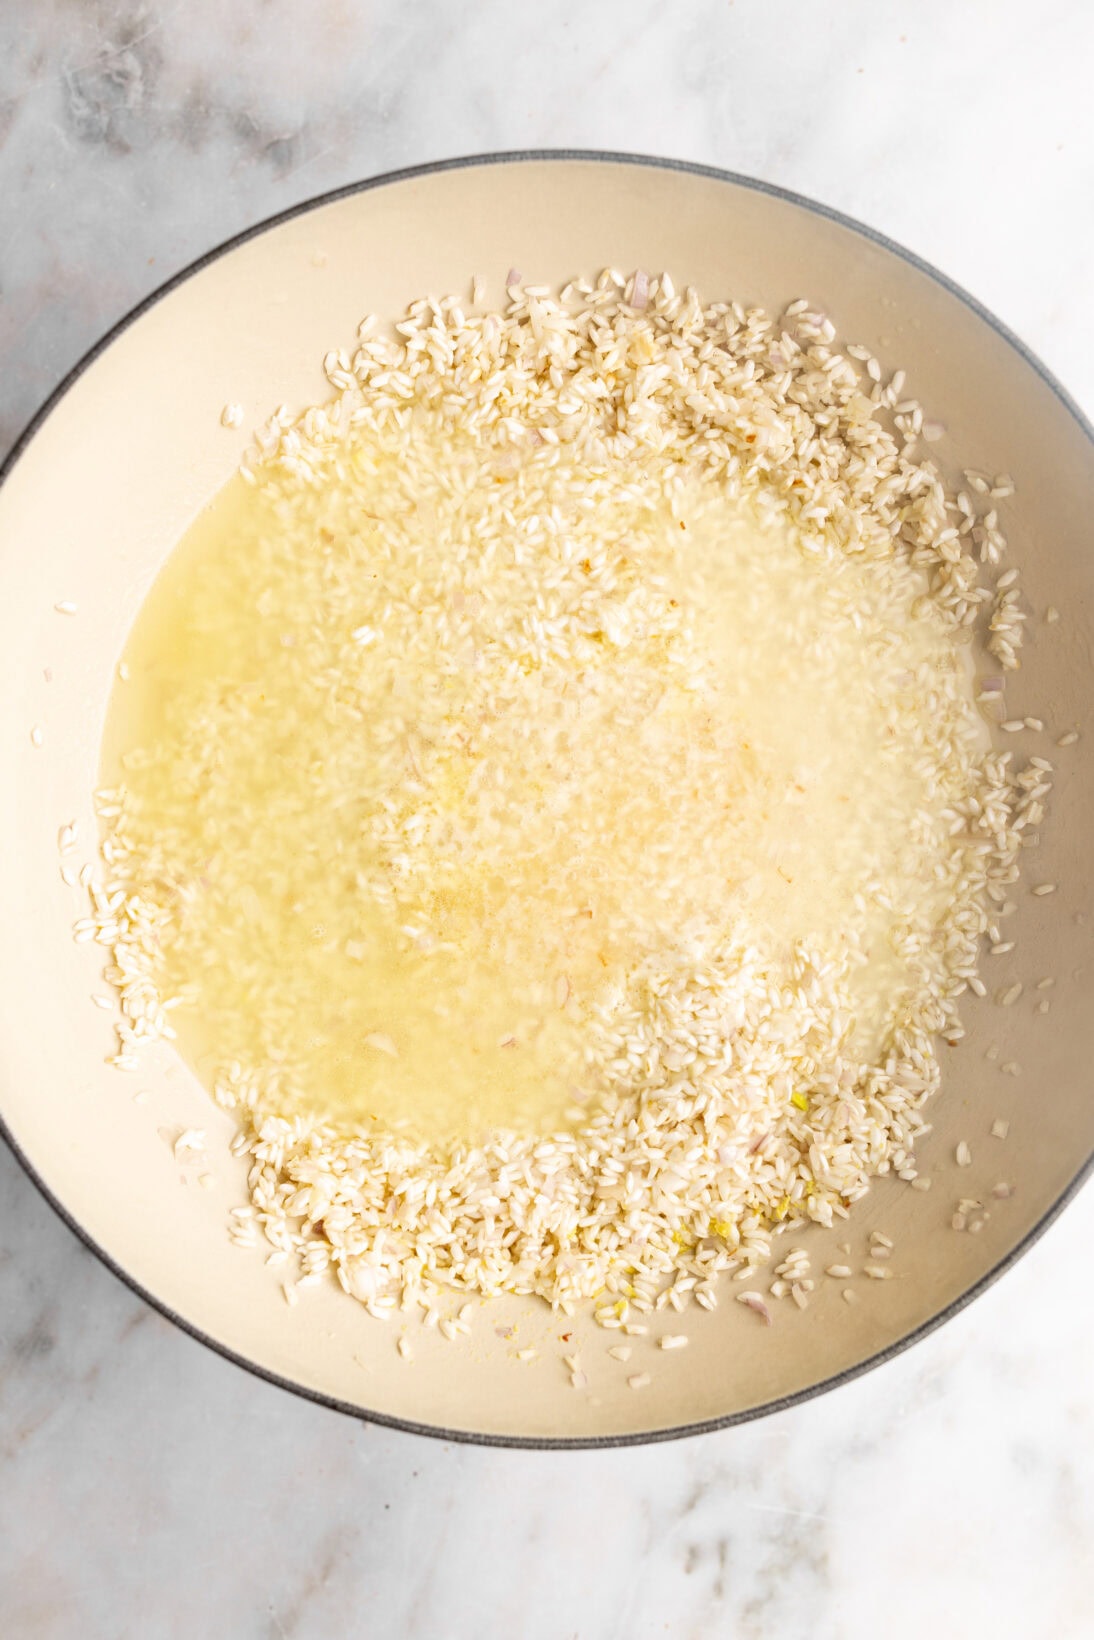
Add the Broth – Ladle in the warm broth to the risotto, but not all at once! For every cup of risotto, you need approximately 4-5 cups of broth (might be less depending on the brand of rice). Always have extra on hand to account for evaporation. My rule of thumb is to pour just enough broth to cover the risotto. When the broth starts to dip below the grains, it is time to add more.
This is also the time to season with salt. I leave the amount up to you. It will all depend on how salty your chicken broth is, and the brand of kosher salt you are using (fun fact! different brands have different saltiness levels). After the first addition of broth, give it a taste (avoiding the rice) and add more salt if needed. I usually start with a generous pinch of salt early on (approx. 1/4-1/3 tsp), then fine-tune it just before the risotto is finished.
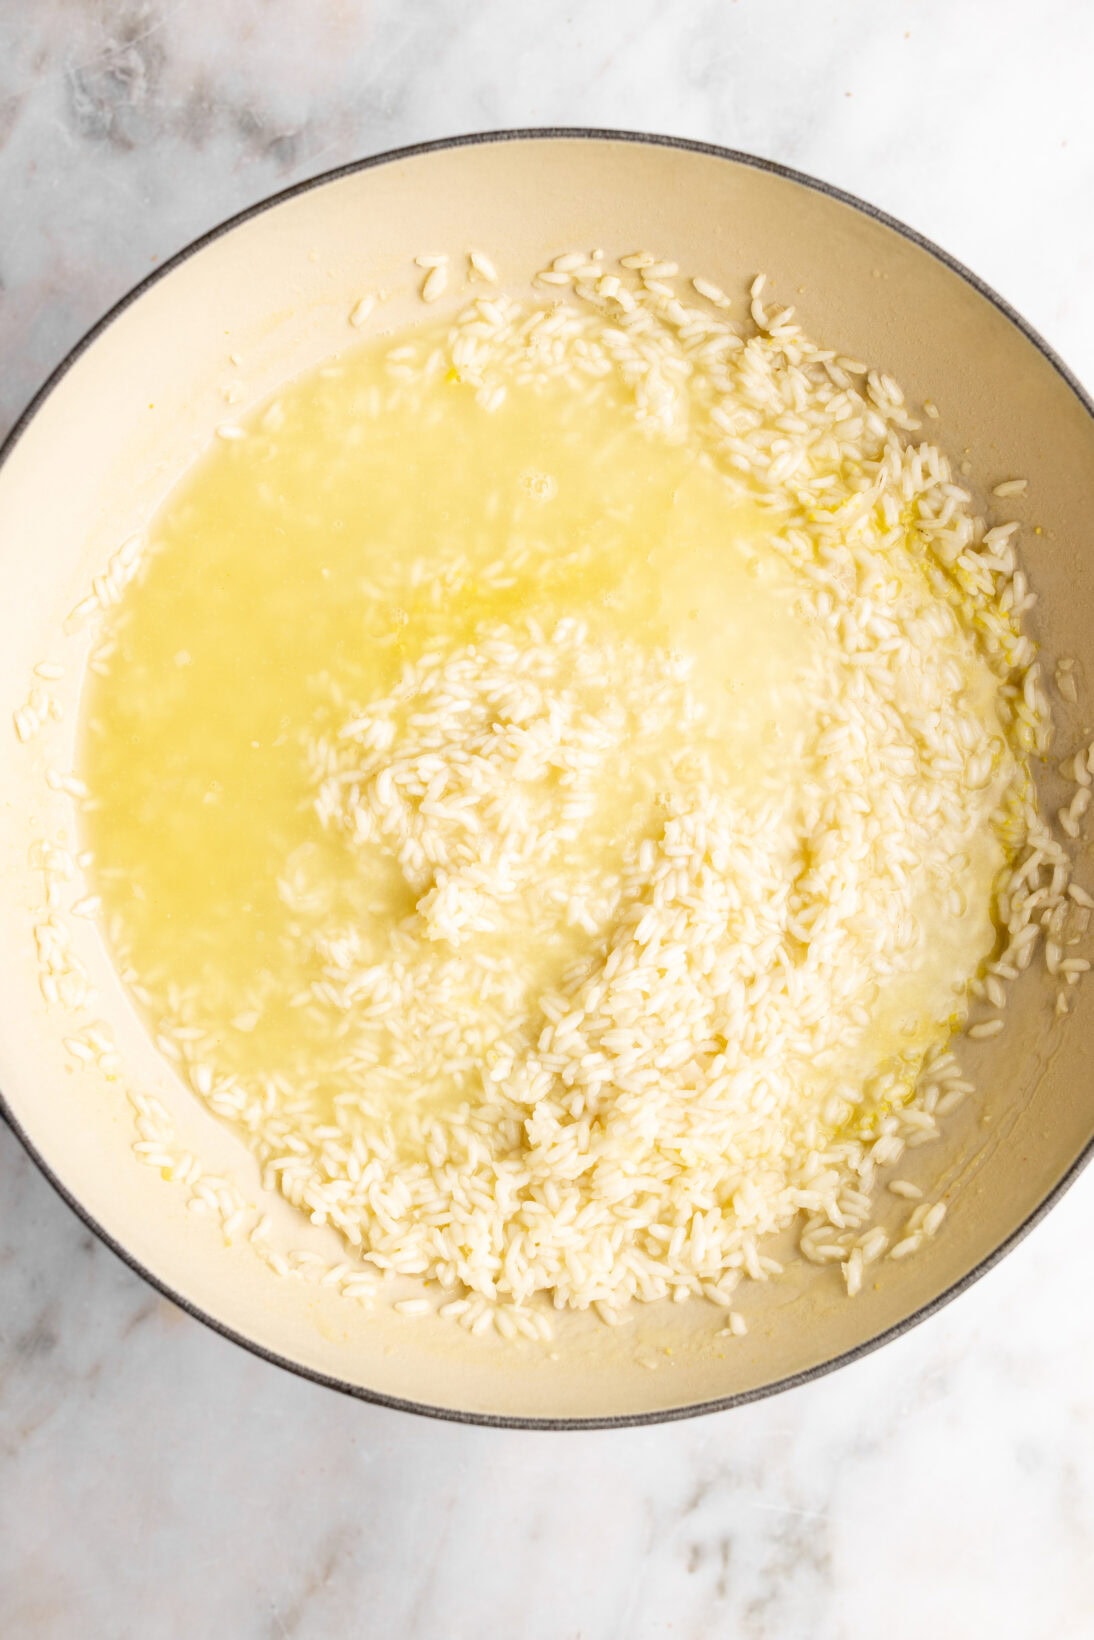
Finish – When the risotto has absorbed the majority of the broth and is al dente (if it isn’t al dente yet, continue adding broth), turn off the heat. The risotto should be loose, but not completely soupy. Add in the freshly grated Parmesan cheese and add in the pesto. Start with 1/4 of a cup and mix it in, if you want more pesto flavor add in another 1/4 of a cup. Serve immediately.
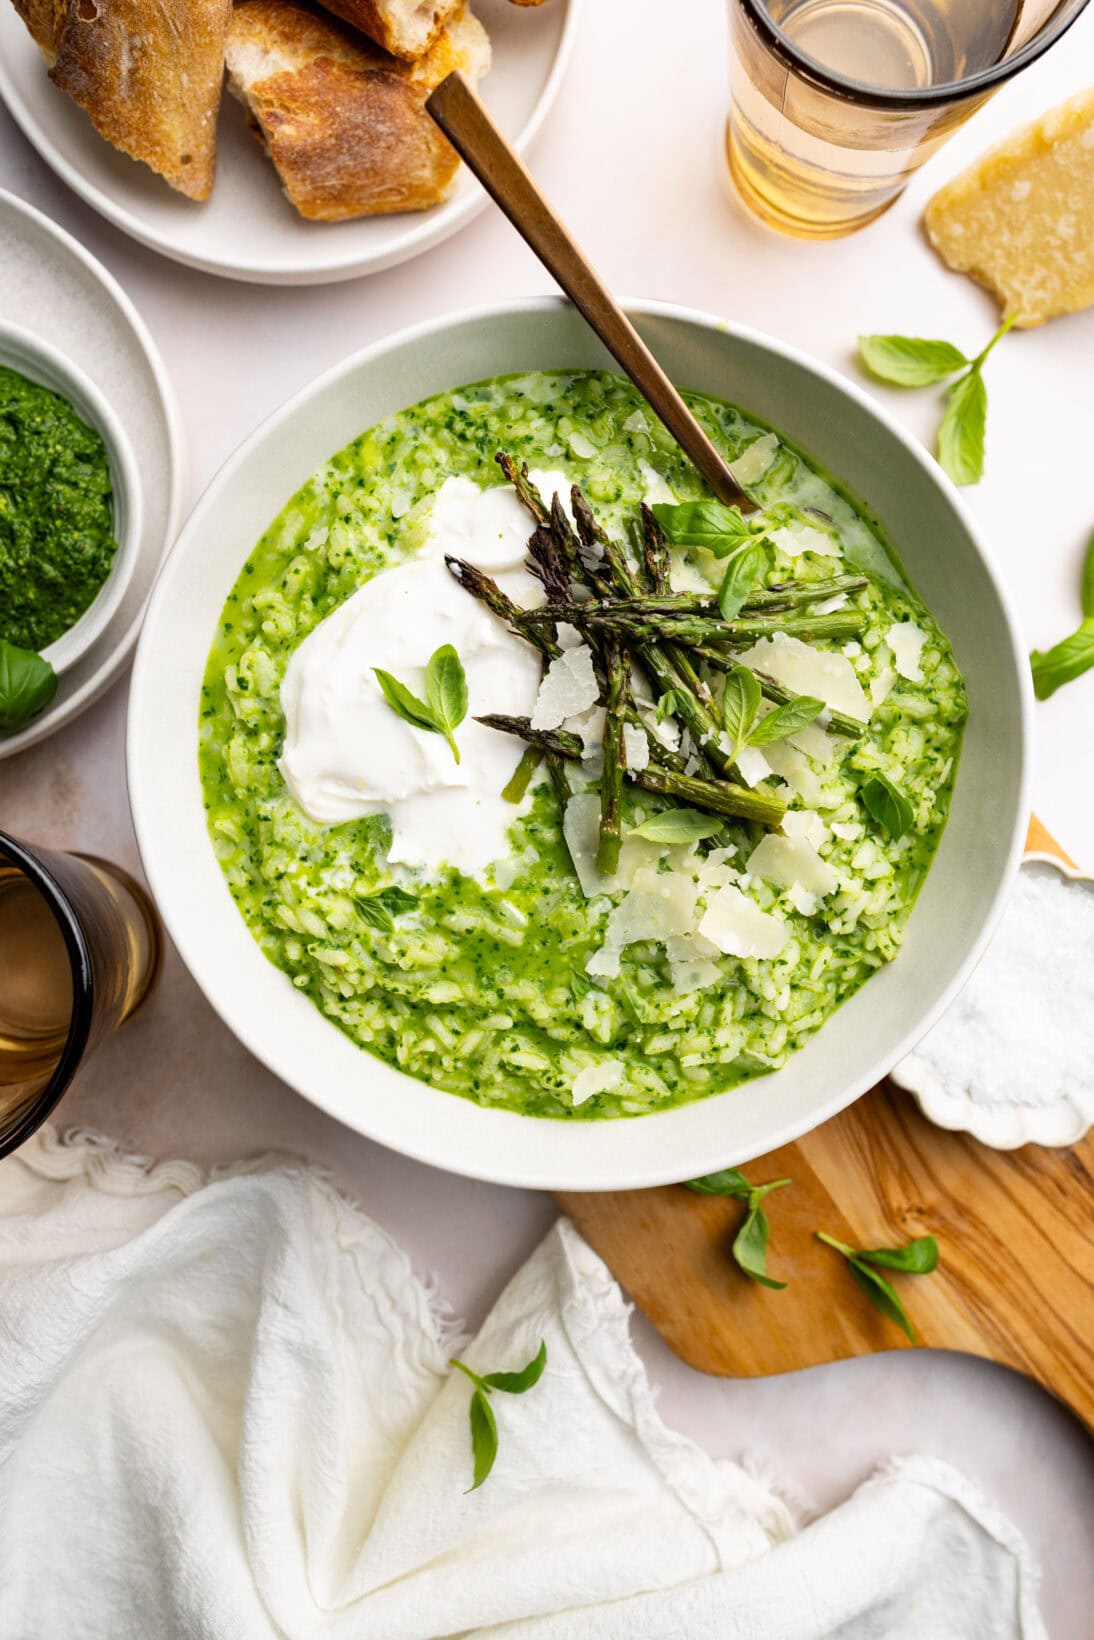
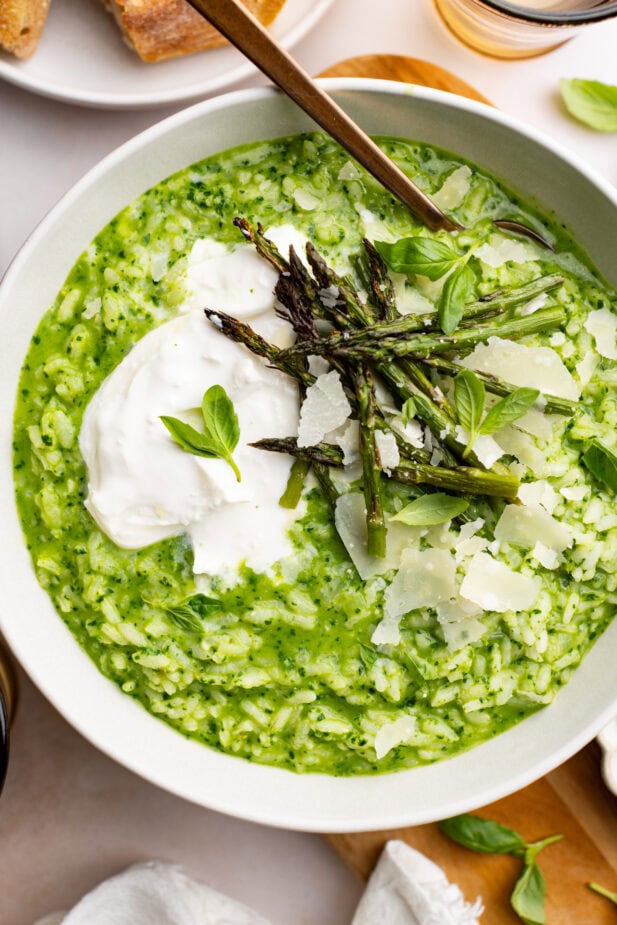
Tips on Serving! While this pesto risotto is delicious on its own or as a hearty side dish, the way it was styled in the shoot made it truly special: topped with burrata and roasted asparagus.
To roast the asparagus, preheat the oven to 400°F. Place the asparagus on a sheet tray, drizzle generously with olive oil, and season with a heavy pinch of salt. Roast for 15–20 minutes, depending on the thickness, until slightly charred. When serving, chop the asparagus into bite-sized pieces and scatter over the risotto.
Risotto is designed to be eaten immediately, and sorry to say this, but it doesn’t heat up as well as you would hope. With that said, leftovers for this mascarpone risotto can be stored in an airtight container for 2-3 days. When ready to reheat, place in a skillet with a splash of broth to loosen and heat on low.
My preferred way of eating risotto leftovers is fried! Check out my Fried Risotto Cakes recipe and the risotto recipes below!
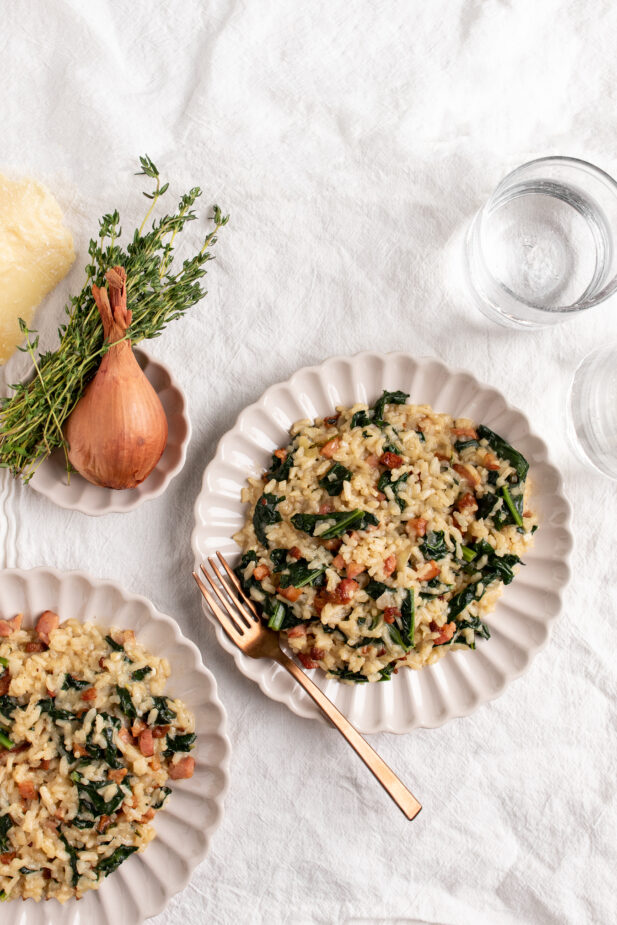
Risotto alla Milanese // Kale & Pancetta Risotto
Lemon Parm Risotto // Cacio e Pepe Risotto
Spicy Vodka Risotto // Brown Butter & Sage Risotto
Creamy Tomato Risotto // Smoked Gouda Risotto
Lobster Risotto // French Onion Risotto
Risotto Carbonara // Crab Risotto
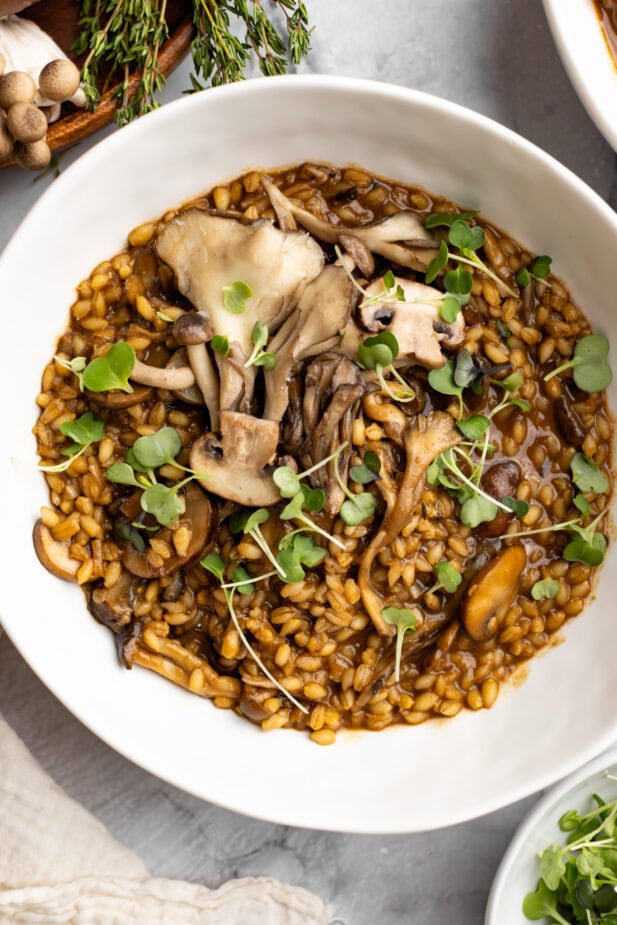
Corn Risotto // Mushroom Risotto
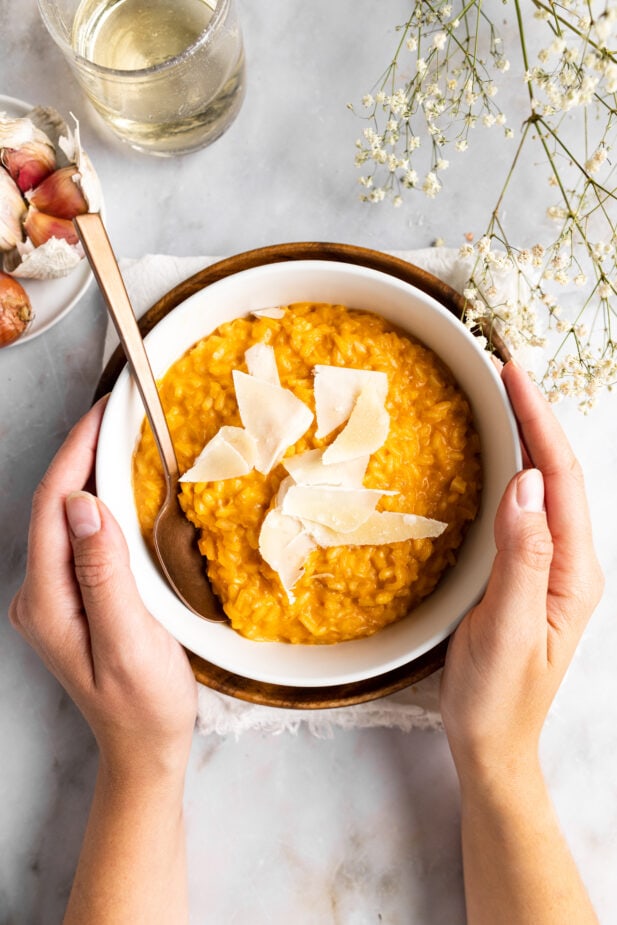
Roasted Garlic Mascarpone Risotto
 July 18, 2022
Pasta, Noodles & Grains
  October 5, 2022
Pasta, Noodles & Grains
  December 16, 2024
Pasta, Noodles & Grains
  November 16, 2024
Pasta, Noodles & Grains
When I saw this on google it looked so vibrant and delicious i knew i had to make it. Adding the pesto to the risotto made it so creamy and I could not get enough!!